Help articles
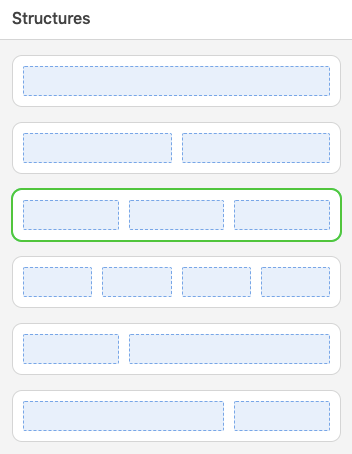
CATEGORY: Designs
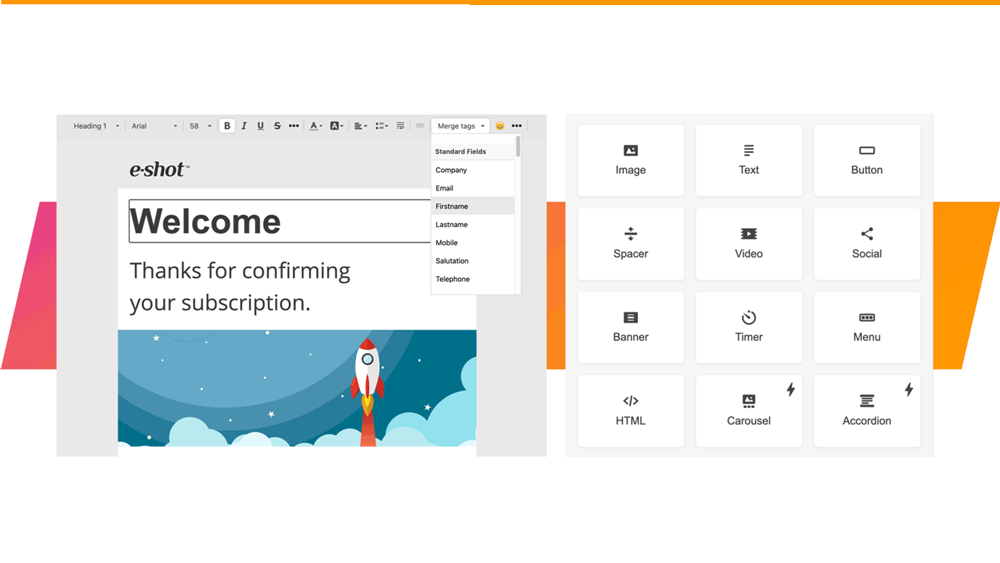
Smart Editor: Using Banners
.png)
The banner is the first element of your email that your recipients see. It is the primary position to get your message across. Smart editor allows you to build sophisticated multi-layered banners from scratch with ease.
No more hiding text within an image or having to go backwards and forwards with photoshop to get it right.
Dragging banner block in emails
The first step is to drag the banner block in your email.
.png)
You can drop it wherever you want in your template. But normally banners go immediately after the header (logo) of your email.
How to build an email banner with Smart Editor
drop a 1-column structure into your HTML email template
drop the “Banner” block into this structure
click this block in the template to activate the settings panel
upload image that you wish to use (here is more information on image management)
in the settings panel, the system will suggest that you crop the image if needed
set image orientation - it can be vertical, square and horizontal.

apply filters - for example, the grayscale one
paste the link that will take recipients to the place related to the offer described on the banner
enter alt text — this text will be shown to recipients if images for some reason cannot be displayed and for screen readers
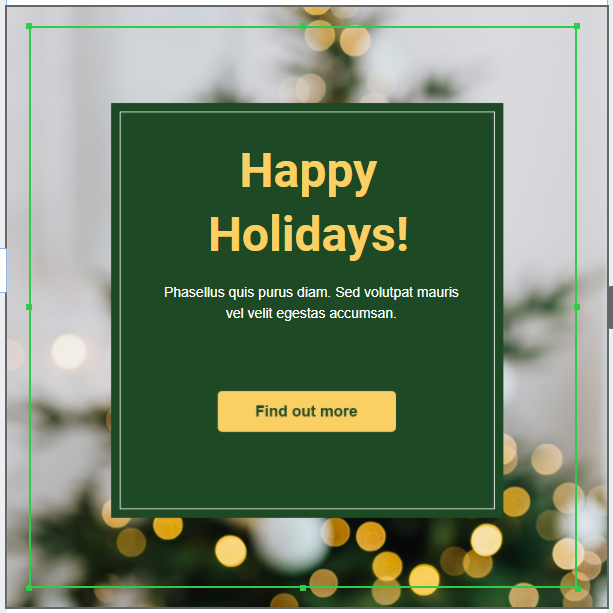
if you need to place any copy over the banner image, you need to click the “T” button on the settings panel above. Once it gets light, you need to left-click this image again
then you’ll see the “Caption” placeholder text on the banner
erase this placeholder text and enter your text here
set font size, font colour and the font
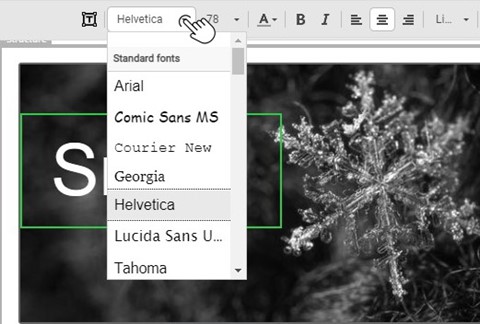
from the banner fonts, choose the one that best fits your email/brand
toggle the “additional picture” button in the settings panel. It can be anything you like: sticker, frame, logo, background to make your copy more noticeable, etc.
Important to note:
In order to place any additional image over your banner with the equal indents from at least three sides, you will need to use our “stick to Hovered Sticky Zone” option. For example if you want to place a logo over a text backdrop:
Note: You just insert the additional image and the system recommends you where to place it. Hold the “Shift” button while dragging this image over the banner. Once you have picked the place where you want to locate this image — it will be highlighted with a solid line, just let it go still holding the “Shift” button. The “Hovered Sticky Zone” option will align it to the three sides. This way, your email looks neater.
Common types of banners:
Banners with a single image and your value proposition
Banners with two images
Framed banners
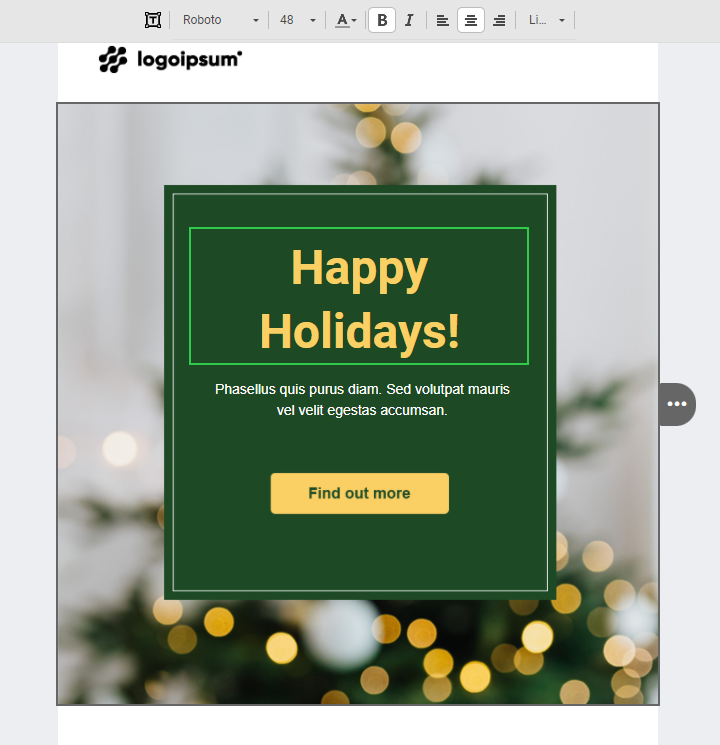
Banners with a CTA button
Banners with photo collages
Banners with transparent additional images
GIF-animated banners
Banners with videos
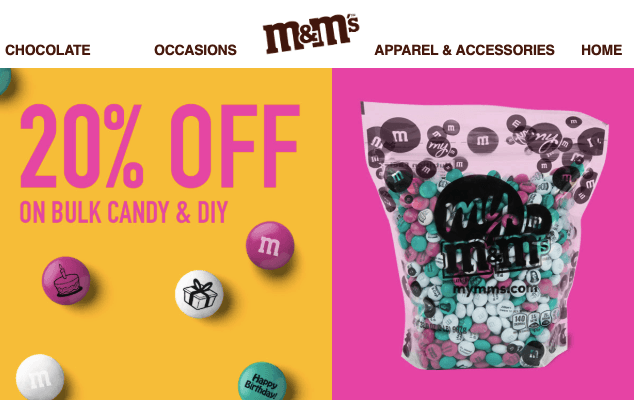
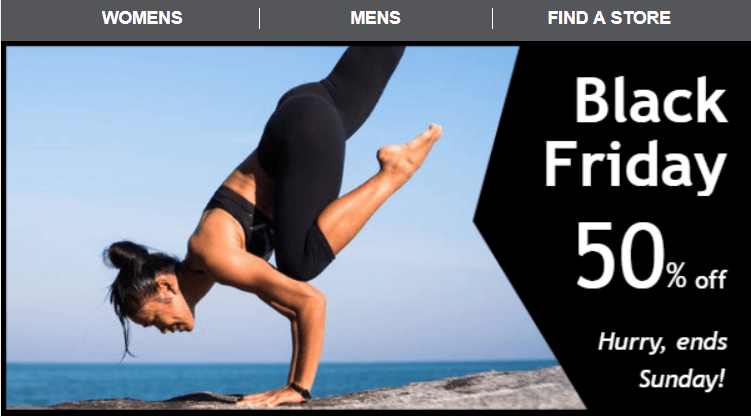
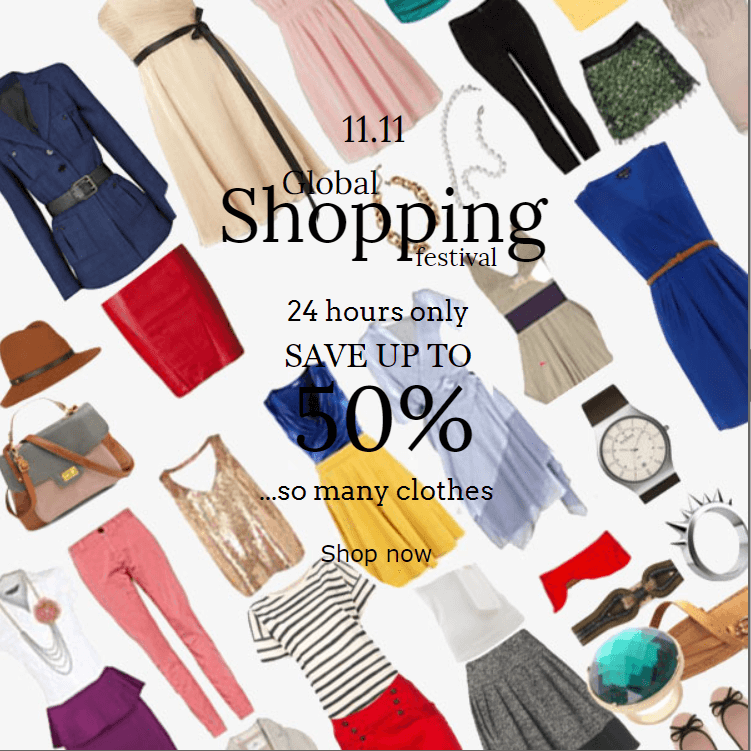
1. Banners with a single image and your value proposition
This is the most commonly used type of banner in promotional emails.
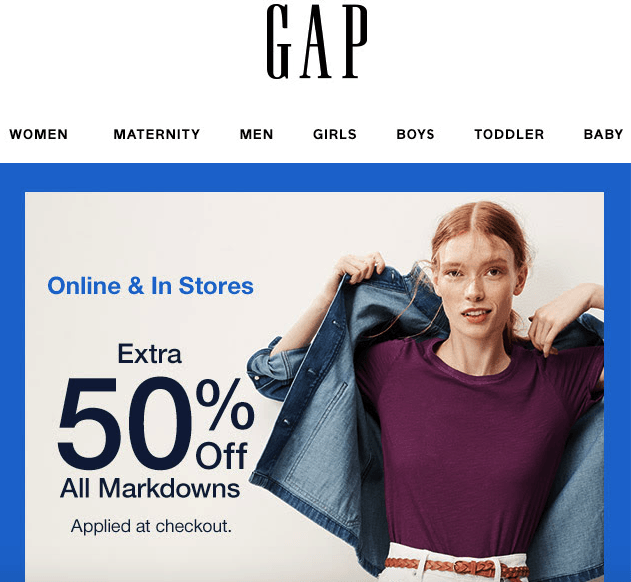
You use it to announce a sitewide sale or for promoting a single product.
Quite often, below such banners brands add countdown timers to increase the sense of urgency.
2. Banners with two images
A colourful image makes it difficult to pick a proper font colour for the text over the banner. Using an additional blank image will be appropriate enough in this situation. In the following example, we covered half of the banner with an additional picture and wrote the promotional text over it.
3. Framed banners
Frames are used to either separate two images within a banner or to emphasise a banner's call-to-action.

(banner without frames)
(banner with frame )
The first banner looks fresh, but it would be easy to overlook the promotional message on the right hand side. With the second however the emphasis is clear and there is no way anyone can miss the promotional message.
4. Banners with a CTA button;

There are two ways you can add a button. You can simply add the image of a button as the second image in the banner block, or integrate the button image into your second image. Either way the link behind the CTA will actually cover the entire image, but the user experience is still that of clicking a button and travelling to the directed page.
The above uses a simple button image being added (using the sicky zones detailed above). The below image from our Christmas template, uses a button integrated into the green block text background.
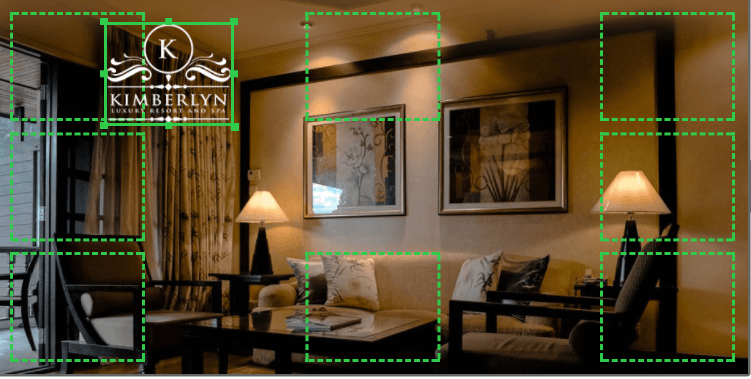
5. Banners with photo collages
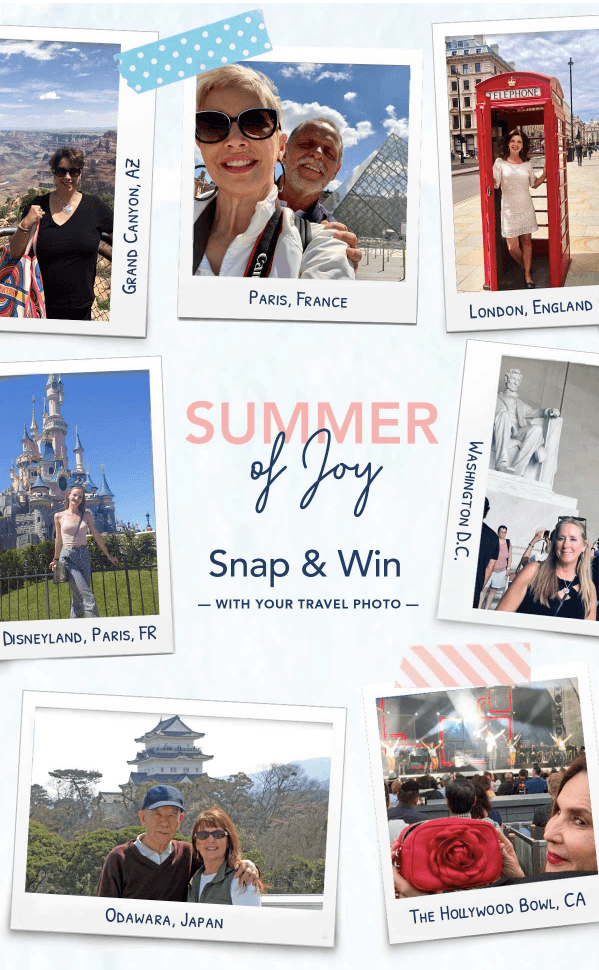
Here you will need to work a little harder.
This banner consists of three three-column structures/rows.
You just add them in your email, drag the “Image” block in each container, upload image to each column/container separately. Edit these images (to rotate them) with our embedded Photo Editor.
Instead of the middle image in the second row, you just add your copy. This is it :)
6. Banners with transparent additional images
Transparent images help you make slight changes to your newsletter without changing the total design, helping your text standout and be easier to read. So, if you have an image that had lots of colour or activity, where a single text colour will not work as a clear overlay.
For example below - take a look at these two:
(the one without additional images but with value offer over banner)
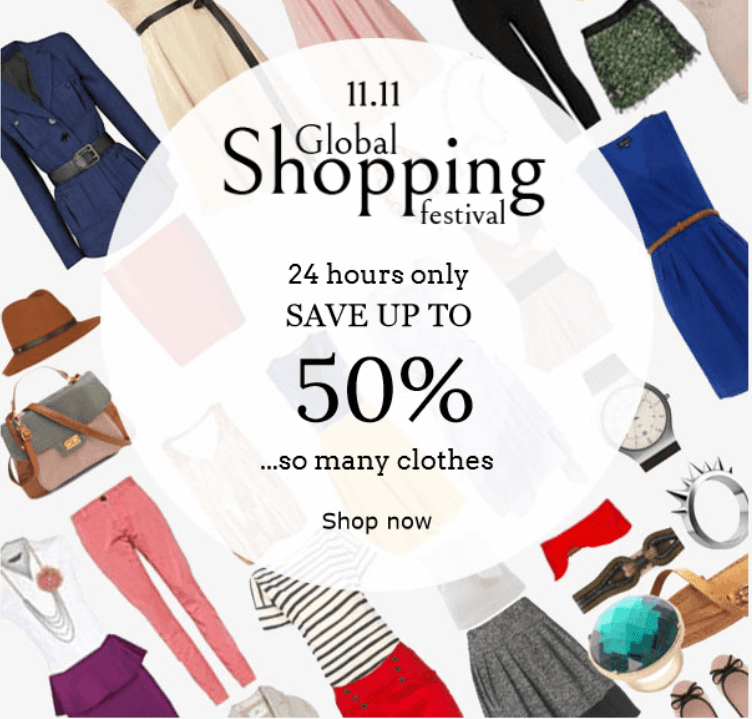
(the one with additional images but with value offer over banner)
It is almost impossible to read the offer on example 1, as the text is placed right on the products the company is promoting.
Just a small detail on example 2, the transparent layer, makes it easy to read the offer. And as a bonus: you can still see the products the company is advertising.
7. GIF-animated banners
GIF-animated banner is a complex subject, and we have already discussed why we should use them in email newsletters.
GIFs help you draw your attention to your value offer, to demonstrate a wider number of product items in one screen.
Important to note:
In order to build an animated banner, you will need to drag the basic "Image" block in your template. Then upload GIFs just as you upload images. But you can't add any copy over them as you would using the Banner block - so any text will need to be contained within the GIF.
8. Banners with videos
-1638200674.png)
Videos, when used correctly, build a stronger emotional connection with recipients. Videos are also useful when your value offer is too big to express in words in emails, when you need to show exactly how to use your tool.
Videos placed in the first screen serve as email banners.
Use them for your email campaigns whenever it is necessary. In our “How to use video in emails” we show how you can easily use videos in emails.
You may also like these articles
Designs
Smart Editor: Basic blocks and how to use them
January 27th, 2021 - Sadie Burgess
Smart Editor has its own hierarchy of elements. We can start from the stripes and proceed in descending order, through the structures and...
Designs
Smart Editor: Templates and Template Library
January 27th, 2021 - Sadie Burgess
In the Design menu there is a Template option. These templates are specifically for use within the Smart Editor.
Solutions
Email Marketing
Create email campaigns and newsletters and manage end-to-end subscription processes with forms and preferences.
Marketing Automation
Create sophisticated automated campaigns for email and SMS combined.
Digital Communication
The comprehensive solution to manage and automate your digital communication across email, SMS, websites and landing pages.
Email marketing healthcheck
We are confident that we can help you, which is why we offer a free healthcheck to identify potential issues with your current programme and free advice on things that could be done to improve it.