Help articles
CATEGORY: Forms and Landing PagesWhatsApp
WhatsApp sign up forms: How to gather subscribers to send WhatsApp messages to
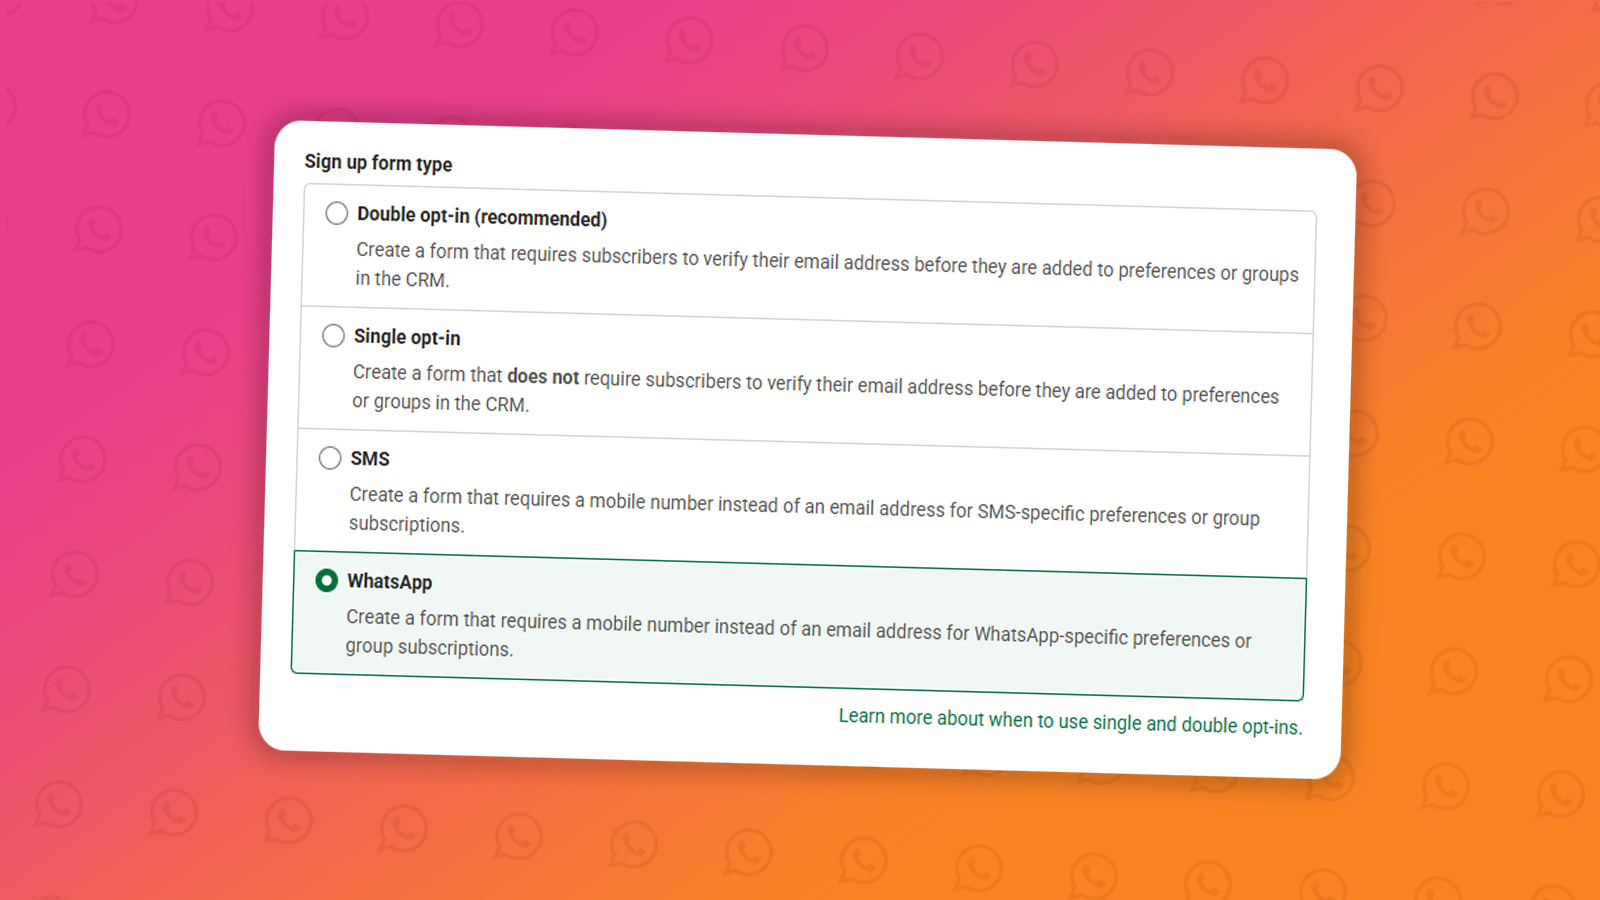
To send WhatsApp messages to your contacts, you must first collect their mobile number and obtain their explicit consent to receive WhatsApp communications. A WhatsApp sign-up form is the way to do this within the platform.
Important: WhatsApp consent is separate from SMS consent. If a contact has already opted in to receive SMS messages from you, that does not mean you can send them WhatsApp messages. They must specifically opt in to WhatsApp, even if you already hold their mobile number. Sending to numbers that have not opted in to WhatsApp runs the risk of your Meta account being suspended entirely!
Before you start
You will need administrator permissions to create sign-up forms. If you don't have access to the Forms section, speak to your account administrator.
You should also decide in advance:
Which group or preference opted-in contacts should be added to
What confirmation message or redirect URL you'd like to show after sign-up
If you’d like to send a welcome message once contacts have opted in
Step 1 — Navigate to forms
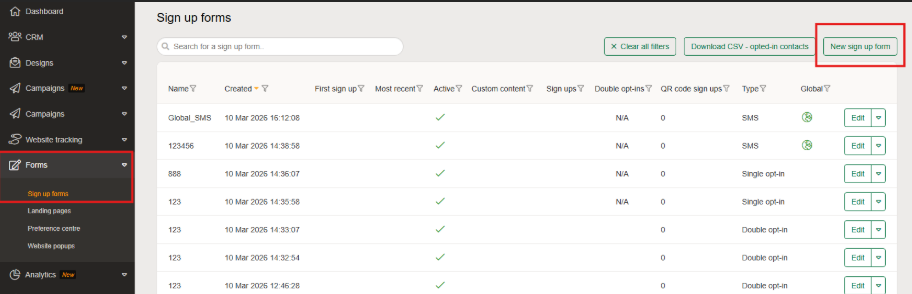
From the main navigation, go to Forms. You'll see a list of any existing sign-up forms in your account.
Step 2 — Create a new form
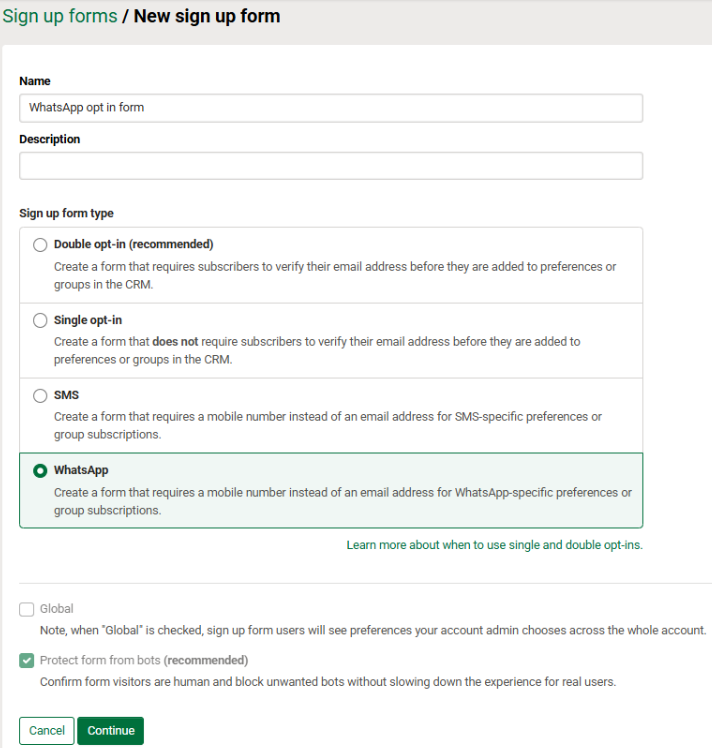
Click New Sign-up Form, give your form a name and select WhatsApp. Then click Continue.
Step 3 — Configure your form fields
On the first stage of the form builder, you'll set up the fields your contacts will need to complete.
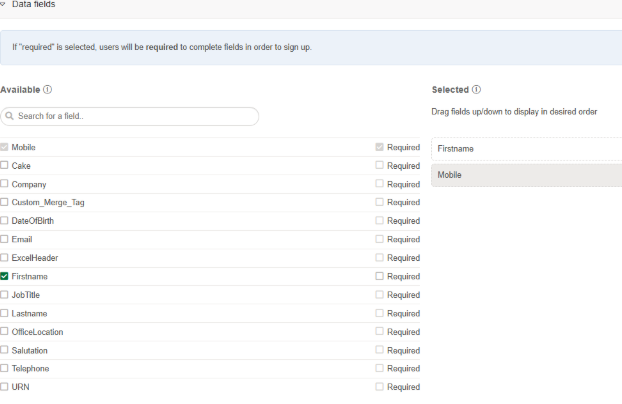
At a minimum, your WhatsApp sign-up form should include:
Mobile number — this is a required field by default, as this is what WhatsApp messages will be sent to
First name — recommended so you can personalise your messages
Any other contact fields relevant to your organisation. Only add the fields you need, the more there are, the less likely someone is to fill in the form
You can mark fields as required to ensure they must be completed before the form can be submitted. Again, fields should only be marked as required if you 100% need that data. Reorder fields by clicking and dragging them into your preferred order.
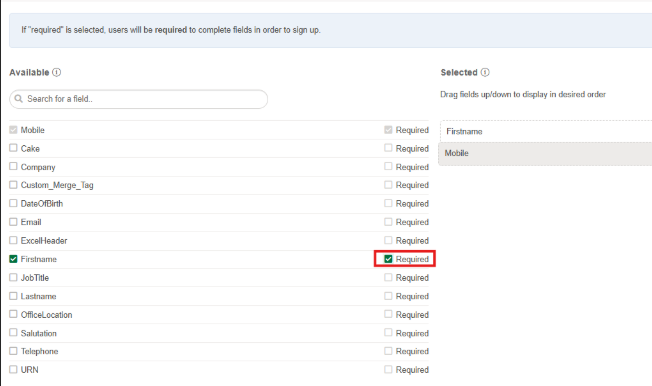
Step 4 — Choose which groups and preferences to display to contacts
Here you can choose what groups or preferences contacts will have the choice to opt into for WhatsApp messages.
As WhatsApp is an external communications method, preferences is the best suited option.
You can choose if the preferences are visible to the user, best for if you’re providing a list of different WhatsApp messages.
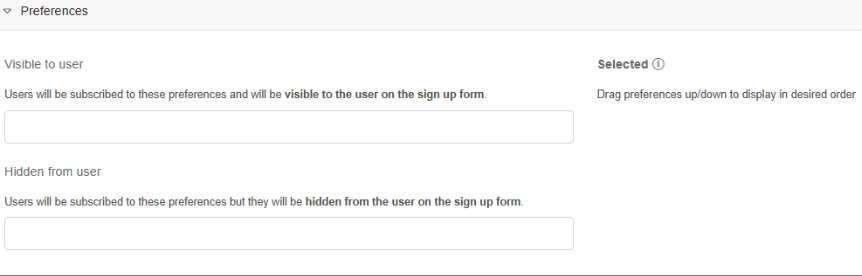
Or if it's one shoe fits all message you’re going to be sending, then you can add it as a hidden preference, so the contact is automatically added upon filling in the form, without the need to tick any extra boxes.
Step 5 — Consent statement
You should also add a clear consent statement explaining what the contact is signing up for. For WhatsApp this is especially important, the statement should make clear that by submitting the form they are consenting to receive WhatsApp messages from your organisation and should reference how they can opt out at any time.
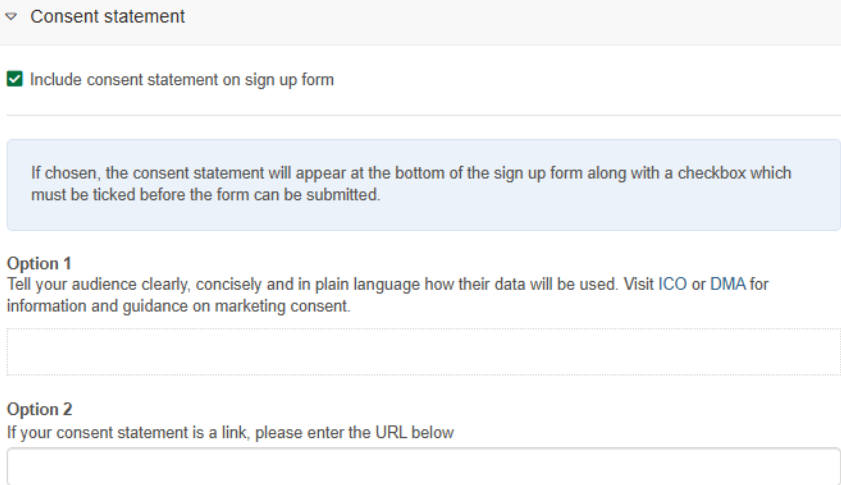
For this you have two options available:
Option 1: Add your own text
Option 2: Link to a consent statement such as a link to your website
Step 6 — Customise your heading text
Should you wish, the headings shown above the various options on the form can be customised. For example, you may wish to change Choose preferences to Choose which WhatsApp messages you’re interest in:
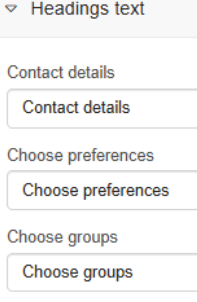
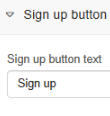
Step 7 — Customise the sign up button
You might wish to re-label the 'Sign up' button text to something more suitable. For example 'Subscribe to WhatsApp messages'.
Step 8 — Add your logo and branding
On the second stage, upload your organisation's logo and set your primary and secondary brand colours. The logo will appear on the sign-up form and any confirmation pages or emails associated with it.
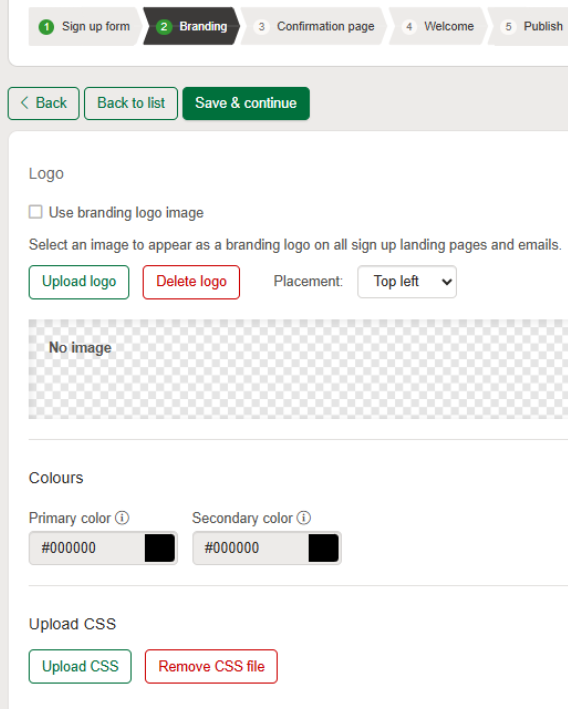
If you have branding set up in the Designs > Branding section of the platform, you can tick Use Branding Logo Image to pull this through automatically. Any future logo updates made in the branding section will then apply to the form without needing to be changed manually.
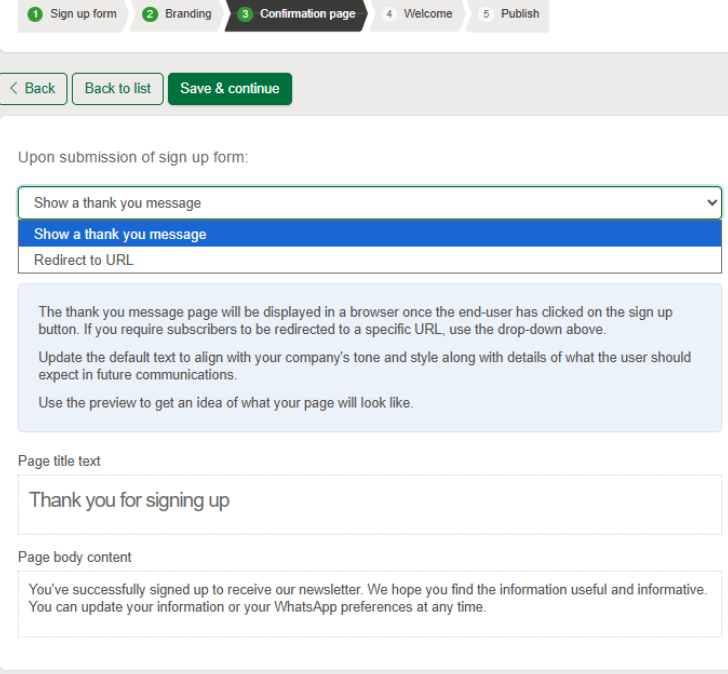
Step 9 — Set up the confirmation page
After submitting the form, contacts will either be redirected to a URL of your choice or shown a customised thank you message. Choose whichever is most appropriate for your use case and update the messaging accordingly.
Step 10 — Add a Welcome message (Optional)
You can optionally set up a welcome message to be sent once the contact has fully completed sign-up. This is a good opportunity to confirm what they've signed up for and set expectations around how frequently they'll hear from you.
To add a welcome message, tick the checkbox and click the Choose design button.
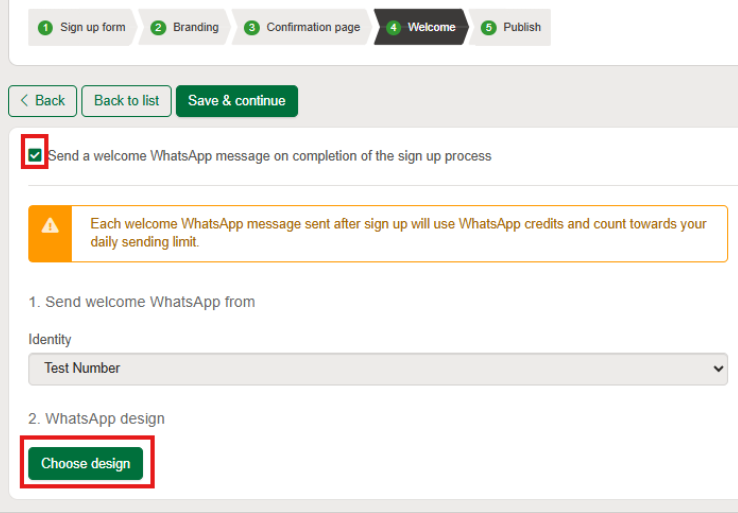
Note: Only designs that have been Meta approved will be allowed to be assigned at this stage. Welcome messages sent to opted in contacts will also count towards your WhatsApp credit limit and daily send limit.
Step 11 — Sharing your form
Once your form is saved, you'll be provided with a hosted URL that you can share directly, on your website, in emails, or via social media.
You'll also receive a QR code linked to the form. This can be downloaded as an SVG and used on printed materials such as leaflets, posters, or correspondence, making it easy for contacts to sign up by scanning with their phone.
You also have the option to embed your form onto and e-shot landing page, this not only allows for further customisation, but allows you to set your own URL which can be shared with people to opt in. For the details on setting up a landing page, please find the article here.
You can view how many contacts have signed up via the QR code from within the form, under the QR Code Sign-ups column.
After sign-up
Contacts who complete the form will be added to the group and preferences you specified in Step 4. These groups or preferences can then be selected as the audience when creating a WhatsApp campaign. For a full walkthrough of sending a campaign, refer to our How to Create a WhatsApp Campaign guide.
A note on compliance:
You should only send WhatsApp messages to contacts who have explicitly opted in through a WhatsApp-specific form or consent mechanism. Consent obtained for email or SMS does not cover WhatsApp. Keeping your opt-in records accurate helps protect your organisation and maintains trust with your audience.
You may also like these articles
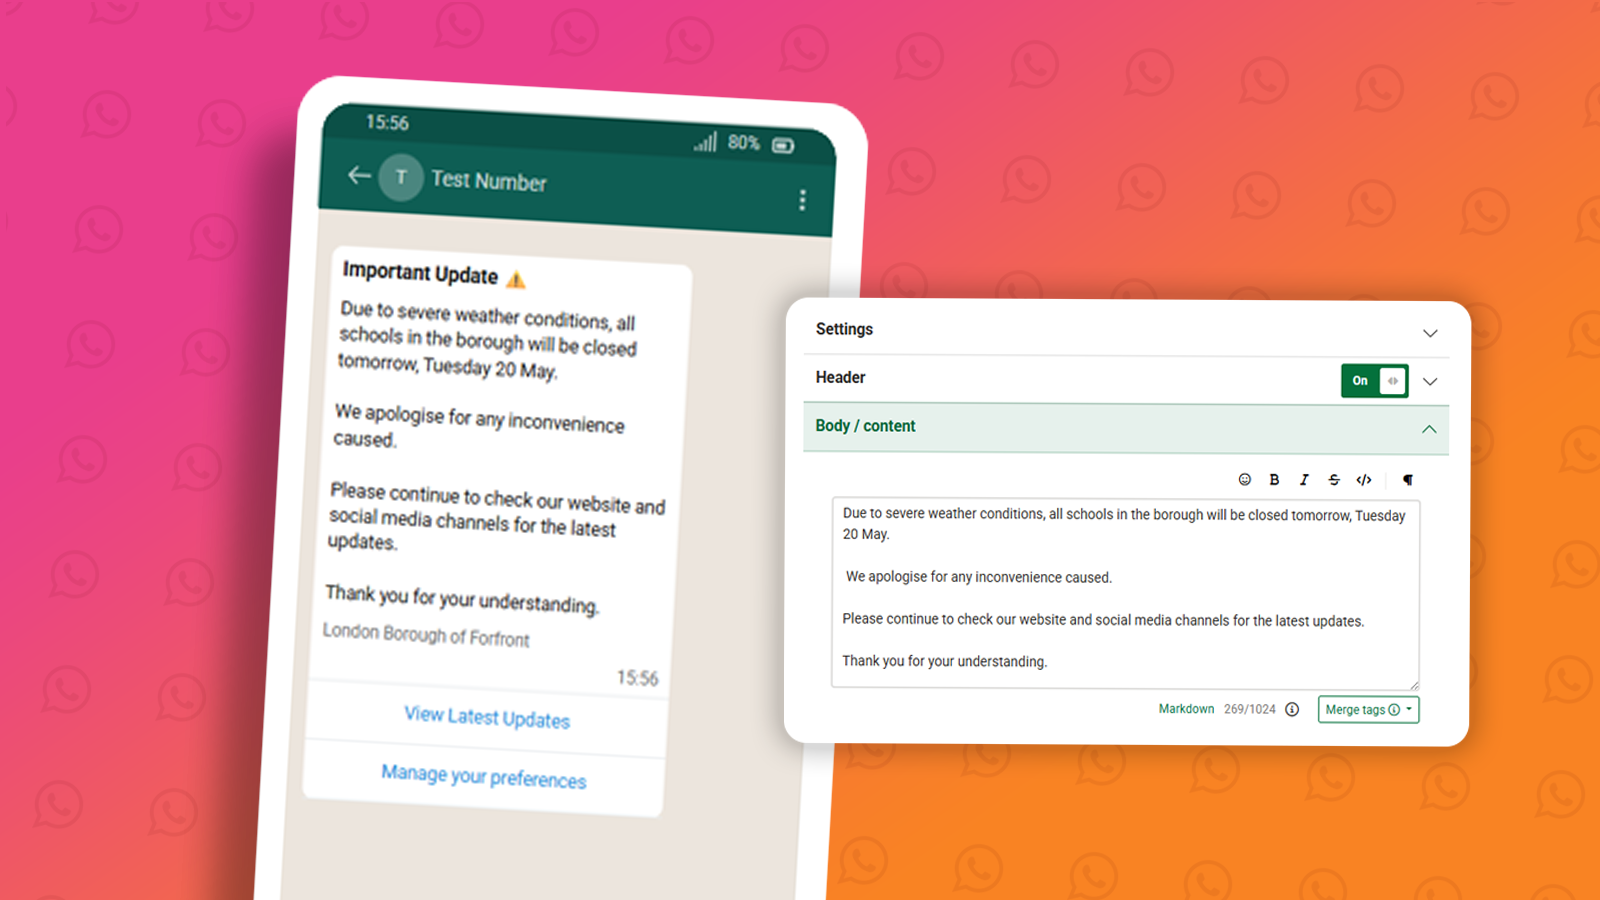
Designs WhatsApp
How to create a WhatsApp design
January 1st, 2027 - Harry Thomas
Designs are the message templates you send to your audience via WhatsApp. Before a design can be used in a campaign, it must be submitted to Meta...
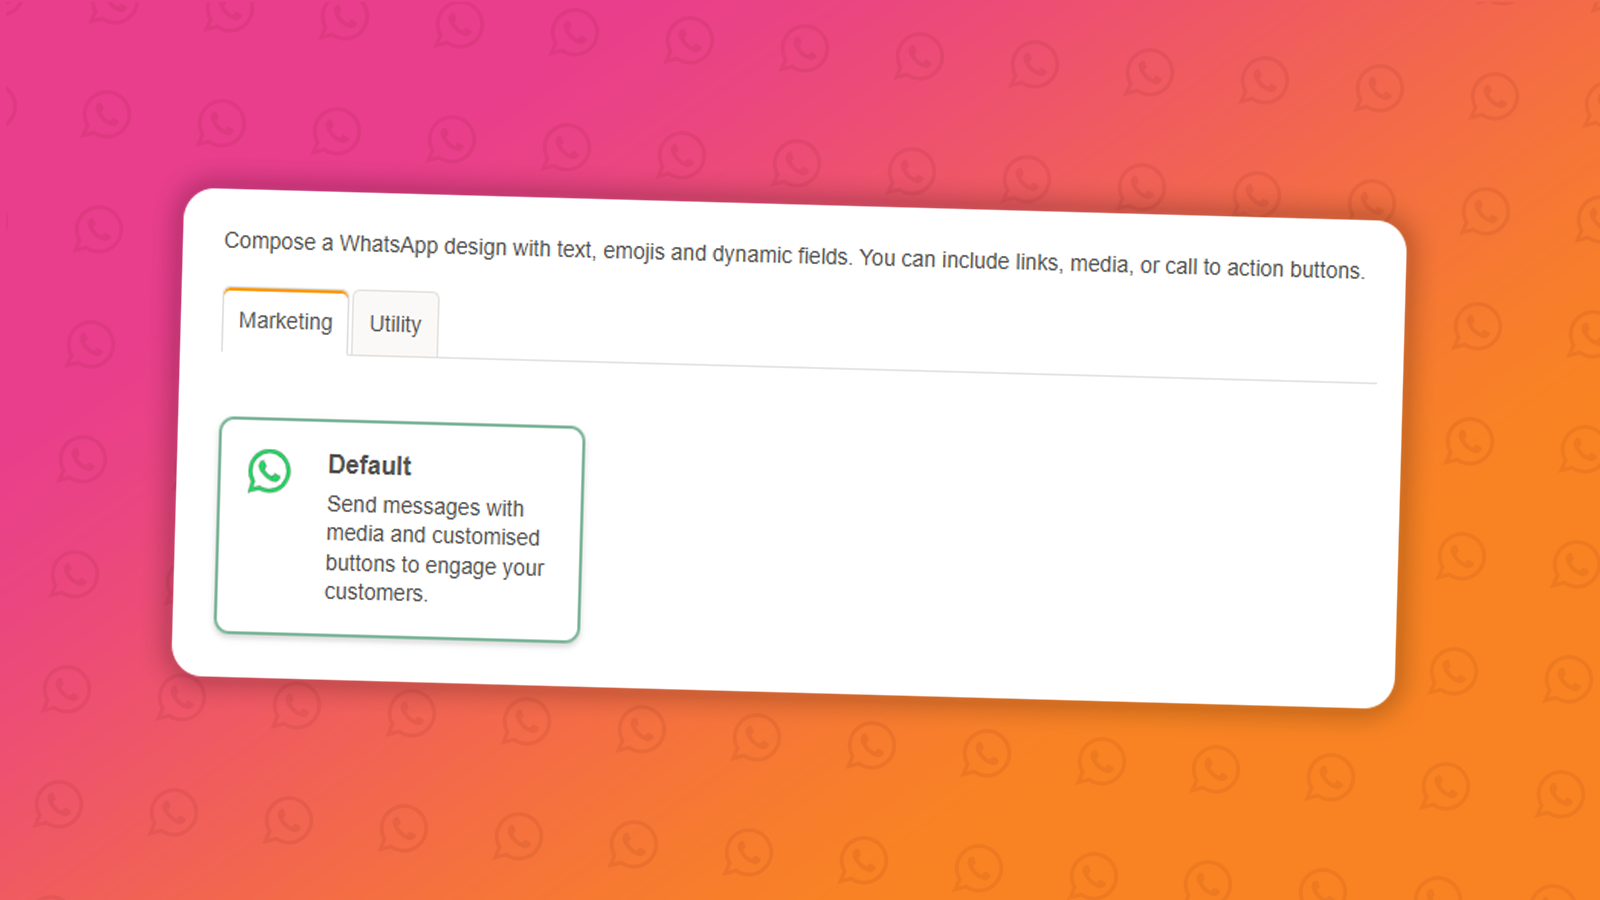
Designs FAQs WhatsApp
WhatsApp Marketing vs Utility messages
January 1st, 2027 - Harry Thomas
When creating a new WhatsApp message design, you'll be asked to choose a message type: Marketing or Utility. Choosing the right one is...
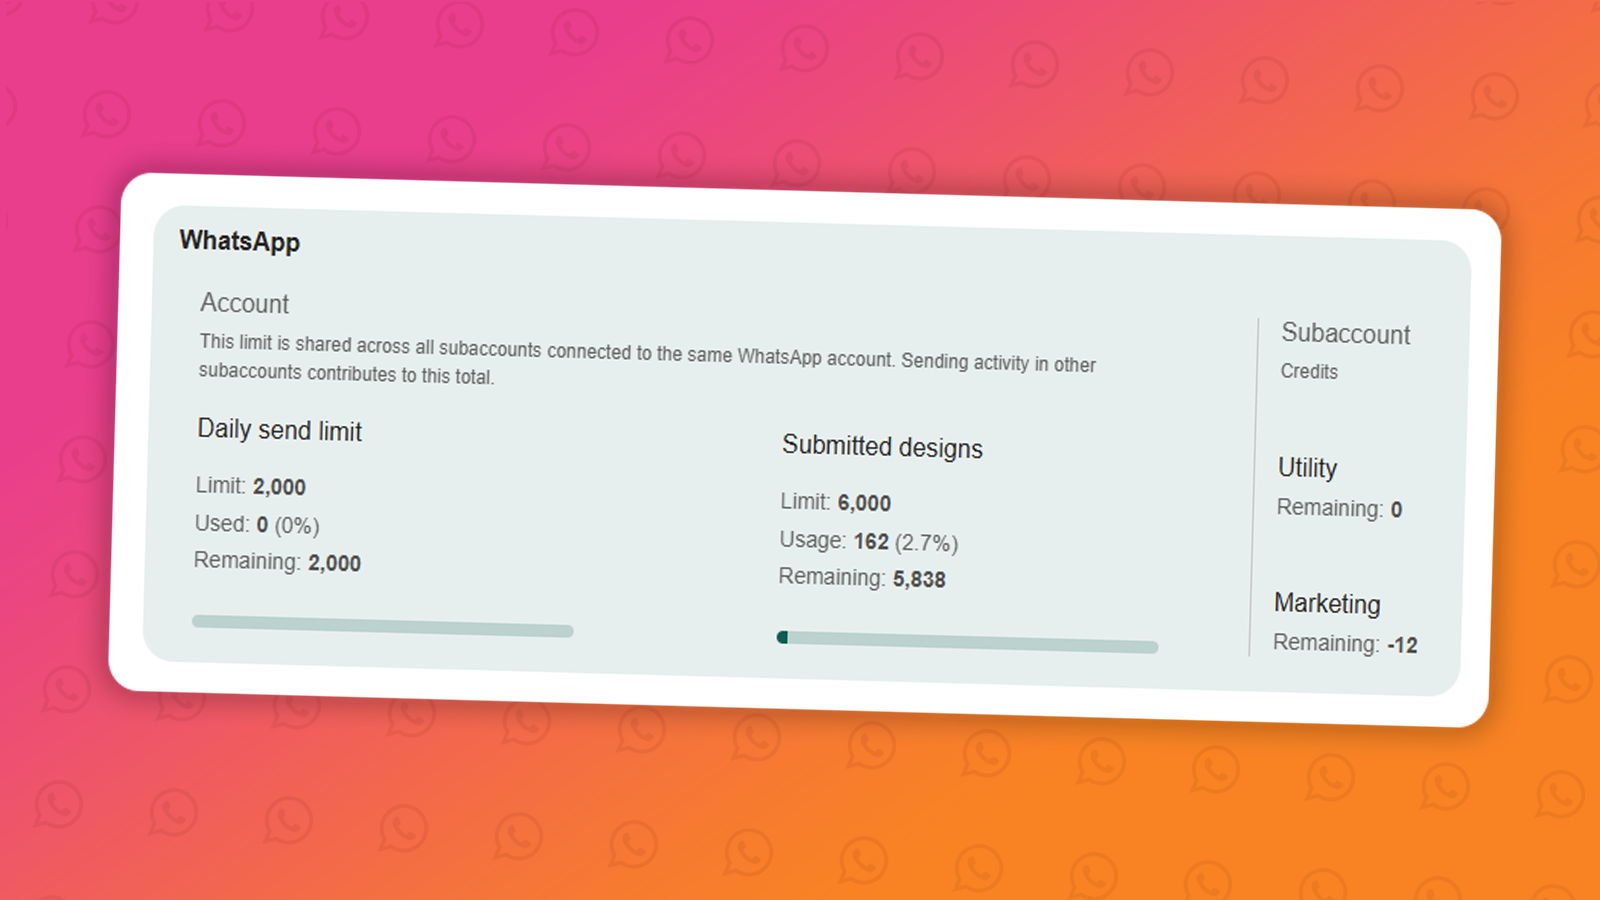
FAQs WhatsApp
Understanding WhatsApp messaging limits & credits
January 1st, 2027 - Harry Thomas
When sending WhatsApp messages through the e-shot platform, there are two types of limits you should be aware of: your daily send limit and...
Solutions

Email Marketing
Create email campaigns and newsletters and manage end-to-end subscription processes with forms and preferences.

Marketing Automation
Create sophisticated automated campaigns for email and SMS combined.

Digital Communication
The comprehensive solution to manage and automate your digital communication across email, SMS, websites and landing pages.

Email marketing healthcheck
We are confident that we can help you, which is why we offer a free healthcheck to identify potential issues with your current programme and free advice on things that could be done to improve it.