Help articles
CATEGORY: DesignsWhatsApp
How to create a WhatsApp design
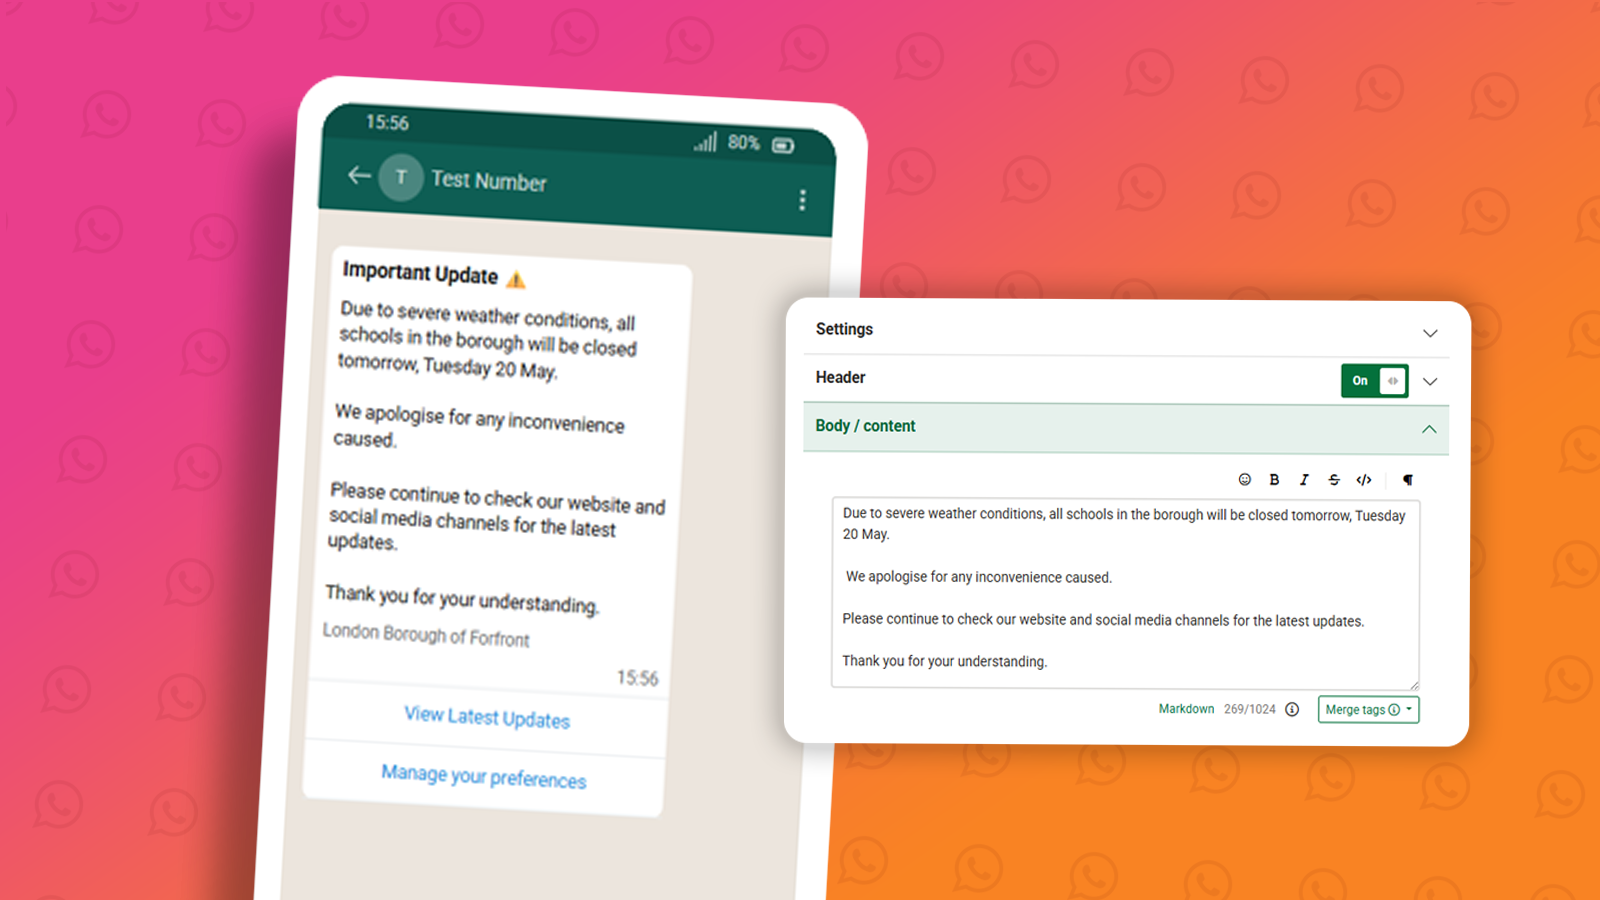
Designs are the message templates you send to your audience via WhatsApp. Before a design can be used in a campaign, it must be submitted to Meta for review and approved. This guide walks you through how to create one from scratch.
Step 1 — Navigate to designs
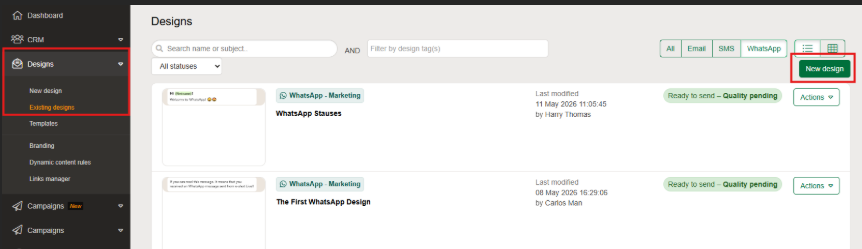
From the main navigation, go to Designs and then select Existing Designs. Click the New Design button to get started.
Step 2 — Select WhatsApp as your channel
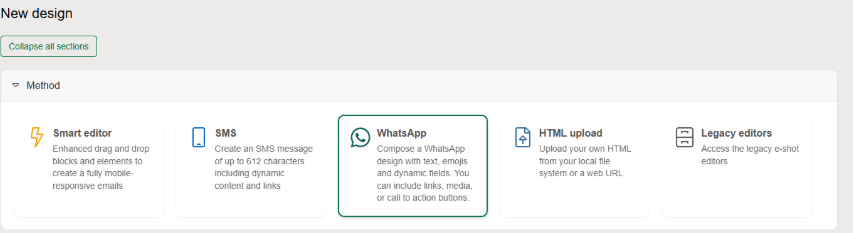
You'll be prompted to choose a design type. Select WhatsApp to continue.
Step 3 — Name your design
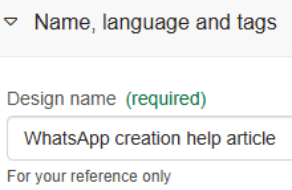
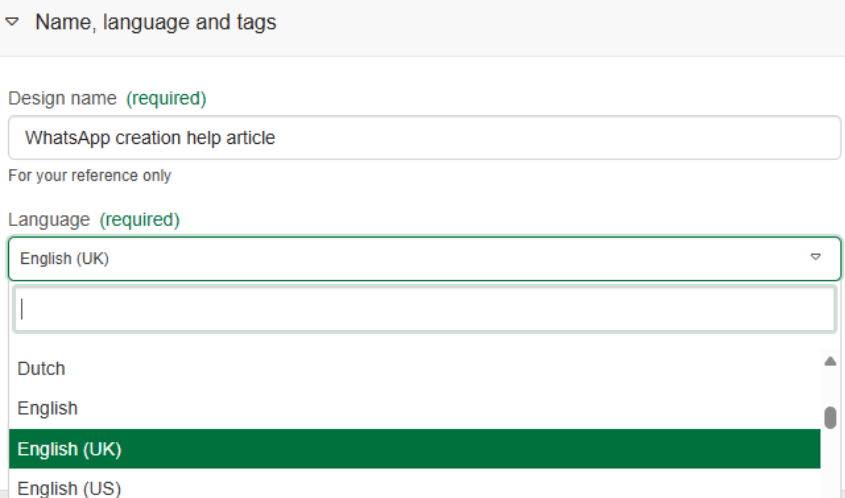
Give your design an internal name. This is for your reference only and will not be visible to recipients. Choose something descriptive that will help you and your team identify the design later, such as "Appointment Reminder – Housing Team" or "Planning Application Confirmation".
Step 4 — Choose a Language
Select the language your message will be written in. This is an important step as the language you select here is submitted to Meta as part of the template and must match the content of your message. If you intend to send the same template in multiple languages, you will need to create a separate design for each.
Step 5 — Assign Tags (optional)
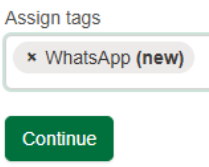
Tags allow you to categorise and filter your designs on the Existing Designs page. If your organisation manages multiple teams or services, using consistent tags (e.g. Housing, Licensing, Benefits) will make it much easier to find designs later.
Step 6 — Choose your design type
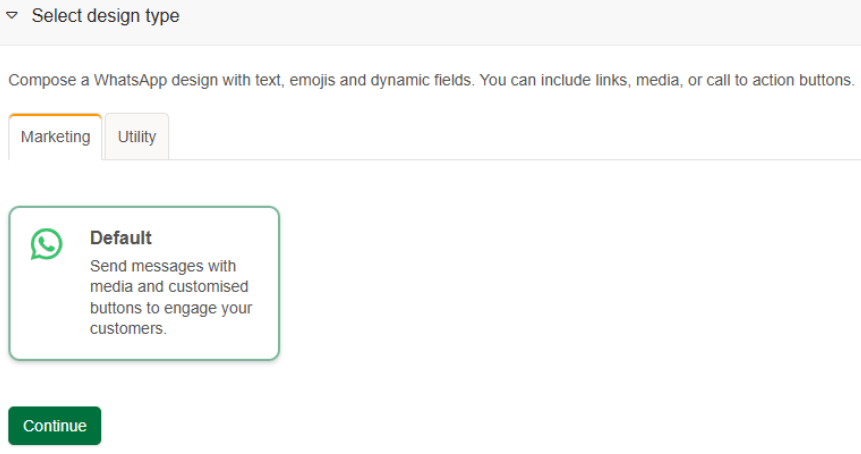
Select whether your message is a Marketing or Utility message. If you're unsure which to choose, refer to our Marketing vs Utility Messages guide. This selection is submitted to Meta and affects how your template is reviewed and priced.
Once you're happy with your settings, click Continue.
Step 7 — Build your design message
Your message is made up of several sections:
Header (optional)
Choose what appears at the top of your message. To enable a header, turn the toggle to on. You can use:
Text — a short heading line
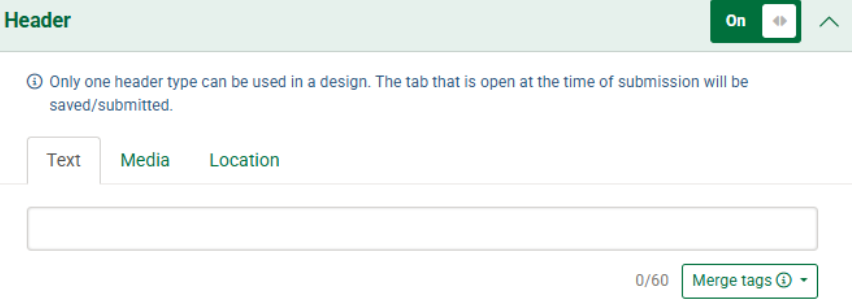
Media — an image, video, or PDF
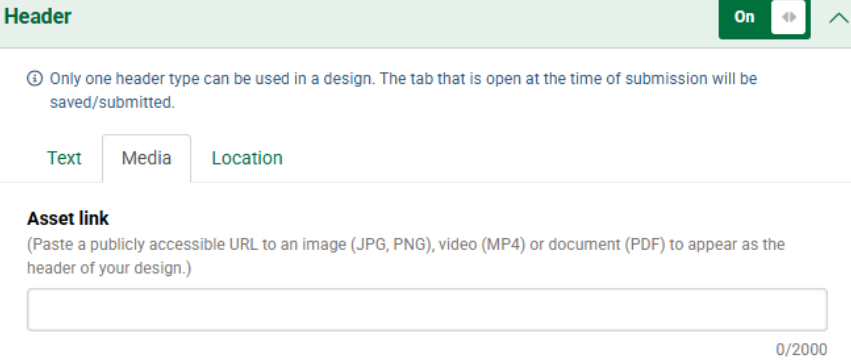
Map location — a pin to a specific location
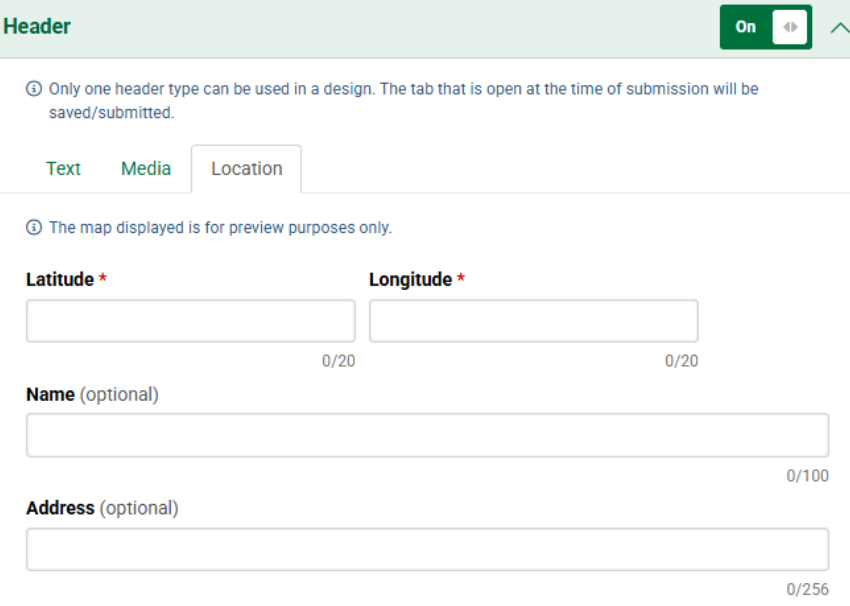
Body
This is the main content of your message. Write clearly and concisely, keeping in mind that WhatsApp messages are read on mobile devices. You can personalise content using merge tags (e.g. a recipient's name or reference number).
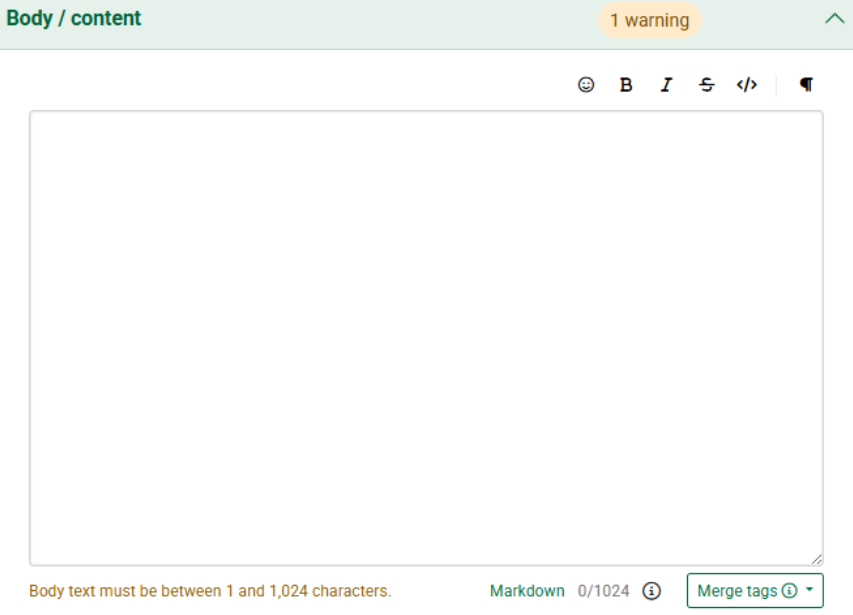
Footer (optional)
A short line of text that appears at the bottom of the message, typically used for a disclaimer, contextual note or to display your company information. To enable turn the toggle to on.

Buttons (optional — up to 2)
You can add up to two buttons to your message. We recommend including an unsubscribe link as one of your buttons, so recipients can easily opt out of future messages. This helps maintain message quality and keeps your account in good standing with Meta.
To enable buttons, turn the toggle to on.

Then click the “+button” button to add up to 2 buttons.
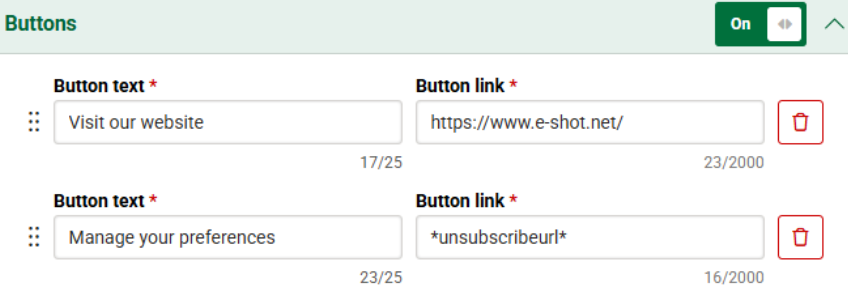
To link to your WhatsApp preference centre, include the link Unsubscribeurl in the button link section as shown above.
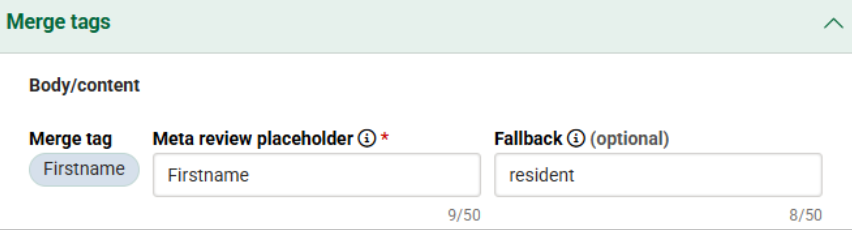
Step 8 — Set merge tag fallbacks
If you have used any merge tags in your message body, a Merge Tags section will appear. Here you must set a fallback value for each merge tag, this is the text that will be used if the recipient's data is missing or unavailable. For example, if you're using a first name merge tag, a fallback of "resident" would ensure the message still reads naturally if no name is held on record.
Step 9 — Save, Close or Submit for Review
At the top of the design editor, you have four options:

Preview — view what your design will look like when received on a mobile device.
Save — saves your progress without submitting. Your design will remain in Draft status.
Close — exits the editor. Make sure you save first if you want to keep your changes.
Submit for Review — sends your template to Meta for approval. Once submitted, your design status will change to In Review. Most templates are reviewed within 24 hours but often take less than an hour.
Before submitting, double-check your message content, language selection, and design type, these cannot be changed once the template has been submitted to Meta.
What happens next?
Once submitted, your design will go through Meta's review process. You can track the status of your template on the Existing Designs page. For a full explanation of each status, refer to our WhatsApp Message Template Statuses guide.
You may also like these articles
Analytics WhatsApp
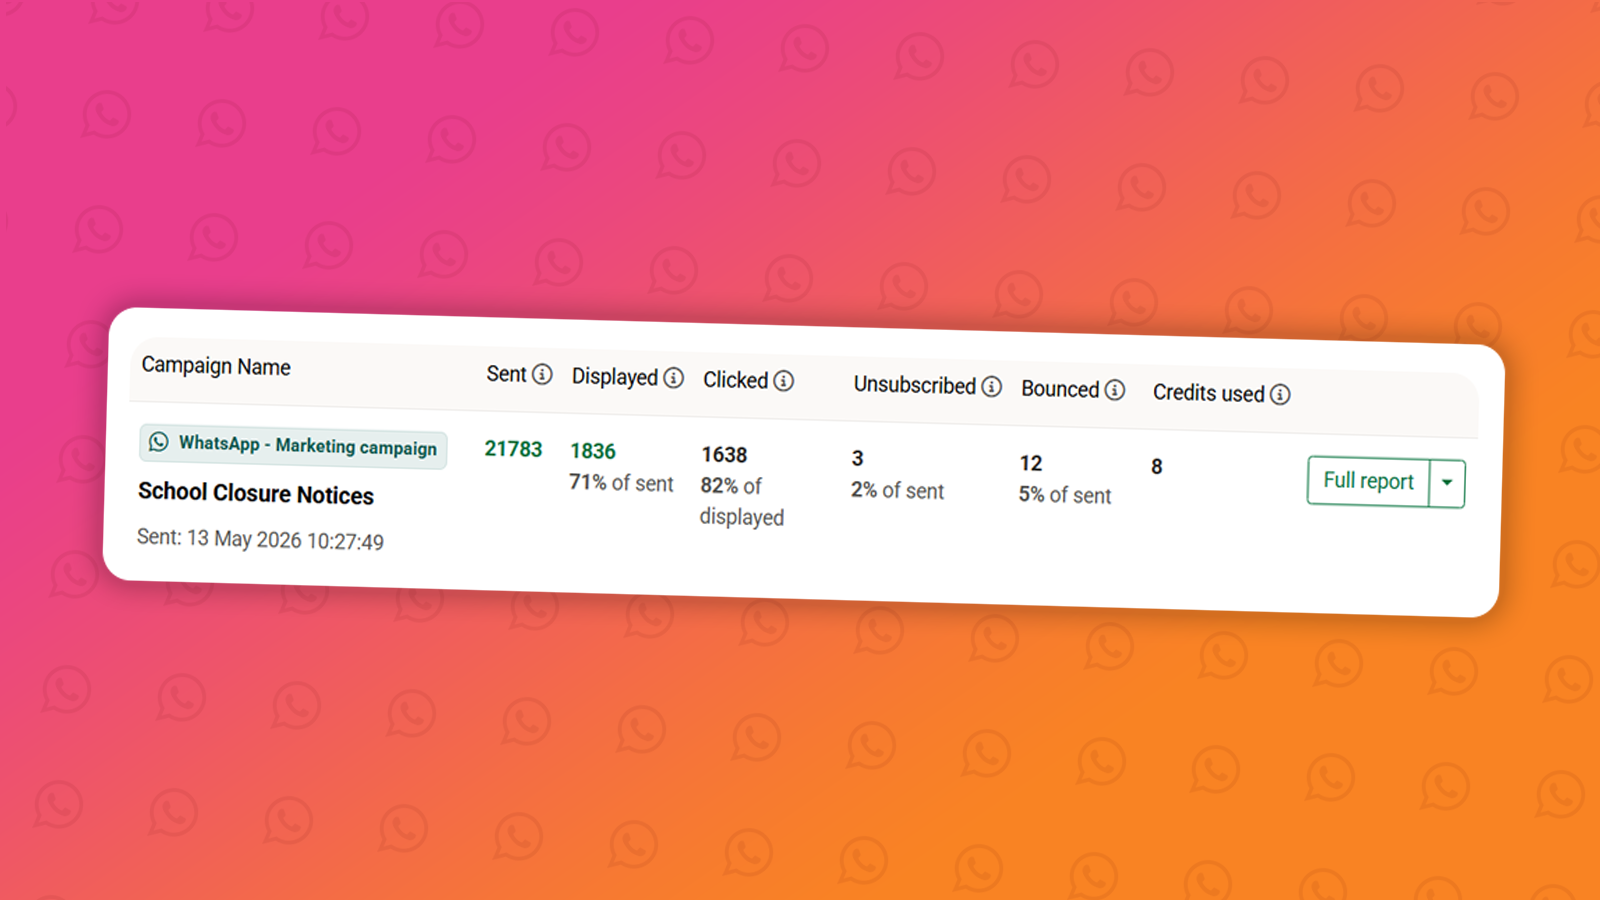
WhatsApp campaign analytics
January 1st, 2027 - Harry Thomas
Once a WhatsApp campaign has been sent, you can track its performance through the Analytics section. WhatsApp reporting gives you visibility over...
Designs WhatsApp
Understanding WhatsApp message design statuses
January 1st, 2027 - Harry Thomas
Before you can send a WhatsApp message to your contacts, any design you create must go through a review process managed by Meta. Once submitted,...
Campaigns WhatsApp
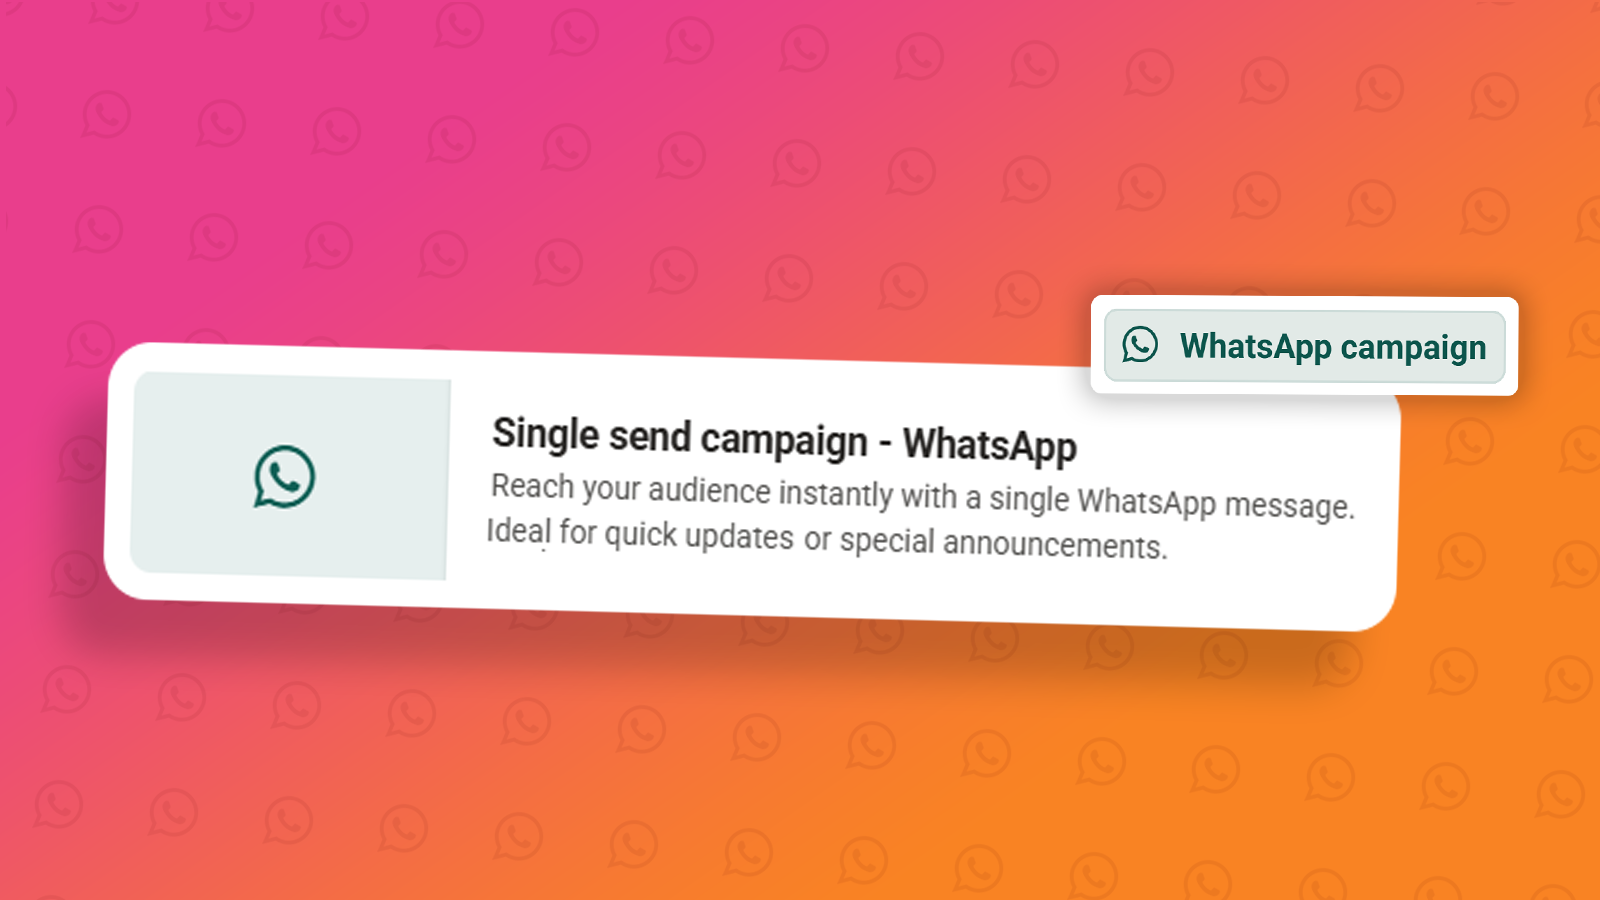
How to create a WhatsApp campaign
January 1st, 2027 - Harry Thomas
A WhatsApp campaign lets you send an approved WhatsApp design to a selected audience. Before you can send a campaign, you'll need an approved...
Solutions
Email Marketing
Create email campaigns and newsletters and manage end-to-end subscription processes with forms and preferences.

Marketing Automation
Create sophisticated automated campaigns for email and SMS combined.

Digital Communication
The comprehensive solution to manage and automate your digital communication across email, SMS, websites and landing pages.

Email marketing healthcheck
We are confident that we can help you, which is why we offer a free healthcheck to identify potential issues with your current programme and free advice on things that could be done to improve it.