Help articles
CATEGORY: Forms and Landing PagesWhatsApp
How to setup a WhatsApp preference centre
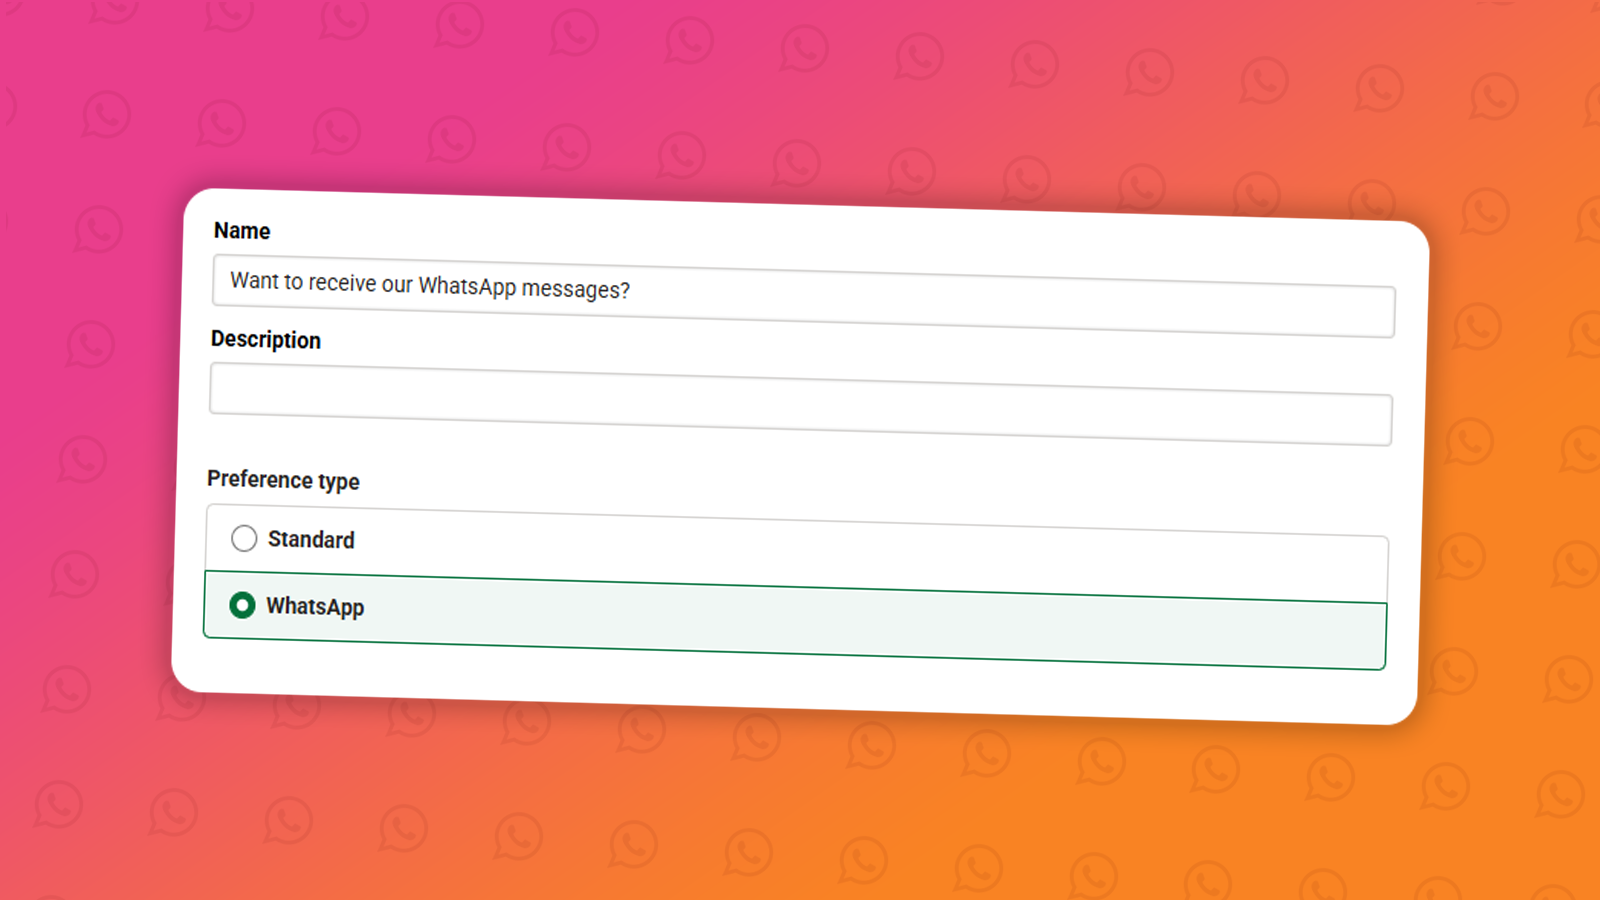
A WhatsApp preference centre gives your contacts control over the types of WhatsApp messages they receive from you once they have already opted in. Rather than unsubscribing entirely, contacts can choose which topics they want to hear about, helping you maintain engagement while respecting their communication preferences. Should a contact also wish to opt out entirely from just WhatsApp messages, they can also do this via the preference centre.
Important: WhatsApp preferences are separate from email and SMS preferences. A contact who has managed their email or SMS preferences will need to do so independently for WhatsApp. You should never assume that consent or preferences given for one channel apply to another.
There are three areas of the platform that work together to make up a preference centre:
Settings > Preference Settings — where you define the preference topics contacts can subscribe to
Forms > Preference Centre — where you configure and publish the preference form itself
CRM > Preferences — where you can review how many contacts are subscribed to each preference
Before you start
You will need administrator permissions to set up a preference centre. If you don't have access to Settings or Forms, speak to your account administrator.
Think in advance about the WhatsApp topics or communication categories you want contacts to be able to subscribe to. For example, a local government organisation might offer preferences such as Bin Collection Reminders, Planning Alerts, or Community Events.
Step 1 — Define your preferences
Navigate to Settings > Preference Settings from the top right of the platform.
Add the preference topics you want contacts to be able to subscribe to. Give each one a clear, descriptive name so contacts can easily understand what they're signing up for. You can also add an optional description for extra context.
Once created, preferences will appear in your list as Visible by default, meaning they are active and available to display on your preference centre. If you want to temporarily disable a preference, you can deactivate it here without deleting it.
Step 2 — Create your preference Centre
Go to Forms > Preference Centre from the main navigation and click New preference centre.

Give your preference centre a name and, optionally, a description. Make sure to select WhatsApp under preference type. The standard form is for email comms.
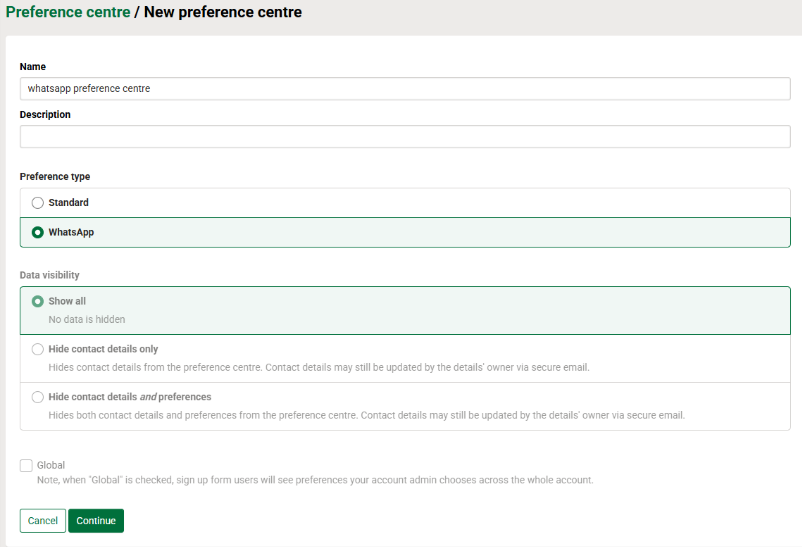
Click Continue to proceed. You'll then be taken through four stages to configure how your preference centre looks and behaves.
Stage 1 — Preference centre form
This is where you configure the appearance and content of the form itself.
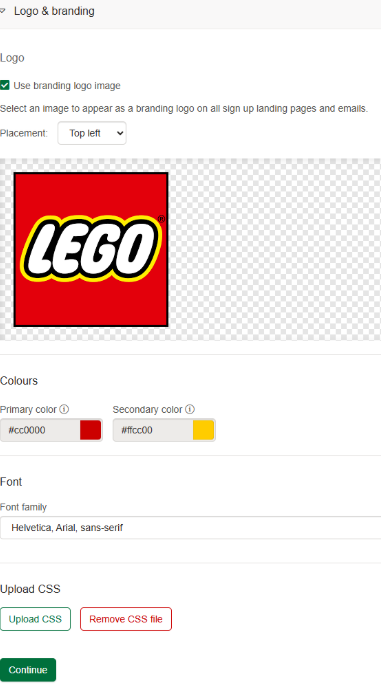
Branding — set your brand colours and font and upload your logo. If you've already set up branding under Designs > Branding, you can tick the box to pull your logo through automatically. Any future logo changes made in the Branding section will then apply here too.
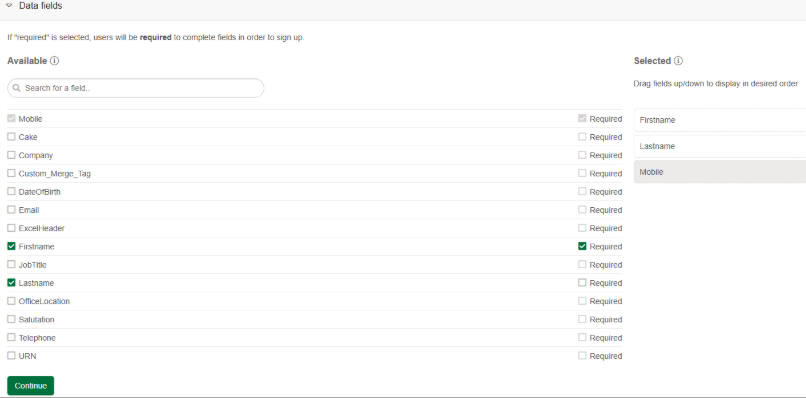
Data fields — choose which contact fields to display on the form, such as, first name, or other relevant details. Mobile number will always be included as a required field for WhatsApp preference forms so contacts can update it if needed. You can mark fields as required and reorder them by dragging them into your preferred position.
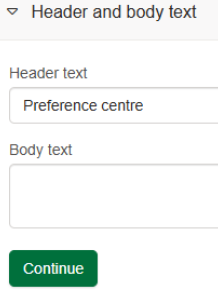
Header and body text — add a title and introductory text to explain what the form is for. Be clear that this relates to WhatsApp communications specifically, for example: "Manage your WhatsApp message preferences below."
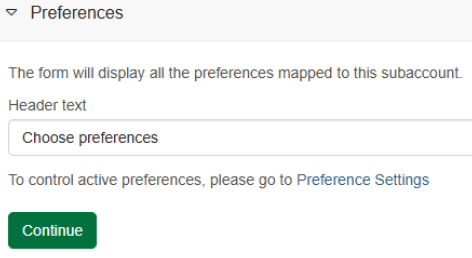
Preferences and groups — set the heading text for the preferences section. The preferences you created in Step 1 will appear here for contacts to select from.
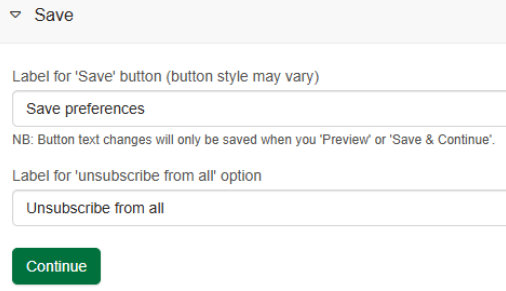
Save button and unsubscribe option — you can customise the label on the save button and the text shown alongside the unsubscribe option. The defaults are suitable for most use cases but can be tailored specifically for WhatsApp, for example “Save my WhatsApp preferences” and “Unsubscribe from WhatsApp”.
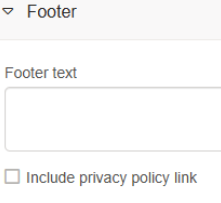
Footer — optionally add footer text such as your organisation's contact details or a link to your privacy policy. It is good practice to include a privacy policy link on any form collecting personal data. If you have a policy specific to WhatsApp, even better!
Once you're happy with this stage, click Save & Continue.
Stage 2 — Update preference centre message
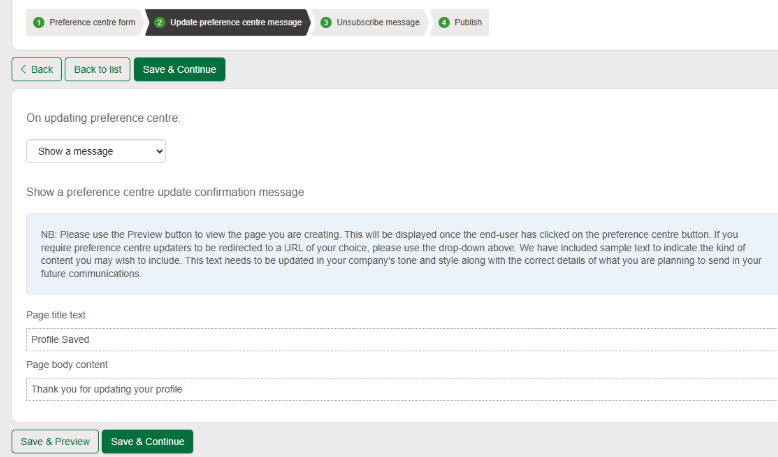
This is the message shown to a contact after they save changes to their preferences. Unless you have a specific requirement to redirect to an external page, choose Show a message and customise the title and body text to confirm their preferences have been updated.
This section here is best updated to be more relevant to WhatsApp, for example “WhatsApp profile saved”.
Click Save & Continue.
Stage 3 — Unsubscribe message
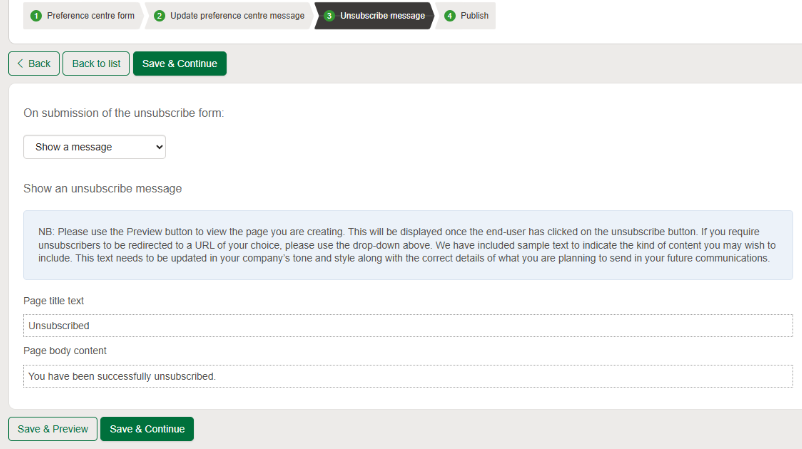
If a contact chooses to unsubscribe entirely from WhatsApp messages, a confirmation message will be displayed. Update the content here so it clearly informs the contact that they have been unsubscribed from all WhatsApp communications.
Click Save & Continue.
Stage 4 — Publish
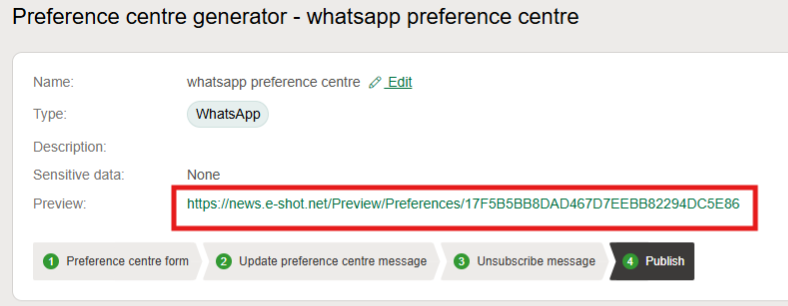
Review your preference centre before publishing. A preview URL is available at the top of this page, click it to see exactly what your contacts will see when they access the form.
Step 3 — Set your preference centre to active
On the preference centre list page, set your new preference centre to Active. Until this is done, the form will not be accessible to contacts.

Once active, your preference centre URL can be linked from the unsubscribe button in your WhatsApp message designs. We recommend always including an unsubscribe or manage preferences button in your WhatsApp designs as this helps maintain message quality and keeps your account in good standing with Meta. Refer to our How to Create a WhatsApp Design guide for more on adding buttons to your templates.
Viewing preference activity
You can monitor how contacts are interacting with your preference centre from Forms > Preference Centre. The summary view shows counts for updates (a contact has updated their details or preferences), re-subscribes (a contact who previously opted out has opted back in), and unsubscribes (a contact opts out of WhatsApp entirely).
Click into any of these figures to see a detailed breakdown of which contacts took which action and when.
You can also view overall subscription numbers per preference from CRM > Preferences.
Tips for a well-structured WhatsApp preference centre
Keep preference topics specific and meaningful, vague categories make it harder for contacts to choose what they want.
Make it clear on the form that it covers WhatsApp only, so contacts aren't confused about their email or SMS preferences.
Link to your privacy policy so contacts understand how their data is used.
Review unsubscribe rates regularly, a high rate may indicate your messages need to be better targeted or your preference options need refining.
You may also like these articles
Campaigns WhatsApp
How to create a WhatsApp campaign
January 1st, 2027 - Harry Thomas
A WhatsApp campaign lets you send an approved WhatsApp design to a selected audience. Before you can send a campaign, you'll need an approved...
Forms and Landing Pages WhatsApp
WhatsApp sign up forms: How to gather subscribers to send WhatsApp messages to
January 1st, 2027 - Harry Thomas
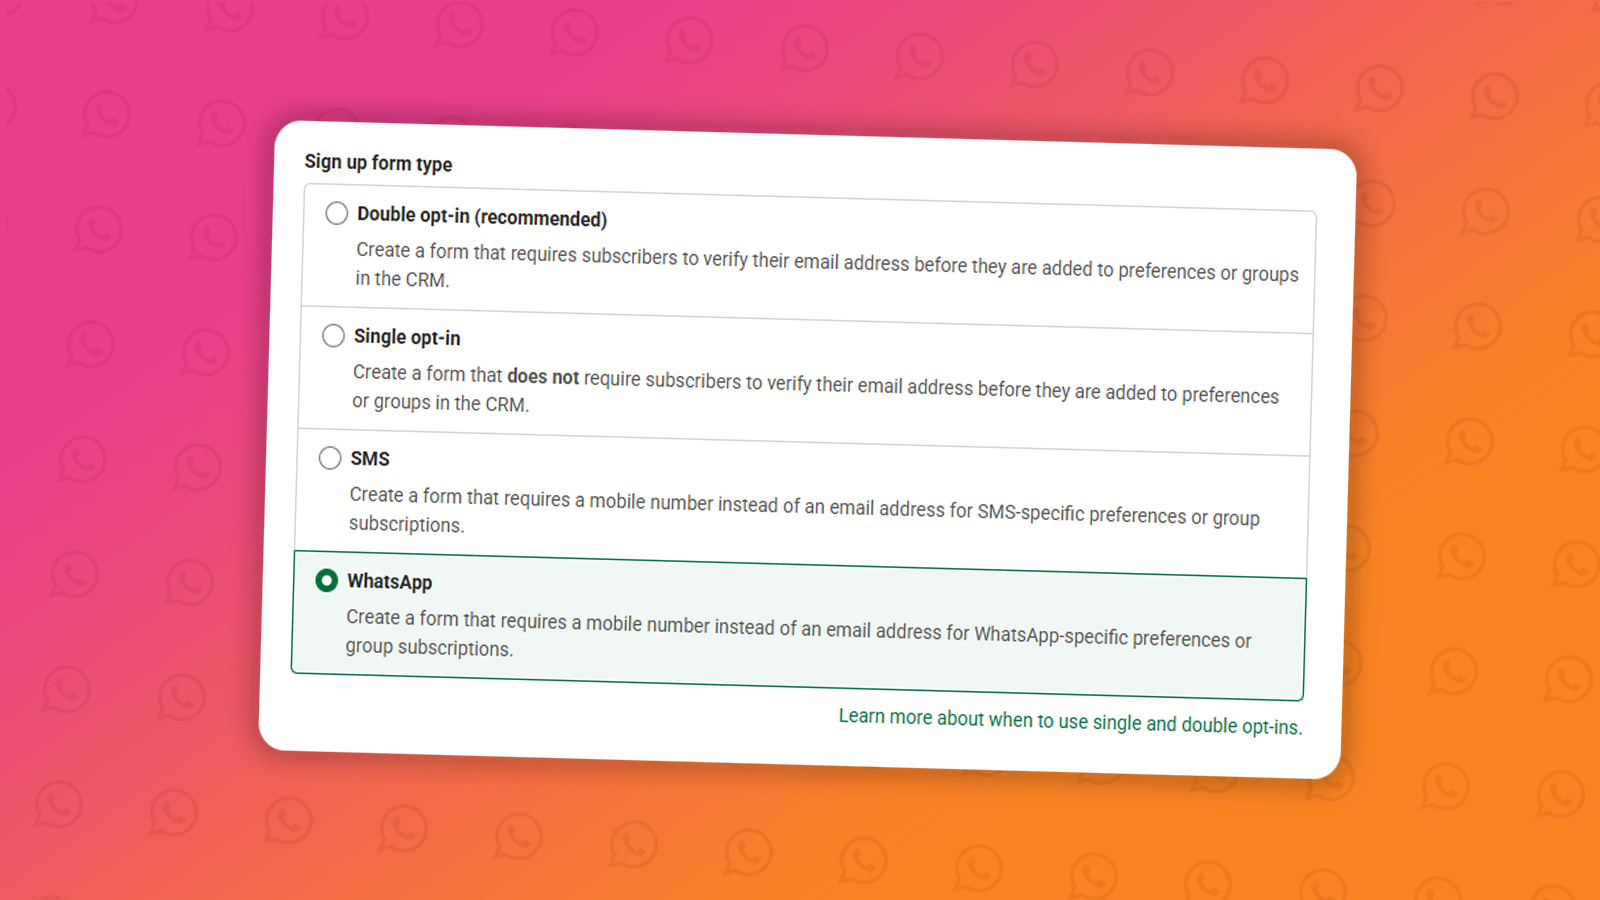
To send WhatsApp messages to your contacts, you must first collect their mobile number and obtain their explicit consent to receive WhatsApp...
FAQs WhatsApp
Understanding WhatsApp messaging limits & credits
January 1st, 2027 - Harry Thomas
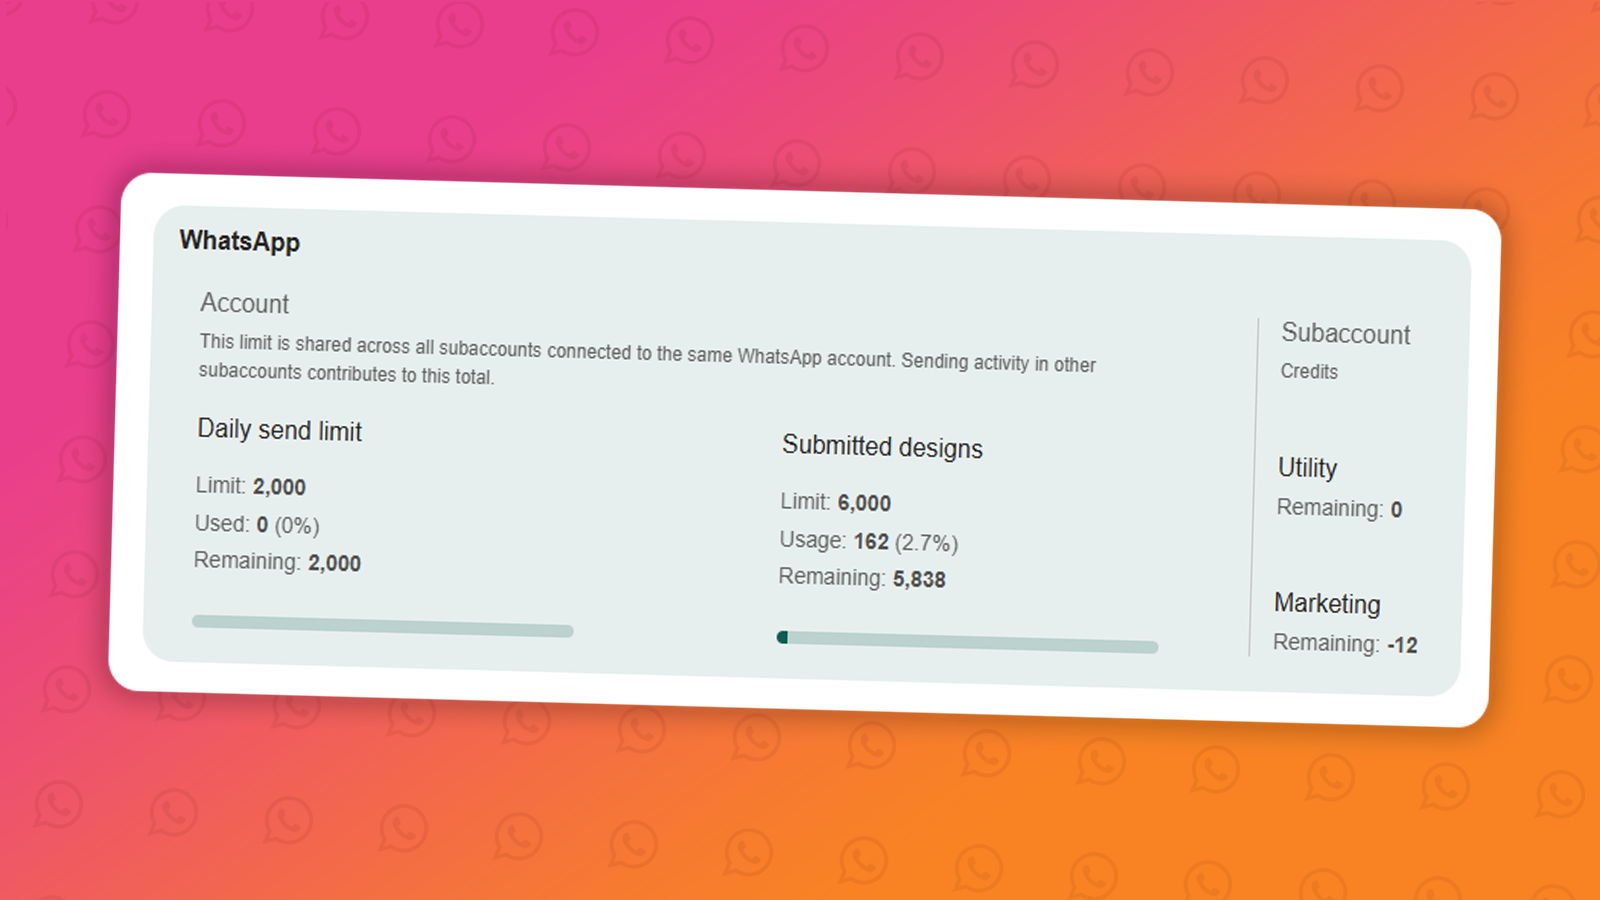
When sending WhatsApp messages through the e-shot platform, there are two types of limits you should be aware of: your daily send limit and...
Solutions

Email Marketing
Create email campaigns and newsletters and manage end-to-end subscription processes with forms and preferences.

Marketing Automation
Create sophisticated automated campaigns for email and SMS combined.

Digital Communication
The comprehensive solution to manage and automate your digital communication across email, SMS, websites and landing pages.

Email marketing healthcheck
We are confident that we can help you, which is why we offer a free healthcheck to identify potential issues with your current programme and free advice on things that could be done to improve it.