Help articles
CATEGORY: Designs
Smart Editor: Building menus
Smart Editor offers three kinds of menus:
Links,
icons,
links with icons.
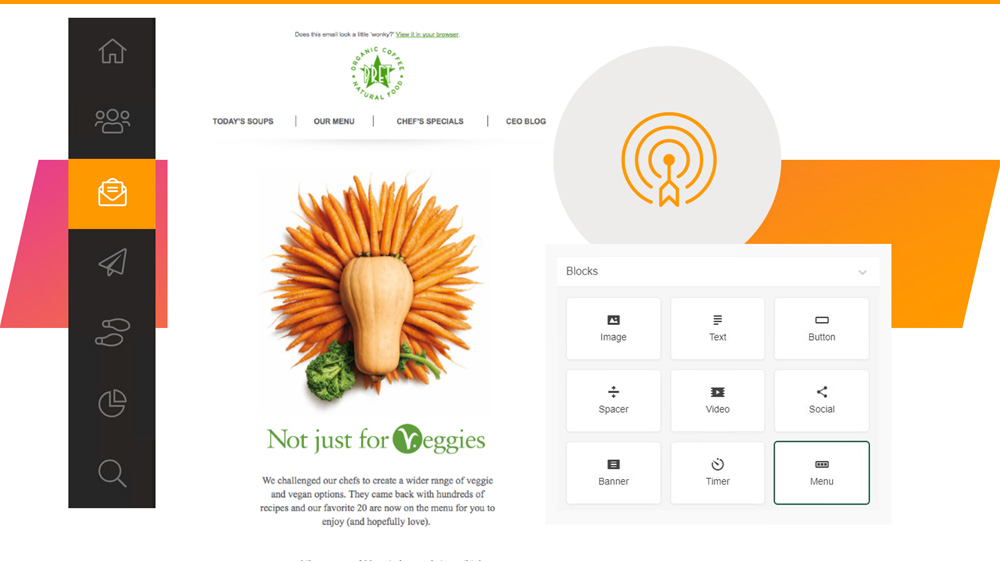
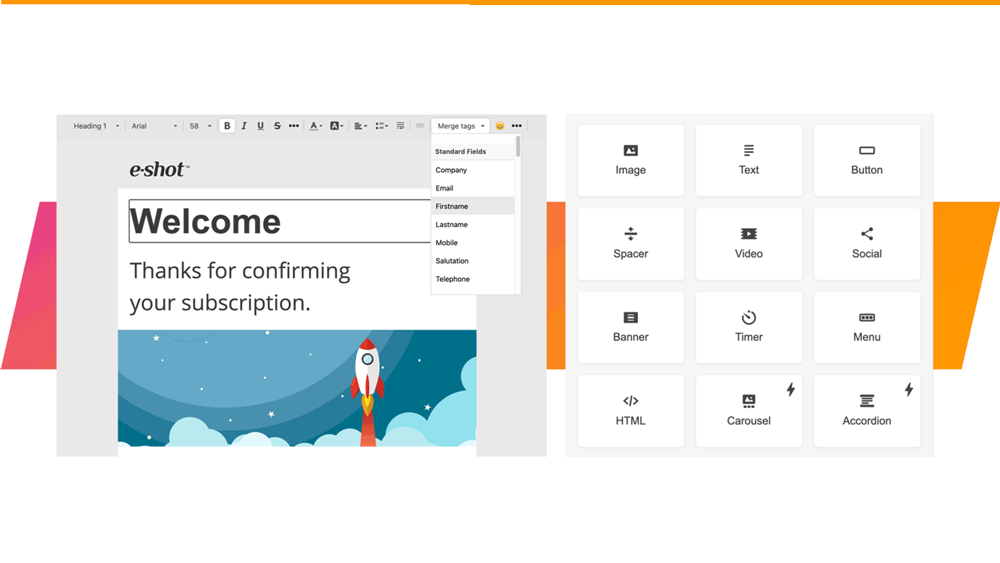
To create a menu in an email with our editor, drag-and-drop the basic “Menu” block into your email.
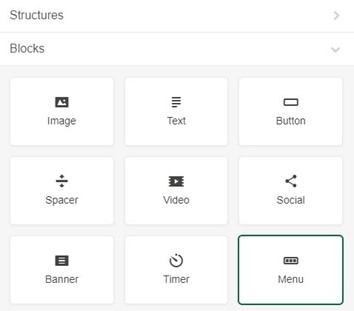
And choose the menu type you are about to use for your email marketing campaign.
Text only menu
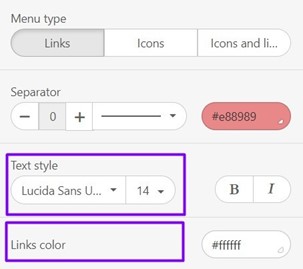
So, let's start with the most common. You can define the font, link colour and whether you wish to have a separator (and what colour the separator will be).
Our editor offers three menu items in a block as a default. You may add as many as you wish.
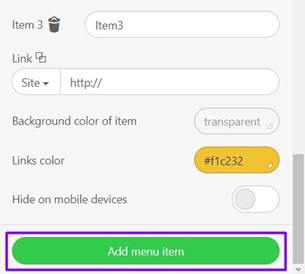
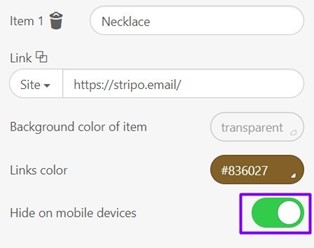
You can also choose whether the menu item is visible on mobile devices – if for example you wish to have a larger number of menu options on your desktop layout.
Make sure that links you use for the navigation menu in the email take customers to the correct pages – and as you are creating your menu specifically for this email, you can deep link into content related to your call-to-action.
Also remember to preview your email before sending it to double check that it will render well on both desktop and mobile.
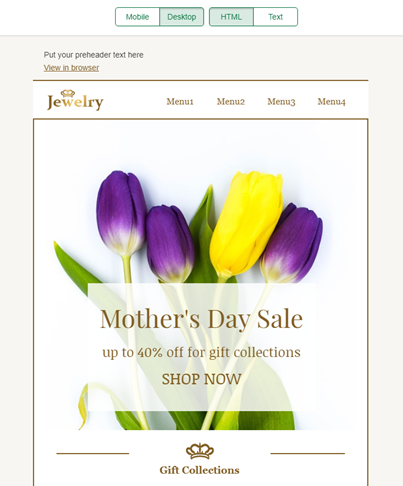
If everything is done properly, in your preview you will see:
On desktop
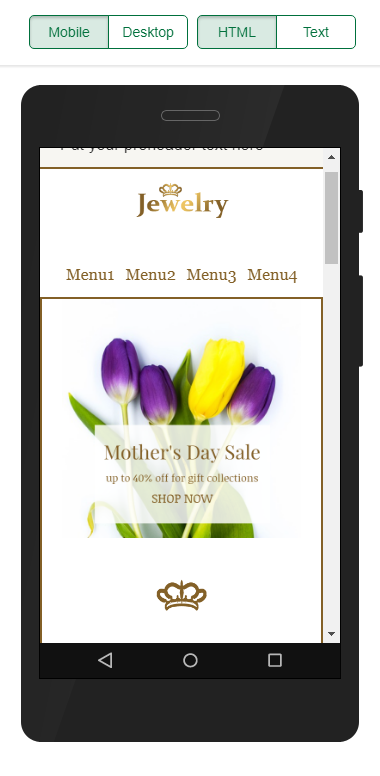
On mobile
The icons menu type
If you would prefer to have icons or images as your navigation menu in your emails, then you would select the icon menu type. Images/icons can be more descriptive and appealing than words, but make sure it is clear that they are acting as menu links or their ‘clickability’ may be overlooked.
How it works:
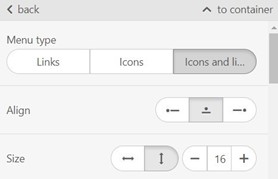
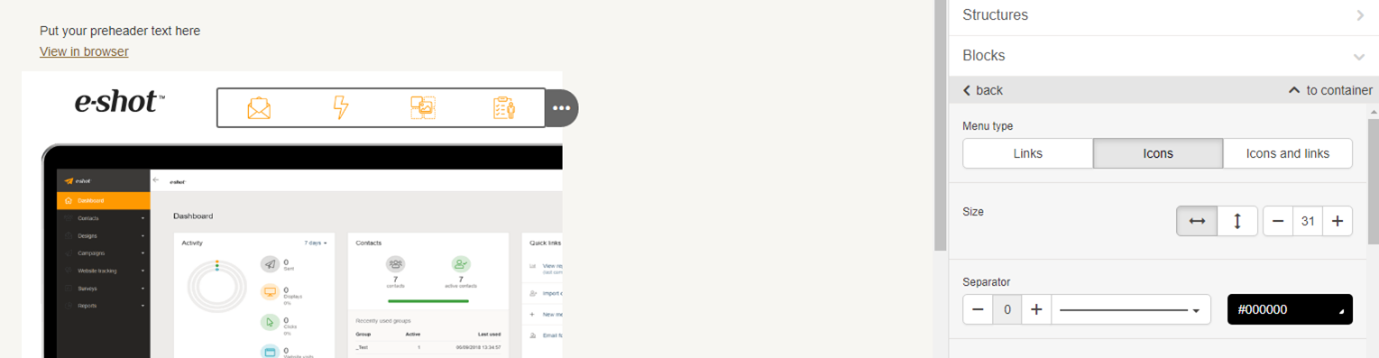
Once you have the basic “Menu” block added in your email template, you need to select the “Icons” menu type.
At first, set the size for the images.
Note: technically, it is impossible to set different sizes for different images to ensure they complement one another and appear as part of a set, so the images are the same size and of the same orientation.
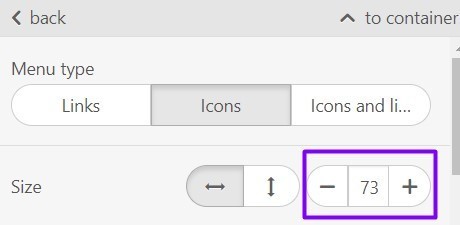
I intentionally applied this icon’s size to avoid horizontal scroll. Note: when setting icon’s size, check the mobile preview to see whether a horizontal scroll appears or not.
Then upload images or icons that reflect your menu tabs.
And if you wish to have a separator, simply select the thickness and colour.

And it is automatically added.
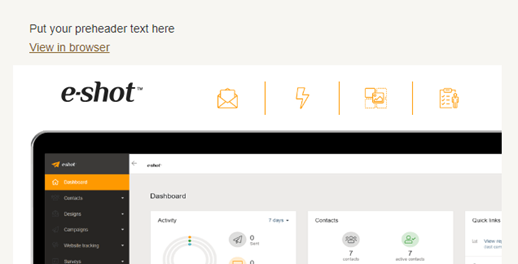
Insert the links to the right landing pages. And Voila.
And now for the best part….
Did you know that you can save and reuse certain elements of your emails like your configured menu block?
You create them once and use them as often as you need.
Build your email menu section that you wish to reuse, then store it to your personal Modules library (or in your account library to share with your colleagues).
Once you have saved your module, it is available in the modules menu. The module will also be available for use in other emails in your subaccount and will be visible/useable by all users in the subaccount.
For further use, just drag and drop it to your new email, so you don’t need to fill out the URLs for all your menu links every time you build a message!
For more details on modules take a look at: Modules and how to use them.
You may also like these articles

Designs
Smart Editor: Creating a new design
January 28th, 2021 - Sadie Burgess
Before you can start designing an email using the Smart Editor you must name the design, set the sender details and write the subject line. First...
Solutions
Email Marketing
Create email campaigns and newsletters and manage end-to-end subscription processes with forms and preferences.
Marketing Automation
Create sophisticated automated campaigns for email and SMS combined.
Digital Communication
The comprehensive solution to manage and automate your digital communication across email, SMS, websites and landing pages.
Email marketing healthcheck
We are confident that we can help you, which is why we offer a free healthcheck to identify potential issues with your current programme and free advice on things that could be done to improve it.