Help articles
CATEGORY: FAQsSettings
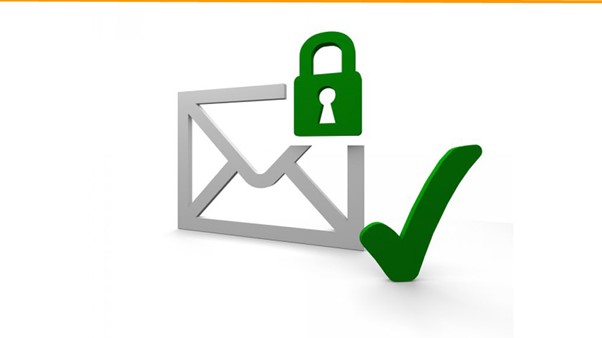
Enabling MFA: User Guide
To protect your security, you should restrict access to your account by using Multi-Factor Authentication (MFA).
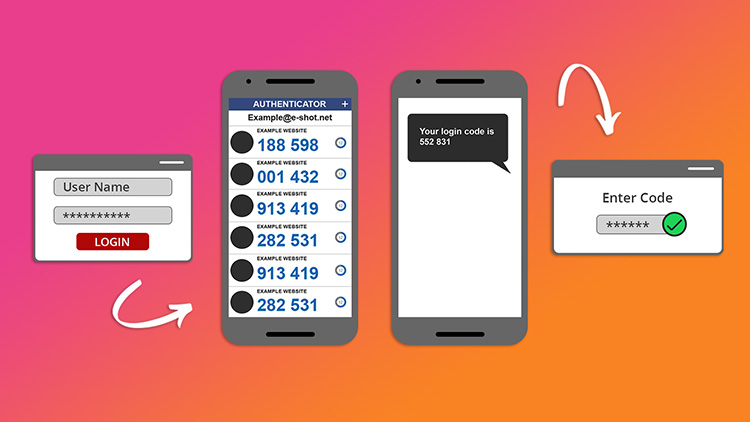
You will sign in using your email, password and authenticate with SMS or a mobile Authenticator app.
Before you start you’re going to need a few things to hand:
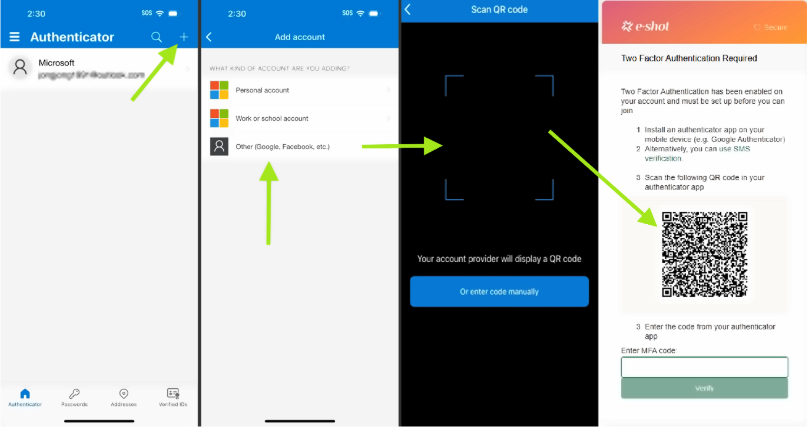
Your smart phone
Authentication app on your smartphone (E.G. Microsoft authenticator IOS or Android.
e-shot
Why use MFA?
MFA provides a second form of security when logging into your account as it requires you to enter an MFA code every 30 days or from a new location, this helps prevent unwanted access. The first time you login after enabling MFA you will be required to set it up.
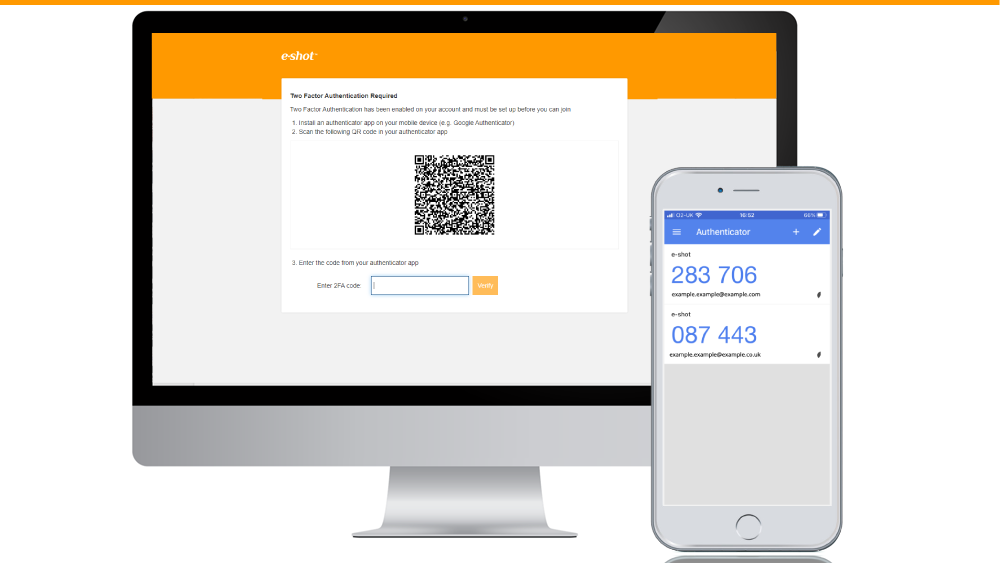
When you sign in to e-shot after MFA has been activated (by you or your administrator), you will need to sign in as normal with your email and password.
You will then need to use your authentication app to scan the QR code that is presented on your screen.
Once you have scanned the QR code present on e-shot, your authenticator will start producing a 6-digit code valid for 30 seconds.

4. Input the code on your verification app into e-shot. Once you have inputted the MFA code you will gain access to your account.
Please note: Once you have set-up MFA you will be required to enter a new code every 30 days and from every new device you use to login to e-shot. So, it is important you keep the MFA app on your mobile device for when it is next needed.
If you would like to learn more about MFA and its use cases, our blog on MFA goes into more detail.
If you’re an admin looking to enforce MFA across your entire account, find our admin guide here.
You may also like these articles
Data Protection
Multi-factor Authentication (MFA): What is it and why you need it
March 1st, 2022 - Sadie Burgess
Traditional usernames and passwords can be easily compromised. Multi-factor authentication (MFA), is a security control that requires users to...
Settings
Enabling SSO with Microsoft 365: Administrator Guide
June 7th, 2023 - Harry Thomas
This guide is intended for your IT support team to enable authorised e-shot users to sign in to e-shot by using their Microsoft 365 credentials....
FAQs Settings
Keeping your e-shot account secure
July 23rd, 2021 - Harry Thomas
e-shot offers a high level of security to keep its users safe. The system offers users a choice of enhanced authentication when they sign in and...
Solutions
Email Marketing
Create email campaigns and newsletters and manage end-to-end subscription processes with forms and preferences.
Marketing Automation
Create sophisticated automated campaigns for email and SMS combined.
Digital Communication
The comprehensive solution to manage and automate your digital communication across email, SMS, websites and landing pages.
Email marketing healthcheck
We are confident that we can help you, which is why we offer a free healthcheck to identify potential issues with your current programme and free advice on things that could be done to improve it.