Help articles
CATEGORY: AnalyticsCampaignsDesigns
Tags within e-shot and how to use them
The tagging feature allows you to easily organise and manage your designs and campaigns by applying specific tags that can also be used for filtering and performance benchmarking. Tags can be added within Designs and Campaigns, but are also applicable to Analytics. By tagging your designs and campaigns, you can quickly filter and view only those associated with a particular tag, for example, all items related to your weekly newsletter. Within the Analytics area, tagging goes a step further by enabling you to benchmark campaign performance against specific tags, helping you identify trends and measure success across similar types of campaigns. You can learn more about benchmarking with tags.
In this help article we’ll go through how to set tags within different areas of the platform.
Tags are present within:
Designs
Campaigns
Analytics
Design tagging
When you first create a design, you might have already seen it comes with a default tag, which is the set to the editor used to build the design, in most cases this will be 'Smart editor', but you can still set your own tags and here’s how
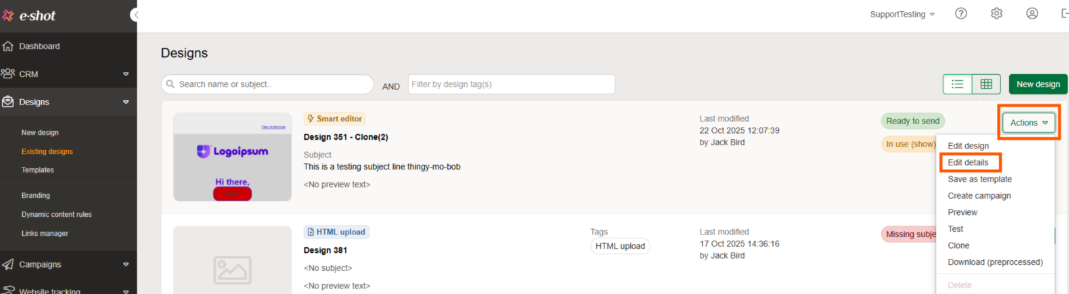
When looking at the 'Existing designs' page, click 'Actions > Edit details' on the design you wish to edit the tags for.
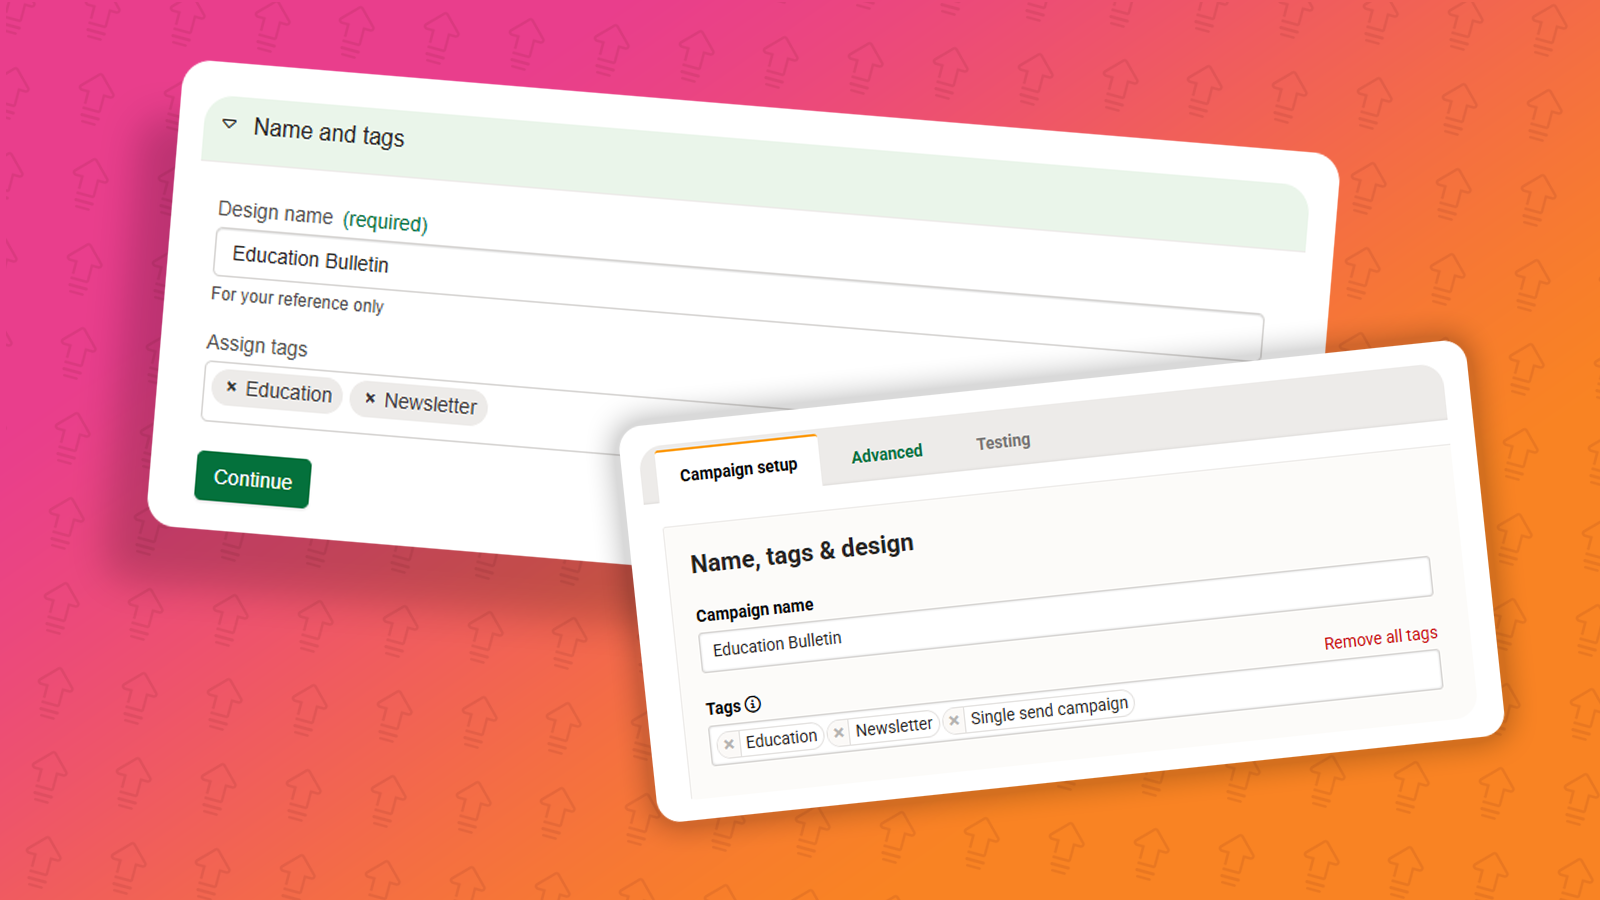
Once you are on the details of the design, to edit and add your desired tag you would need to open the drop down labelled 'Name and tags'.
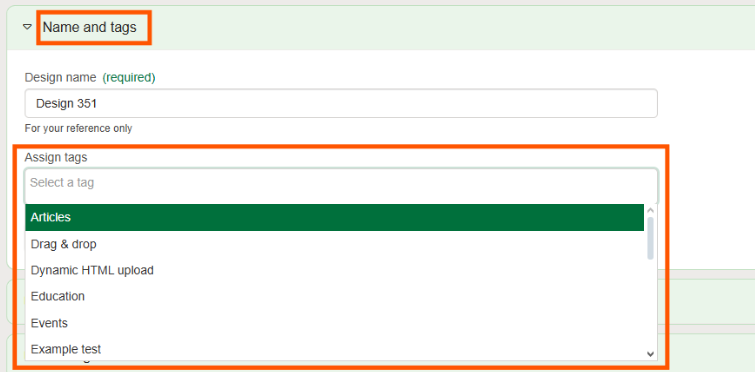
You can set as many tags as you like on a design and they can be edited at any time. We typically advise using 1-3 tags depending on the design. Common examples include using your newsletters name or the generic topic of the email.
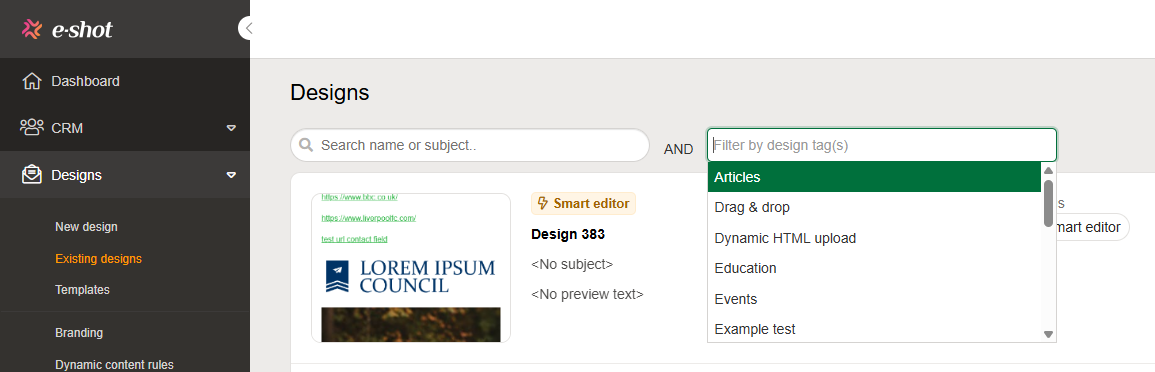
Once set, design tags allow you to filter the ones that solely belong to that tag, making them a great tool for if you have multiple users making multiple different designs within one account.
Campaign tagging
Tags just like for designs, can be set on campaigns. Currently only for Single Send and Recurrent campaigns can they be set before sending the campaign.
To add a tag to your campaign, either create a new campaign or edit an existing one. To do either click 'New campaign' or 'Actions > Edit'.

Once inside the campaign, you’ll find the tags section right at the top of the page, under the ‘Name, tags and design’ heading.
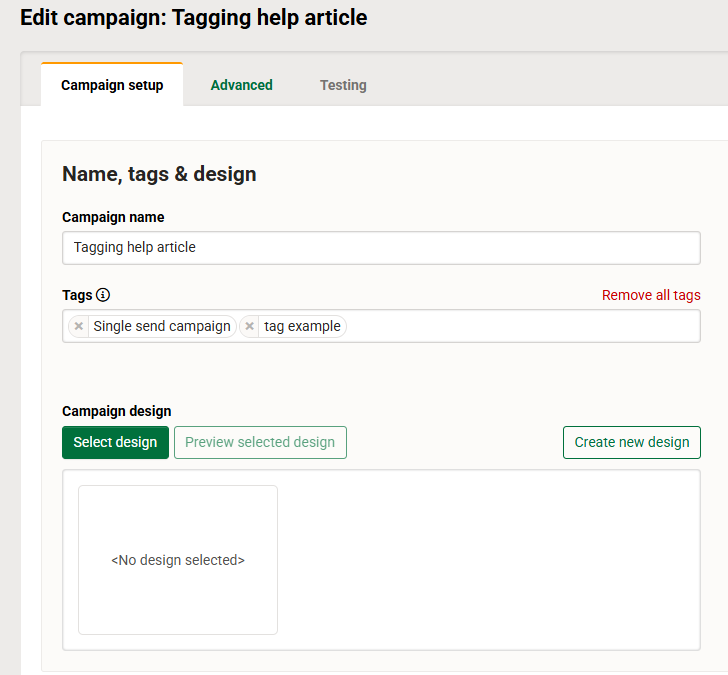
Just like the design tags, a tag for the campaign type is pre-set but you can remove this using the X icon next to the tag.
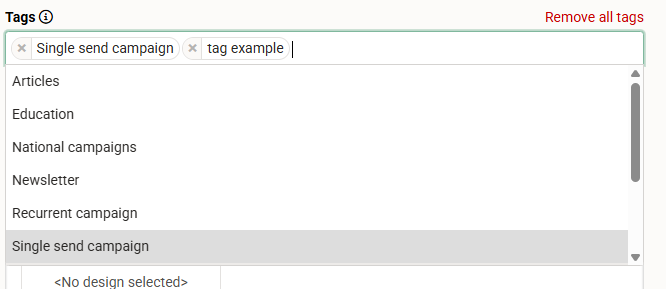
To add a new tag, click into the tag box, here you will be shown a list of all the current campaign tags setup in the account which you can select to add them to your campaign. Alternatively, you can start typing to add a new tag if its not in the list.

You can assign several tags to one campaign, however we advise to stick to one or two that relate to the email being sent. For example ‘Environmental Newsletter’, ‘Fostering’ or ‘Internal updates’.
Once you are happy with your tags, finish of the rest of your campaign so it is ready to send or schedule. For the full run through on setting up a campaign, find our dedicated help article here.
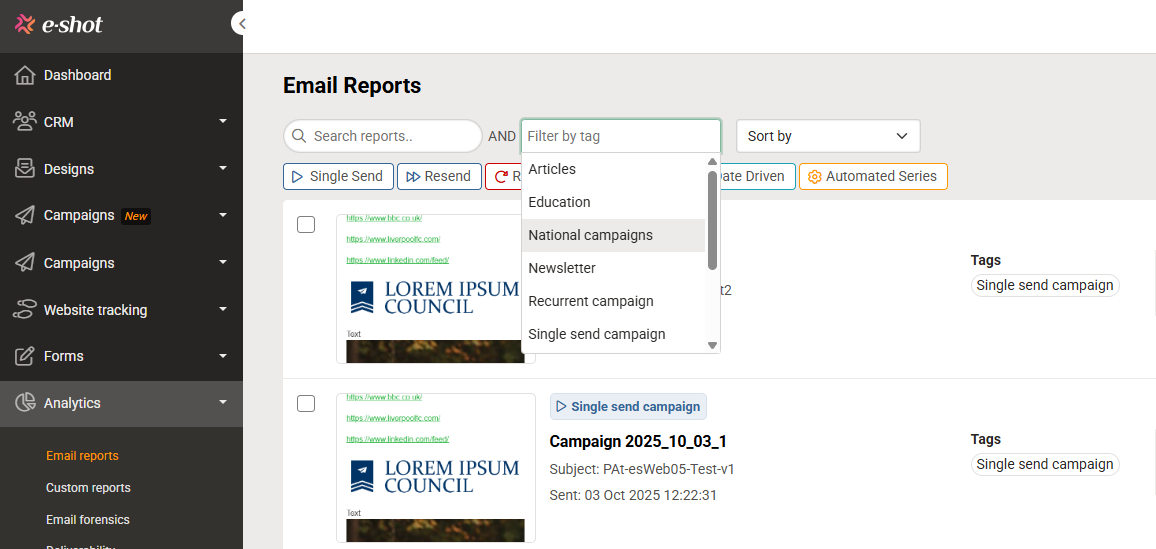
When your campaign is in the campaign list view page, you will be able to see the tags assigned to it as well as filter your list by tags as seen below.

Using campaign tags in Analytics
Tags cant be set within the analytics section but the tags set before sending the campaign are pulled across.
Setting tags on your campaigns provide a couple of useful use cases. Firstly, it allows you to filter your campaigns by tag. Much like the designs section, if you have multiple users sending multiple different campaigns in one account, its a great way to filter between campaign types.
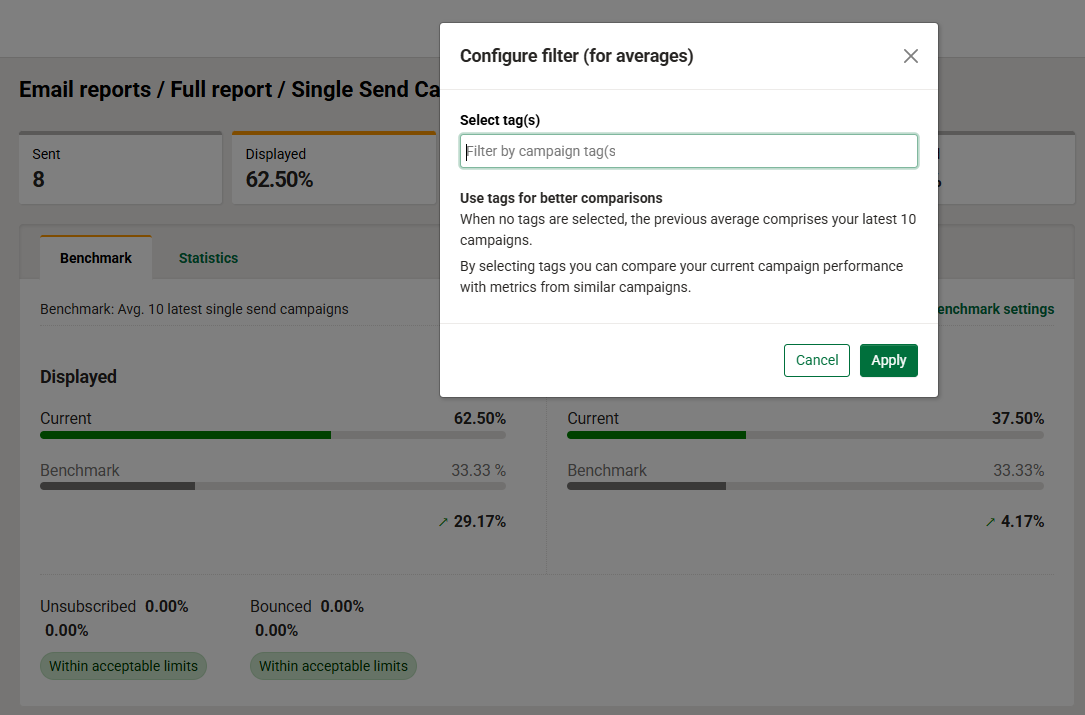
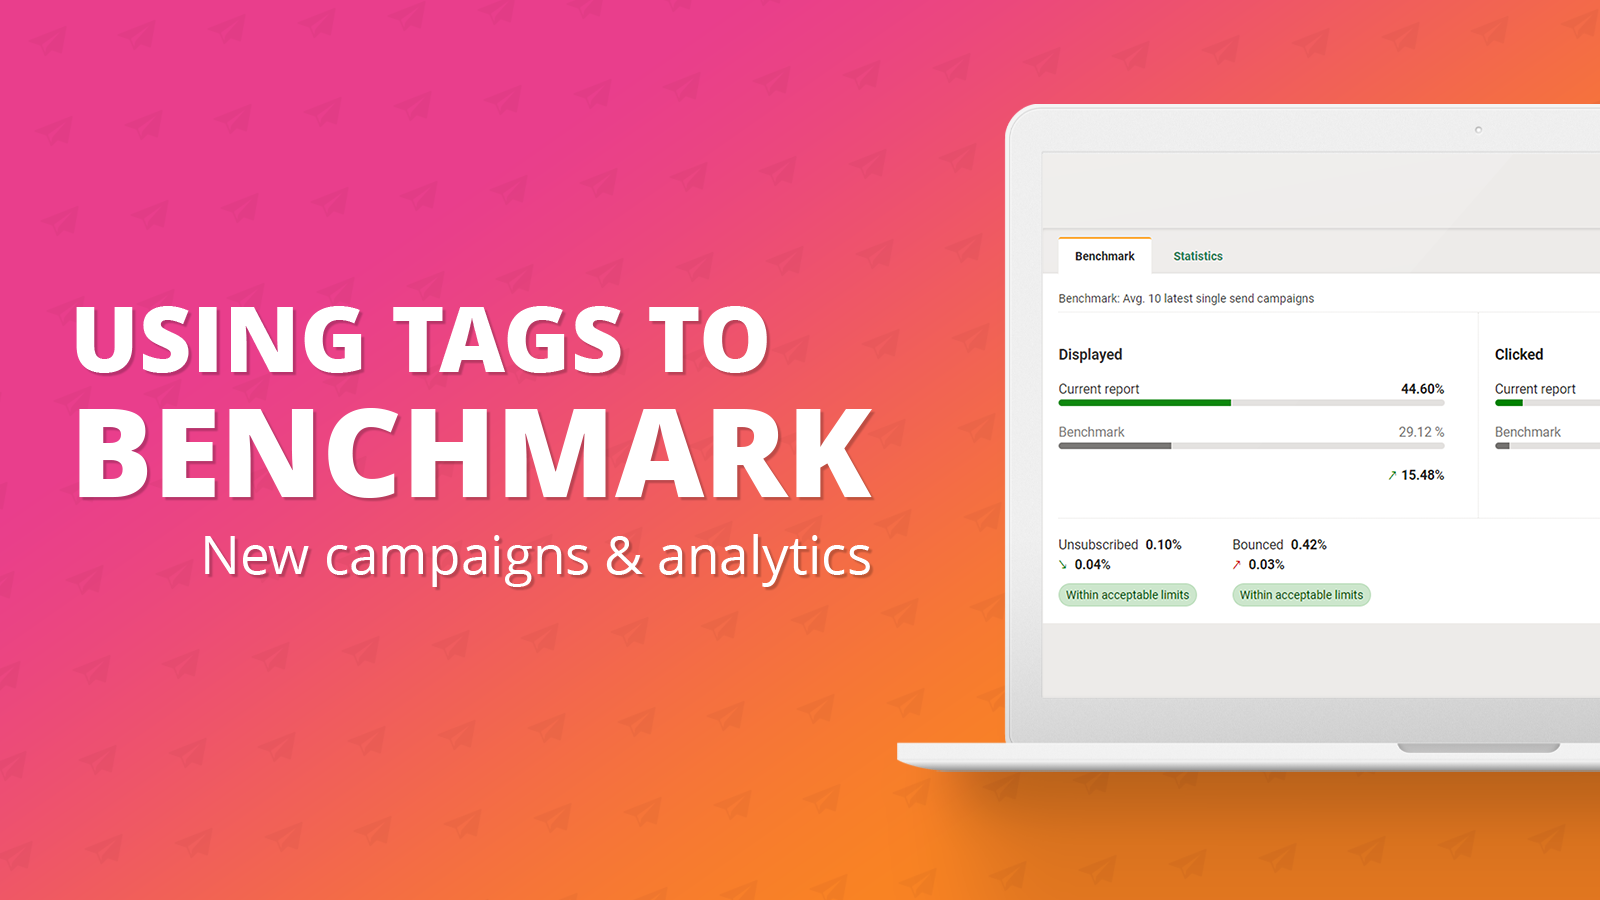
The best part about setting campaign tags is that they allow you to benchmark you campaigns! Benchmarking is a feature that allows you to compare your campaign send against previous ones. This is even better when combined with tags as if you set up a “Newsletter” tag you can compare one newsletter send to the previous ones.
Essentially with this feature, you will be able to tag certain campaigns and email reports, let's say ‘Monthly newsletter’. Then when it comes to your analytics, you can compare each campaign sent using that tag against previous ones. As well as getting an average across that tag, making it easier than ever to report on a certain campaign send you perform.
For the full details on benchmarking, please see our dedicated article here.
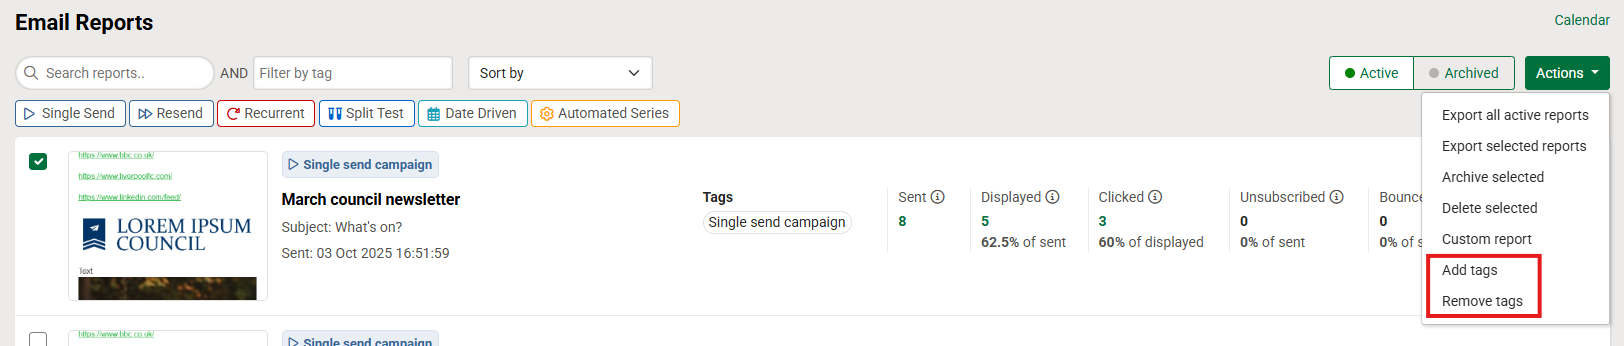
Final point on campaign and analytics tags. After you have sent your campaign, you may realise you've incorrectly added a tag or forgot to add one. They can retrospectively be updated from the analytics page. To do so select the campaign on the left hand side, click Actions and either choose 'Add tags' or 'Remove tags'.
You may also like these articles
Analytics Campaigns
Using tags in your campaigns for analytics benchmarking
September 20th, 2024 - Harry Thomas
In this help article we will delve into how tags can be set on your campaign and used to benchmark your campaigns. Benchmarking is a new feature...

Campaigns
Campaigns: Single send campaign
June 11th, 2024 - Harry Thomas
The ‘New single send campaign’ offers the same functionality as the legacy single send campaign but with an improved overall user experience. New...

Campaigns
Campaign setup tab: Tags
July 24th, 2023 - Harry Thomas
Tags are essentially a way to filter your campaigns from the campaigns list view. They are great way to then be able to filter to certain types of...
Solutions
Email Marketing
Create email campaigns and newsletters and manage end-to-end subscription processes with forms and preferences.
Marketing Automation
Create sophisticated automated campaigns for email and SMS combined.
Digital Communication
The comprehensive solution to manage and automate your digital communication across email, SMS, websites and landing pages.
Email marketing healthcheck
We are confident that we can help you, which is why we offer a free healthcheck to identify potential issues with your current programme and free advice on things that could be done to improve it.