Help articles
CATEGORY: Forms and Landing Pages
Forms: Sign-up forms
To grow your subscriber base, you need somewhere that new subscribers can sign up. To manage your forms, go to the forms section in the main menu (no-longer accessible from within the account settings). To create forms in your account you must have either subaccount or global administrator permissions.
A number of different sign-up forms can be added to cater for different situations and each form can be customised as required. All emails and forms that are produced as part of this process are fully-mobile responsive.
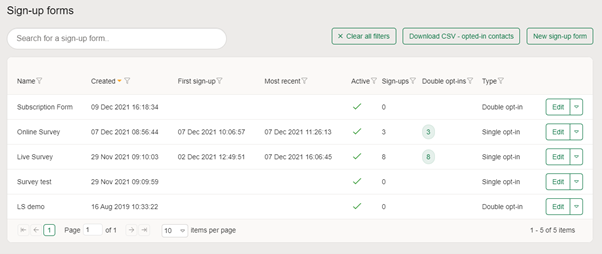
The Sign-up Forms List page displays a quick summary of each, as well as being the starting point to edit existing forms or create a new one.
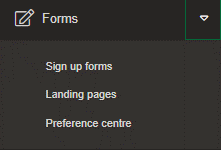
You can find sign up and preference forms under the ‘Forms’ tab in the Dashboard.
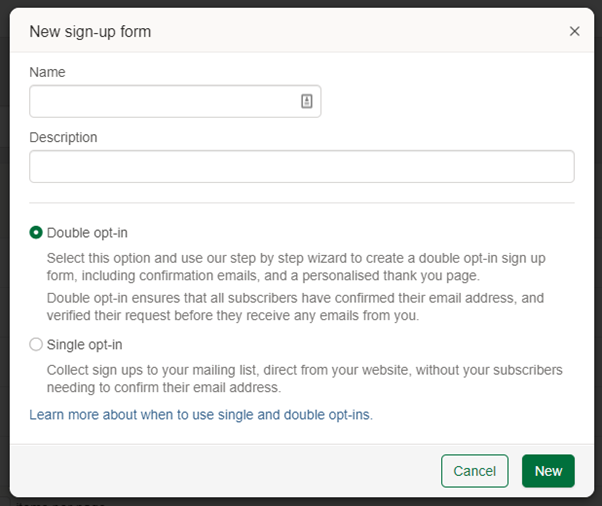
There are two ways to add a new recipient to your mailing list through our sign-up forms, Single Opt-in and Double Opt-in, both of which are accessible from this page by clicking New Sign-up form and selecting the appropriate option.
Single Opt-in allows you to select which contact fields will display, the groups the user will be added to, and you can optionally add a consent statement or your logo to the form. Then select whether you would like the user to be redirected to a selected URL or whether you would like to display a thank you message of your choice. Once a user signs up to a form they will immediately be added to the specified e-shot™ groups.
The Single Opt-in method allows the possibility that someone who did not personally provide their email address could be added to your database, potentially diluting the strength of your contact list. With Double Opt-in, subscribers are likely to be more engaged with your brand and you have a robust audit trail to fulfil compliance requirements.
Double Opt-in adds an additional step to the process which ensures that the person who subscribed to the list actually has access to the account and that the email address is valid. With Double Opt-in, a new subscriber signs up through the online sign-up form and an email containing a link is sent to that address. When the link is clicked, only then is the user added to the e-shot™ groups.
Creating the form

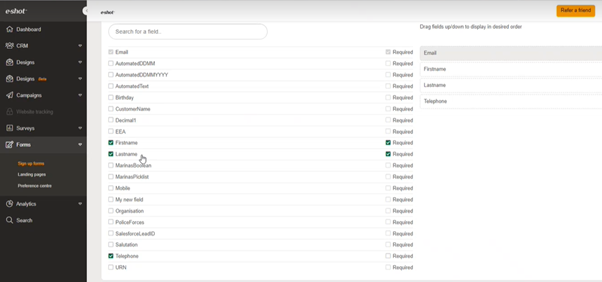
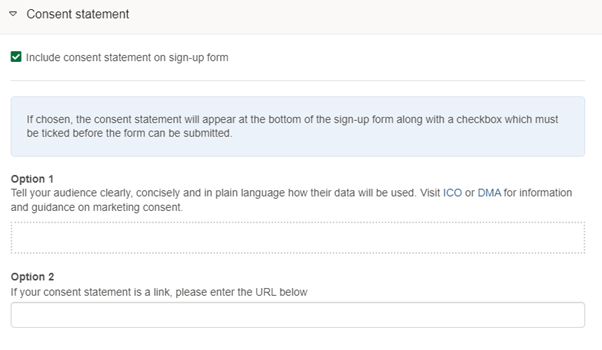
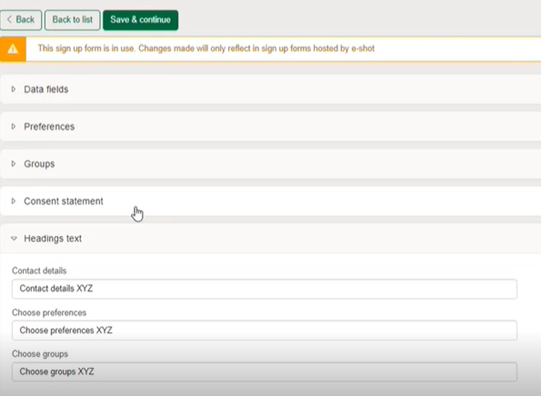
When creating a new form, or editing an existing one, the Sign-up Form page is the first stage of the process. Here you can select the fields that users need to complete, you can select the groups that users are added to and you can include a custom consent statement if you desire.
Users can easily specify which fields are required within a sign-up form i.e. fields that will be marked as mandatory for the contact to complete. This allows the user to add more fields that must be filled out before a form can be submitted.
The selectable, visible to user, groups at this stage are determined by the 'Display on profile' setting for the group through Contacts Manager.

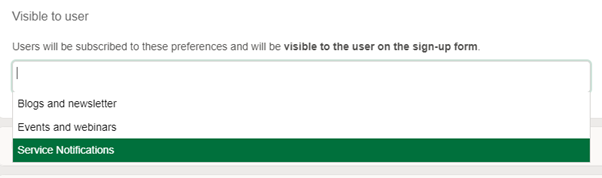
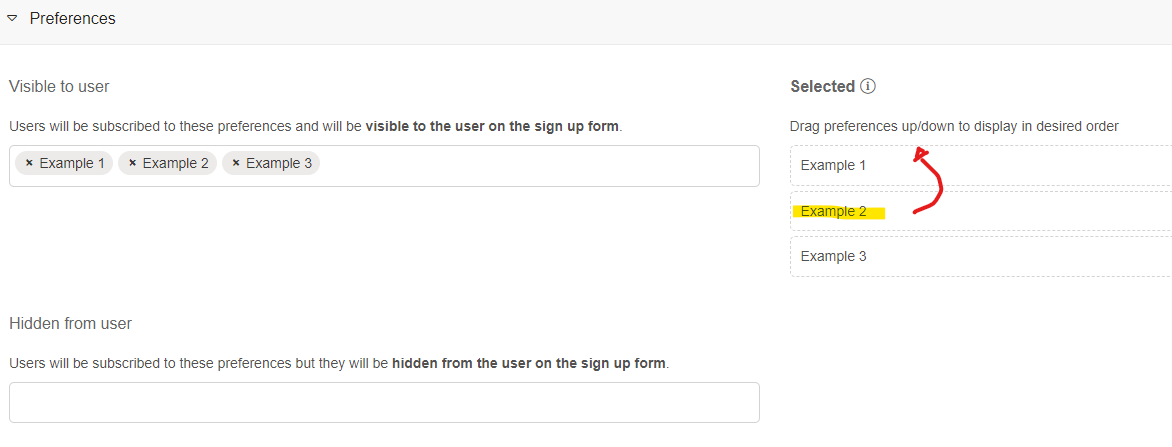
Under the preferences shown on the form, once you have added your desired preferences, if any. Much like the data fields on the form, you are able to reorder the preferences to your desired order. To re-order the preferences, simply click and hold on the one you wish to move and drag it to its desired position as shown below.
You can now also change the header text of the sign-up form, again adding more customisation to the user – so you can give your sign up form a fitting title, for example if it was for a specific purpose, for example for an event registration.
The second stage of the process is to select a custom logo for your form, this is where you would add your brand logo (company or product depending on the purpose of the form), which can be customised for each form created. The selected image will display on all sign-up landing pages and emails. The position can be set to either the top left, centre or the top right.
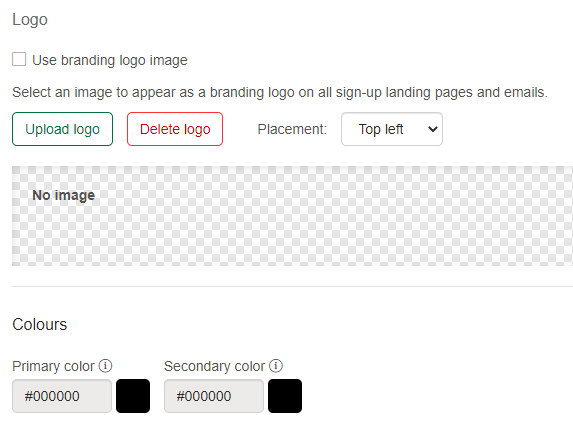
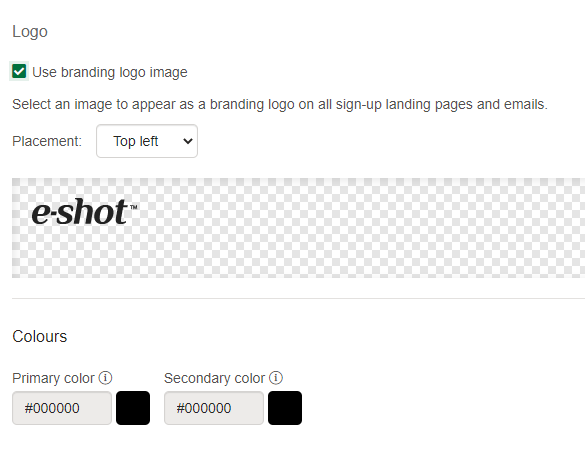
By checking the “use branding logo image” box, the logo detail will be pulled from the branding section of the console.
We have updated both the confirmation and final confirmation page so that it will now show your brands logo if it has been setup in the ‘Branding’ section of the site.
Note: Branding can be found under the ‘Designs ’ section of the Dashboard.
Note: If you are creating multiple sign up forms/pages then if you use the branding section in e-shot to manage your logo – if your logo is updated, you will only need to amend the branding section in the console and the logo will be pulled through automatically to all pages where you have selected the “use branding image logo”.
Your primary colour is a coloured strip that runs horizontally across the top of the page. The secondary colour is used for links, buttons and dividers.
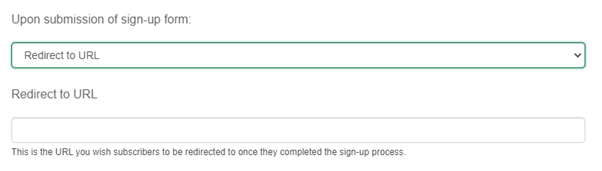
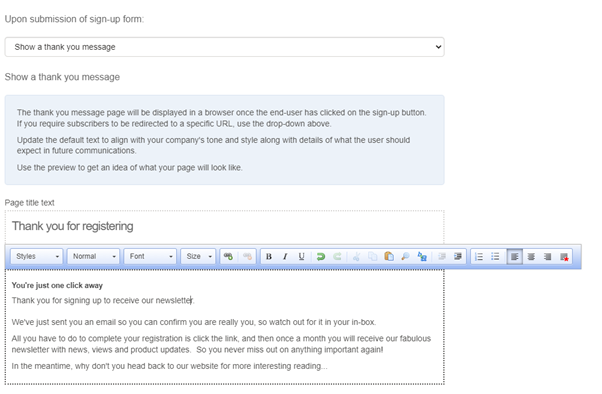
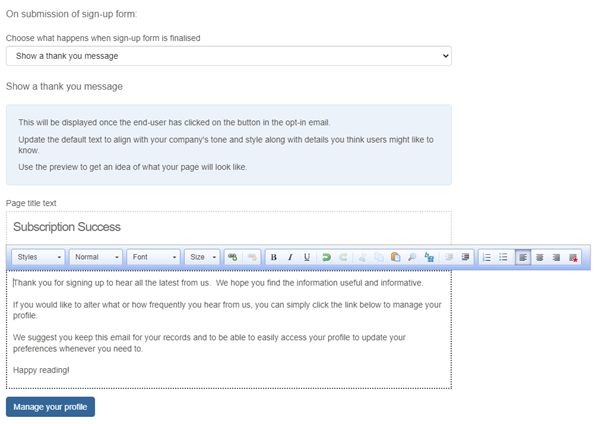
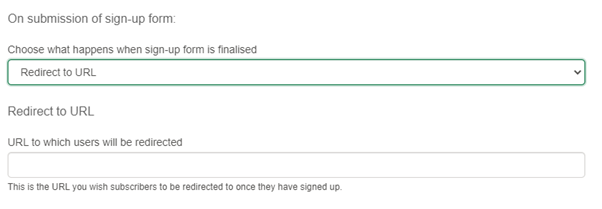
The third stage is the Confirmation Page. After a user has completed the sign-up form they will either be redirected to a URL of your choice or you can choose to display a customised thank you message.
The 'Show a thank you message' option allows you to customise the page title as well as the body of the message. The text that appears in both the page title text and page body copy is merely for guidance as a suggestion of the kind of information you may like to include, but is in no way prescriptive. You also have additional formatting controls available, as you can see in the image below.
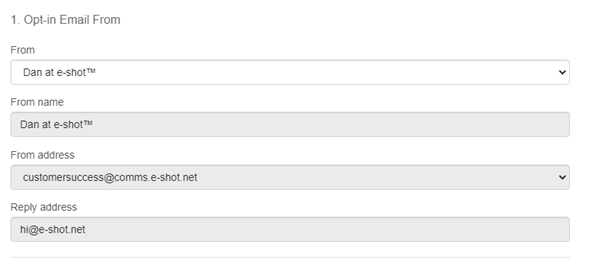
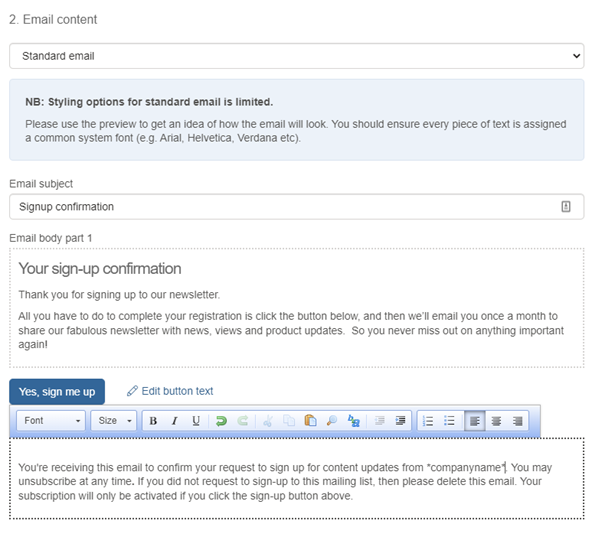
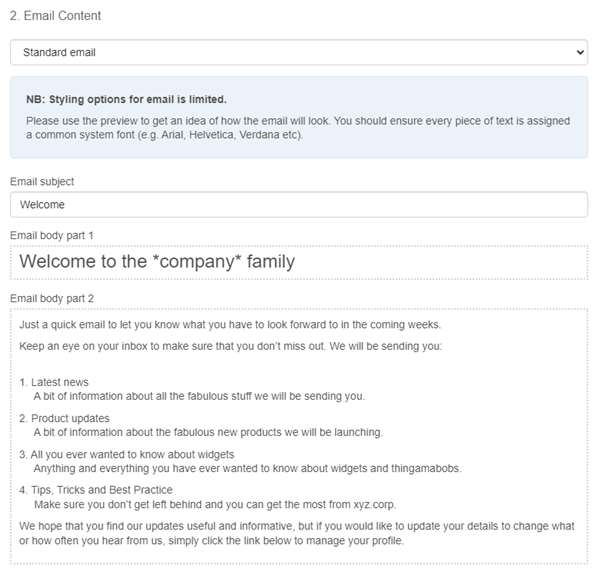
The fourth stage allows you to select who the opt-in email comes from, along with being able to customise the email text as required. Again, the text provided is a suggestion of the kind of information you may like to include in this communication.
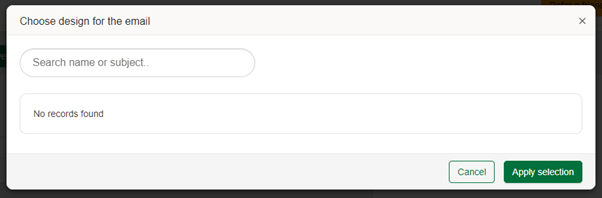
Alternatively, you can choose an email design that you have built outside the form creation flow (you would need to create this email prior to getting to this stage in the flow)
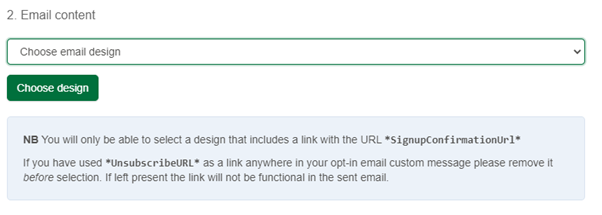
When you hit choose design you will be presented with a list of emails that are suitable for the purpose. If however you are faced with the below, this means that you do not have an email containing the variable text *SignupConfirmationUrl” which e-shot must identify to add the email to the selection list.
Note: If you have the variable text unsubscribeURL or the view in browser link is in your design (for example if your design is based on a standard template) this needs to be removed as it will not be functional because at this point of the user experience they have not been added to your contact container and therefore cannot unsubscribe or view an email in browser.
The next stage is the Final Confirmation, which represents where the user goes to after they click the link in their received email. Similar to the Confirmation Page stage, the user can be navigated to a URL of your choice or they could be shown a chosen thank you message. As before, text appearing is suggestive only and should be updated to include your message and details of what the recipient will receive as a result of their opt-in.
The Welcome Email stage allows for an optional email to be customised and sent to the user once they have signed up. This also provides a link for the user to manage their profile, which gives them the ability to self-select the groups they would like to be included in – so ensure that any groups that can be seen on a user profile have titles that are clear and can be understood by a subscriber.
The content provided in the editable fields is our suggestion of the kind of information you might like to include, but should be updated to the specific details of their subscription.


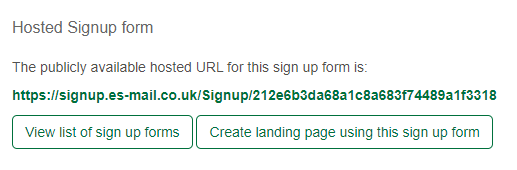
Once all the steps are complete you can see the publicly available hosted URL detail and either return
With every sign-up form created you will also be provided with a QR code.
When scanned the QR code will take you to the corresponding form. This provides you with another option to share and gain sign ups on your form. The use of a QR code is particularly useful for printed materials such as leaflets.
The QR code for a form can be accessed from inside the sign-up form but also separately another one will be provided within the landing page if you choose to host your form on an e-shot landing page.
As seen below the QR code can be found on the right-hand side and provides you with an option to download the QR code as an SVG or copy the link to the QR code.

You are able to view the sign-up gained from the QR code under the section labelled ‘QR code sign-ups’. Under this column you will find the number of contacts that have entered their email address into your form after having scanned the QR code linked to the form as seen below.

You may also like these articles
-1657540460.jpg)
Forms and Landing Pages
Forms: Preference Centre
July 11th, 2022 - Harry Thomas
There are 3 areas in e-shot that make up a ‘Preference Centre’. Settings > Preference settings - where you define the individual preferences for...
.png)
Forms and Landing Pages
Forms: Landing Pages
January 20th, 2022 - Sadie Burgess
A landing page effectively enables you to put a vanity URL wrapper around your sign-up form, and indeed allow you to do some other things as well....
Forms and Landing Pages FAQs
Embedding of sign-up forms
May 24th, 2023 - Harry Thomas
In this article we will outline the ways you are able to embed and sign-up form onto your website. The options described below are based on the...
Solutions
Email Marketing
Create email campaigns and newsletters and manage end-to-end subscription processes with forms and preferences.
Marketing Automation
Create sophisticated automated campaigns for email and SMS combined.
Digital Communication
The comprehensive solution to manage and automate your digital communication across email, SMS, websites and landing pages.
Email marketing healthcheck
We are confident that we can help you, which is why we offer a free healthcheck to identify potential issues with your current programme and free advice on things that could be done to improve it.