Help articles
CATEGORY: Campaigns
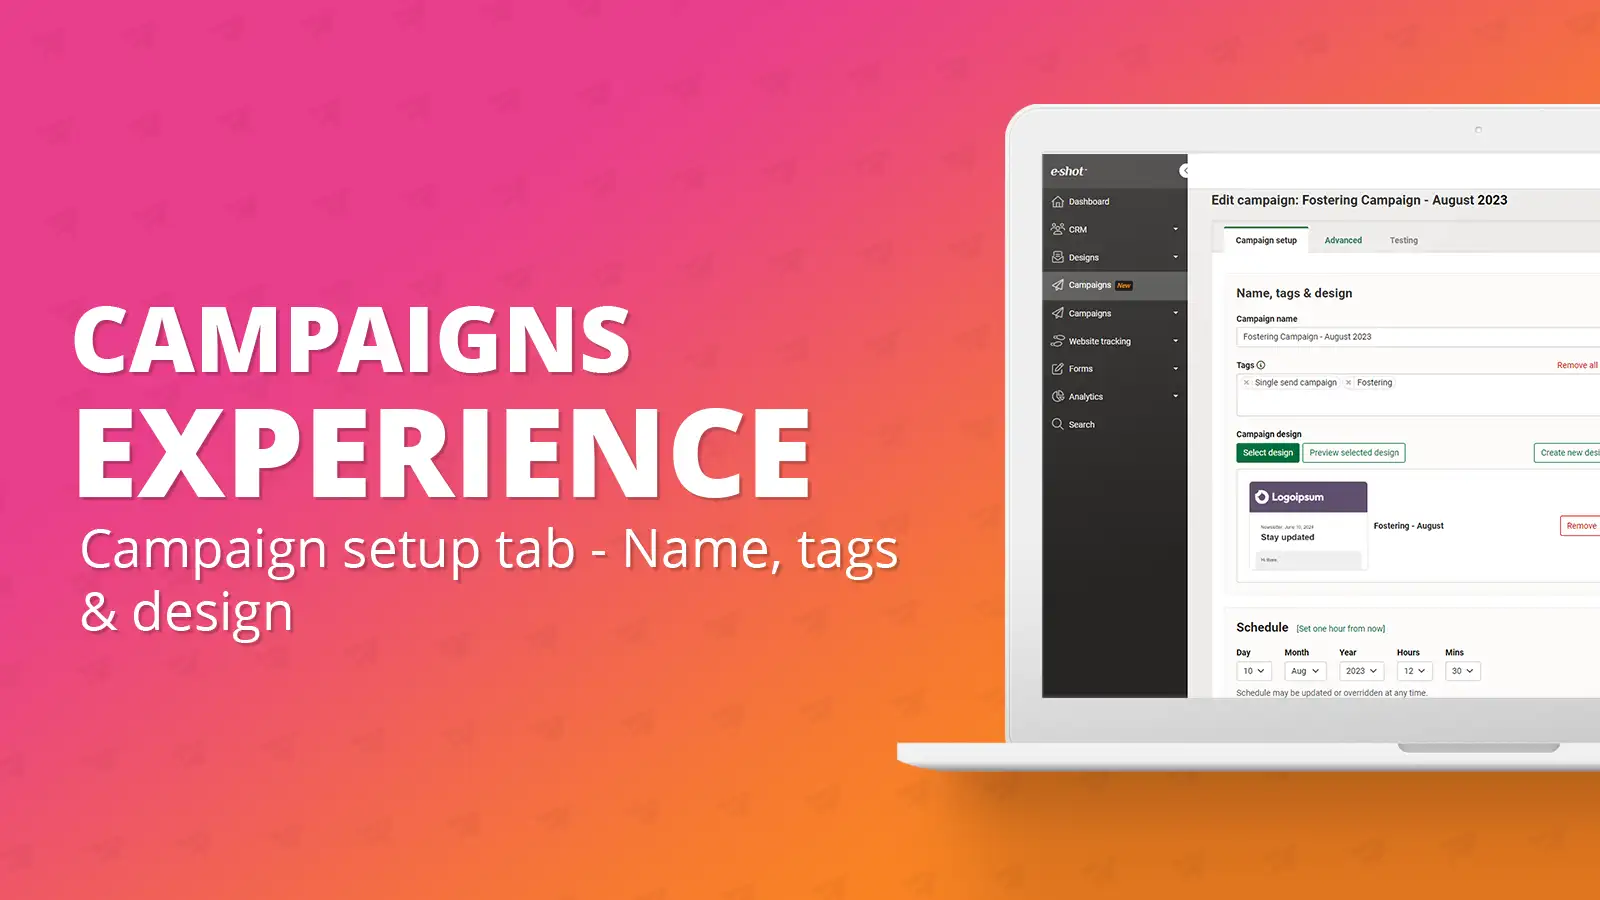
Campaign setup tab: Name, tags & design
The first step of setting up your campaign will be giving it a name as well as assigning a design and any tags you want to the campaign.
After selecting the campaign type ‘Single send email’ you will be taken to the below page.
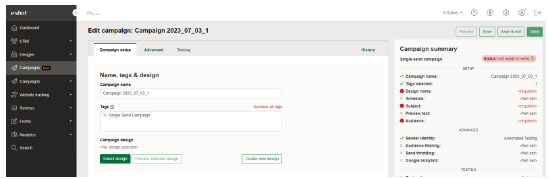
As you can see my campaign has automatically been given a name, so the first thing needed is to update this to something suitable. This can be whatever you like but we would recommend something that differentiates it from others. For example, if it is a newsletter on a certain topic, something like ‘Fostering Newsletter – 24th July’ would work.
Once you have named your campaign you can assign any tags to your design. This is a new addition to the campaigns experience but works the same as they currently do in the designs section of e-shot. They are essentially a way to filter your campaigns from the campaigns list view. They are great way to then be able to filter to certain types of campaigns. For example, if you had a fostering event coming up you could apply the tag ‘Fostering Event – September’ to all campaigns you create relating to that event.
For more details as to how tags work with campaigns, please refer to our dedicated help article.
The final part of this section of the campaign setup is selecting your design. You can create a campaign and not assign a design to it straight away. Making it easier to setup everything for your campaign and attach the design at a later stage.
To assign an existing design, simply click the ‘Select design’ button, which will bring up the below page.
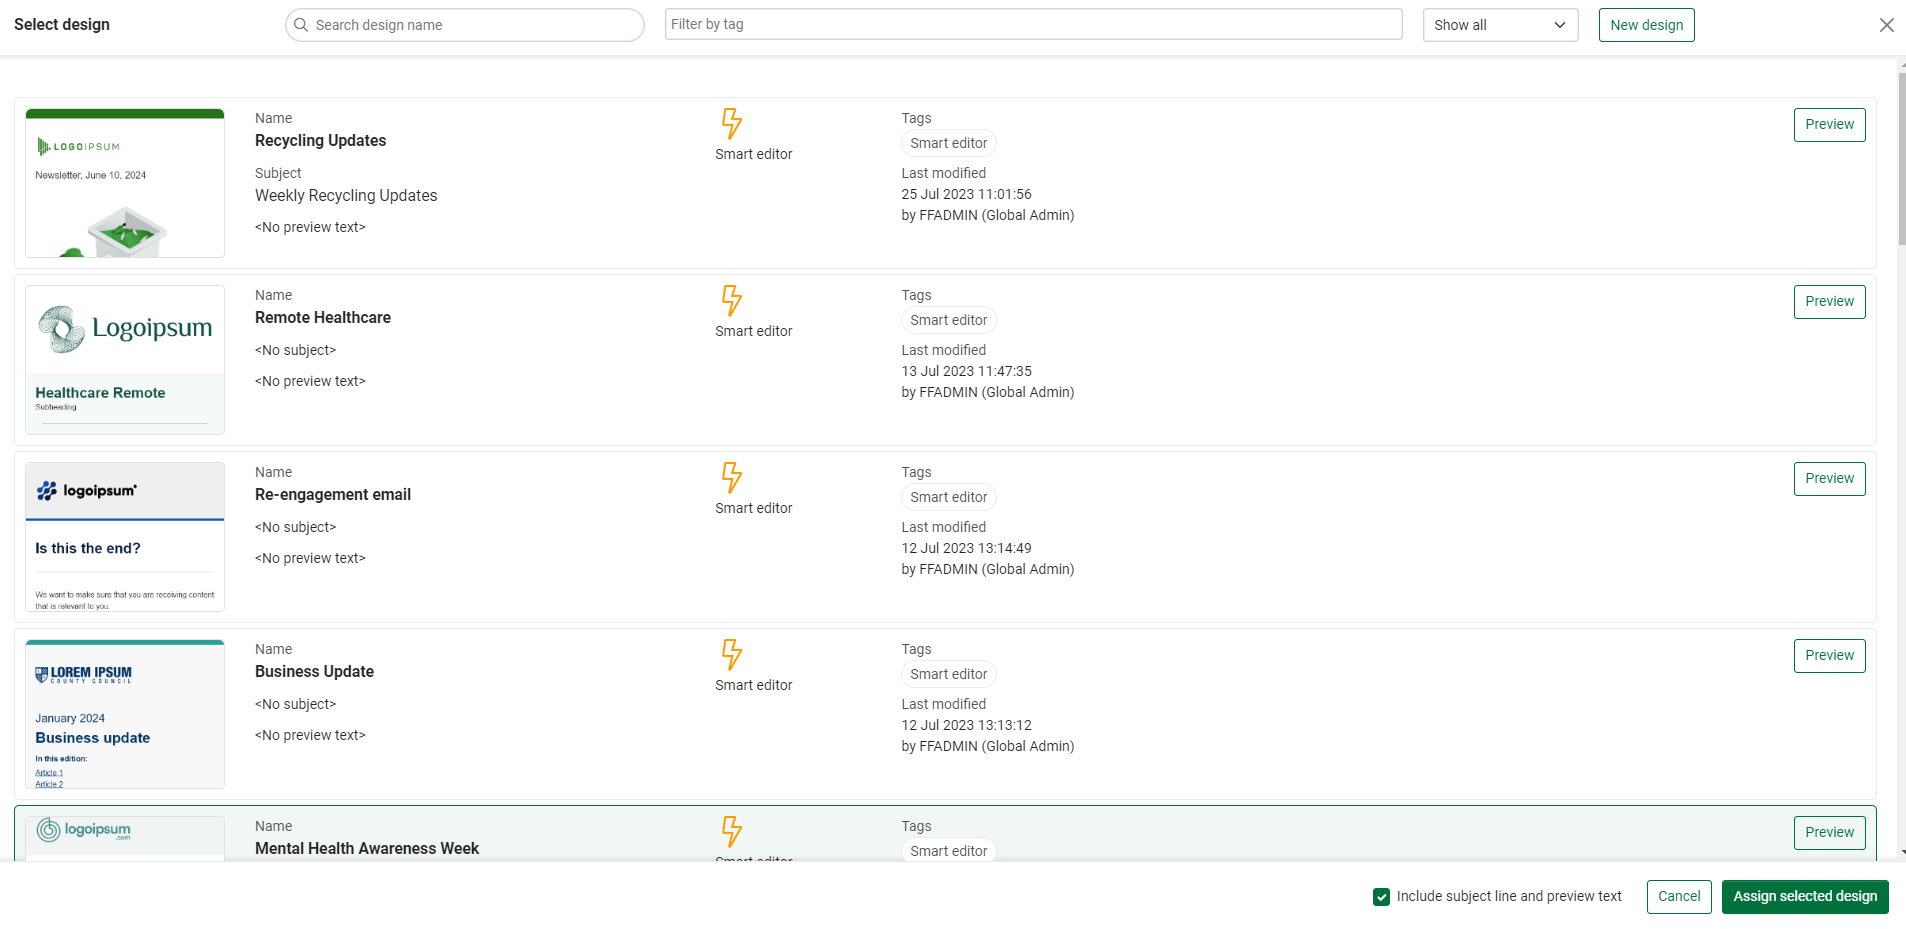
From this page you will see all the newest designs in your subaccount. To select a design, you can double click a design or click once to select the design, which will highlight the chosen design in green. You can now click the ‘Assign selected design’ in the bottom right corner to assign the design to the campaign.
Once you have done this, you will be taken back to the campaign’s setup page. You will now be able to see the design you chose. For the full details on selecting a design, please refer to our dedicated help article here.
Now you have given your campaign a name and assigned any tags and the design. The next step is scheduling, the help documentation on this section can be found here.
Solutions
Email Marketing
Create email campaigns and newsletters and manage end-to-end subscription processes with forms and preferences.
Marketing Automation
Create sophisticated automated campaigns for email and SMS combined.
Digital Communication
The comprehensive solution to manage and automate your digital communication across email, SMS, websites and landing pages.
Email marketing healthcheck
We are confident that we can help you, which is why we offer a free healthcheck to identify potential issues with your current programme and free advice on things that could be done to improve it.