Help articles
CATEGORY: Help ArticlesCampaigns
Campaigns - Automated Series
Campaigns
The Campaigns page lists all of your previously created campaigns, ordered chronologically. There are a number of different campaign types, which are described below. A brief summary of each campaign is shown on this screen, along with dropdown options to Send, Edit, Test or Delete each. There’s a Search and Filter option to allow you to locate a particular campaign quickly.

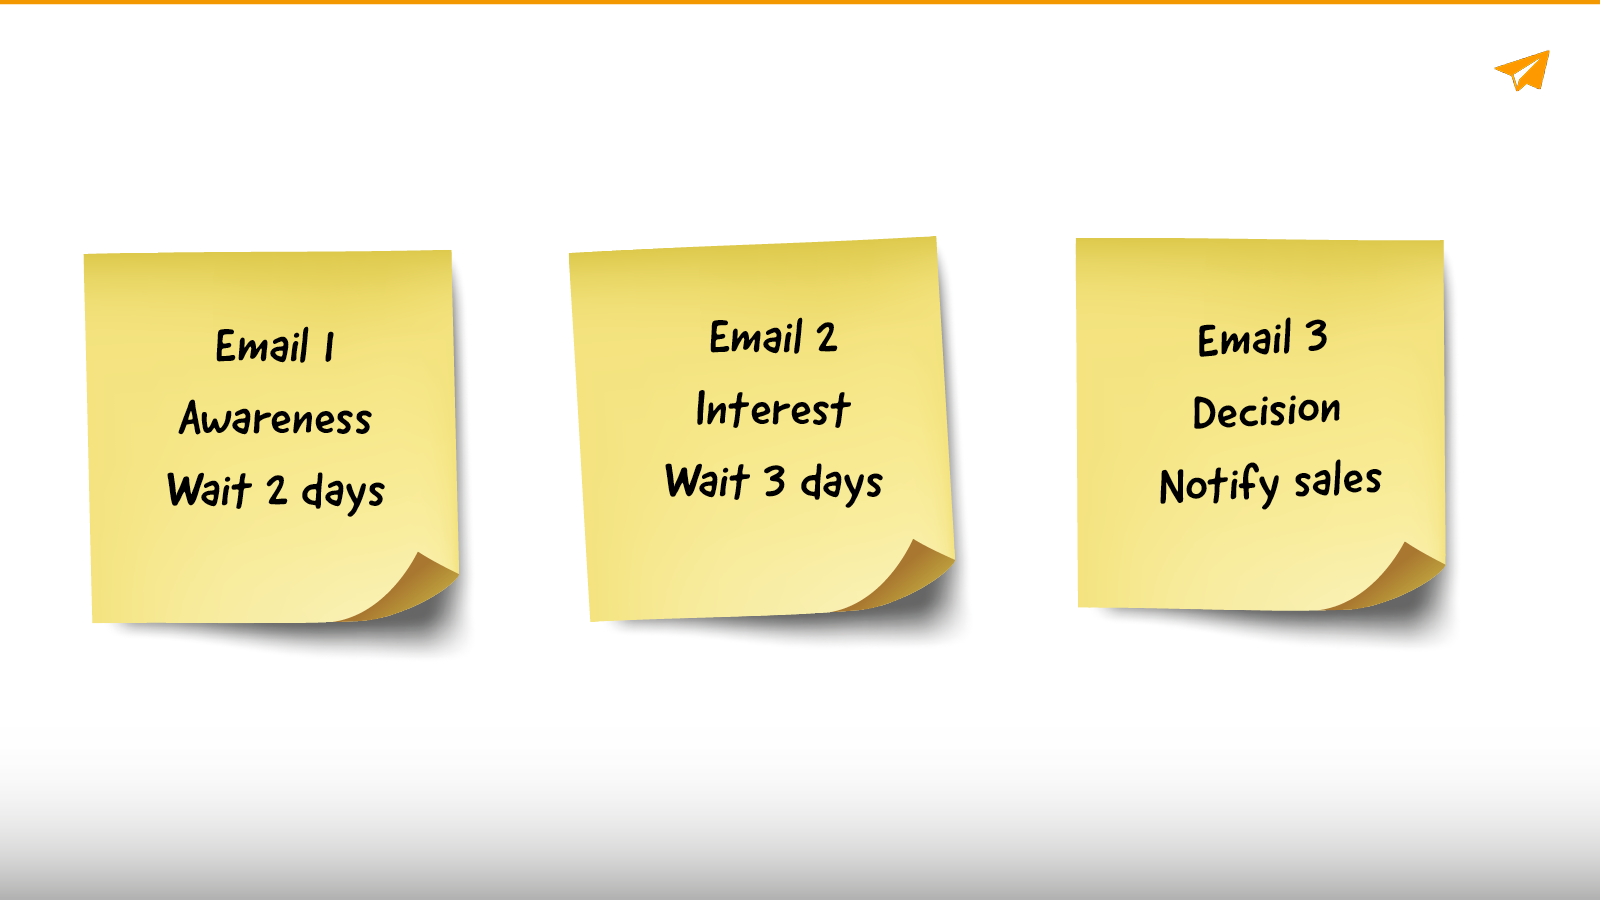
Automated Series
The Automated Series campaign type will create an automated series of emails, actions, delays and conditions for a single group of contacts.
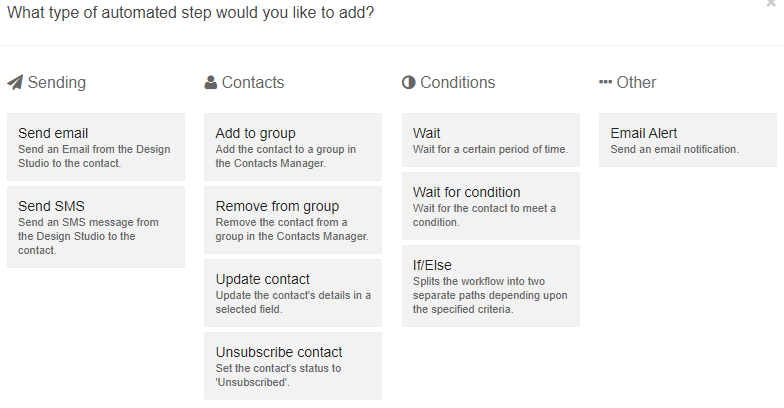
Send email
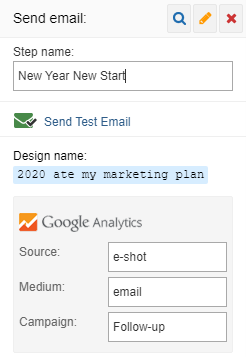
This step will allow you to add a message from those previously created in Design Studio, which will go out to the contacts designated in the Start step. Any Google Analytics or CANDDi Tracking information can be set from this step.
Send SMS
This allows you to add an SMS message from those previously created in Design Studio, which works similarly to the send email step.
Add to group
This will add any relevant contacts to a group of your choice from those that exist in Contacts Manager.
Remove from group
This will remove any relevant contacts from a group of your choice from those that exist in Contacts Manager.
Update contact
This step has two fields, the first is a dropdown menu of the contact fields, editable in Field Manager, and the second is a text box to allow the field to be changed to a value of your choice.
Unsubscribe contact
This will update any relevant contacts to an Unsubscribed status, which is a checkbox that can be toggled in the Edit Contact page.
Wait
This will pause the Automated Series process for an interval of your choice. The step will display a Minute(s), Hour(s) or Day(s) dropdown and a field to enter your chosen number.
Wait for condition
This wait step allows you to add a Segment of your choice to define your chosen conditions. Each Segment contains 3 dropdown boxes, the first contains various interaction options and contact fields. The second and third dropdowns contain different options relating to the interaction or contact fields chosen from the first dropdown. In addition, further conditions can be added to the Segment with an AND/OR option. Further Segments can be added to create a process as complicated as you may require.
If/Else
This step allows the Automated Series process to split into different branches based on the chosen criteria. Configuring the step options allows you add a Segment to define the process, which works as described in the step above.
Email Alert
This allows you to add an alert step in a location of your choice, with a number of alert frequency options. You can choose to receive an email alert when contacts in the campaign flow reach the automated series step, or you could choose to receive an alert email Daily, Weekly or Monthly. The alert email will provide details of the campaign, as well as providing contact information for those that have reached the step.
Automated Series means cutting out manual work, saving time and effort as well as improving the efficiency and effectiveness of your email marketing. It’s perfect for profiling your contacts as well as comprehensive lead nurturing.
This campaign type only contains two sections within the campaign creation wizard. The initial stage offers a flow chart like design, which allows you to create as complicated a campaign design as you would like within 20 steps.
When creating your automated series, you can add a Step name to each step in the series, so that you can easily identify where in the campaign they are when you are reviewing the contact records and audit screen.
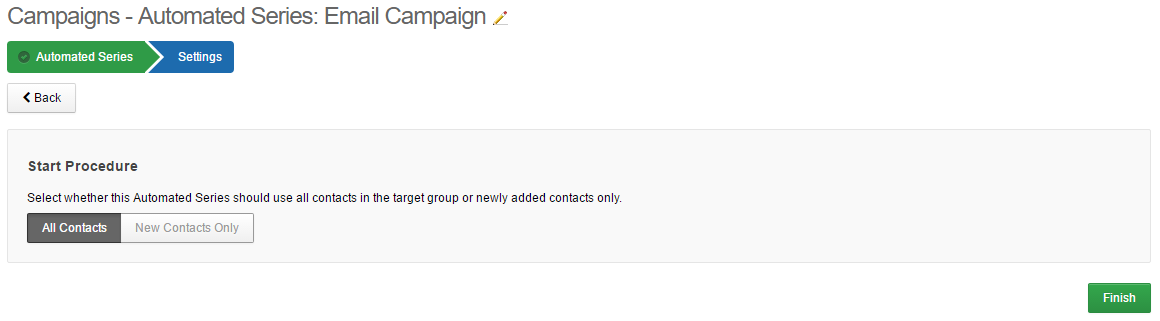
The second and final stage of the Automated Series campaign creation wizard is the Settings page. This allows you to select whether the campaign should use all of the contacts in the target group or whether it should use newly added contacts only.
When viewing the campaign report, it is split into different sections. The main report shows each of the send step's summary information and the aggregated statistics. Clicking into the report for a send step will show aggregated statistics just for that step, and for each send within that step a full report will be available to show information specifically for that.
There's a 'Send Test Email' link against each 'Send email' step that allows you to send a test email and see the end result for that step.
Understanding a contact's progress through automated series
You can view a contact’s activity and progress on their journey through your automations in their contact record. In the Activity panel you can see the date, time, automated series name and step name as well as link to view the email sent, to refresh your memory.
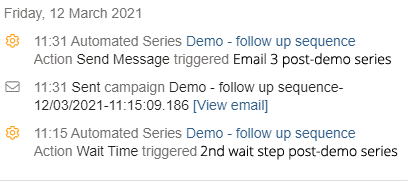
If needed you can also access the Automated Series flow by clicking its name from the activity log. Once accessed, you will be able to see the Series plus an Audit of the contact going through it.
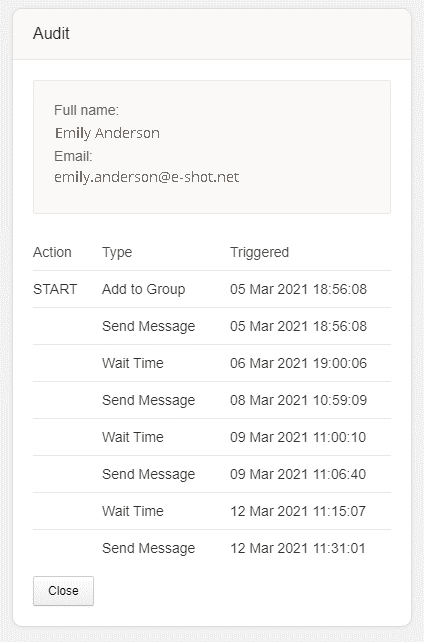
So you have complete visibility of every contact that travels through your automated series.
Reviewing the volume of contacts passing through your series and seeing who they are
Once your automated series is active you can see a list of contacts that have passed through each step. Simply click on the number and you can view the list.
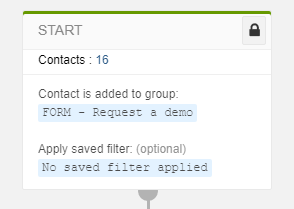
N.B. Contacts that have been deleted since the sending of the campaign will not appear in the results list.
You may also like these articles

email-marketing Automation
3 reasons you should be using email automation
May 25th, 2017 -
“Email Automation” has become a buzzword for 2017. If you’re a business owner and you are actively searching to increase the efficiency of your...

Automation
5 reasons why email automation is good for business
April 30th, 2018 - Sadie Burgess
Marketing automation is a combination of software and strategy that work together to create relevant, personalized emails. In this way, marketing...
Best practice
Automated series cheat sheet
January 10th, 2019 - Dan Hare
If you are new to marketing automation, these best practice examples will give you some ideas of where to begin. They are all high impact, low...
Solutions
e-shot ultimate
The complete solution to manage and automate your digital communication across email, SMS, websites and landing pages.
e-shot pro
Create sophisticated automated campaigns for email and SMS combined.
e-shot basic
Create email campaigns and newsletters and manage end-to-end subscription processes with forms and preferences.
Email marketing healthcheck
We are confident that we can help you, which is why we offer a free healthcheck to identify potential issues with your current programme and free advice on things that could be done to improve it.