Help articles
CATEGORY: CampaignsIntegrationSettings
Full setup: e-shot Microsoft Teams integration

In this help article we will go through all the steps necessary to setup your integration between e-shot and Microsoft Teams: an integration great for internal comms that allows users to seamlessly share a campaign and campaign stats into a Teams Channel.
You can also watch our full walkthrough video by clicking the image below or here to watch in YouTube.

Before we get started, this setup must be completed by an e-shot account admin before regular users are able to send campaigns to a channel.
Step 1: Create your Microsoft Teams Channel/Chat
*Please note if you already have a channel/chat you would like the e-shot information sent to you can skip to step 2.
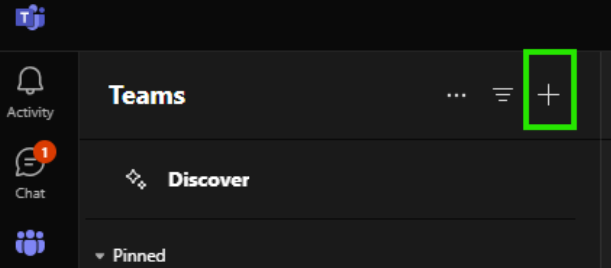
In Microsoft Teams, head to ‘Teams’ on the left-hand side navigation bar.

From here you will find all your pre-existing channels and teams that you are already a part of.
To create a new one, simply click the ‘+’ icon.
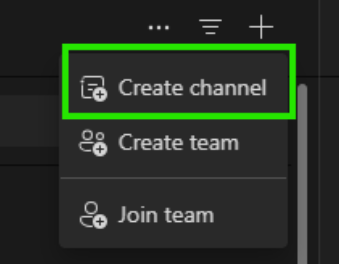
And then choose ‘Create channel’.
This will bring up the below.
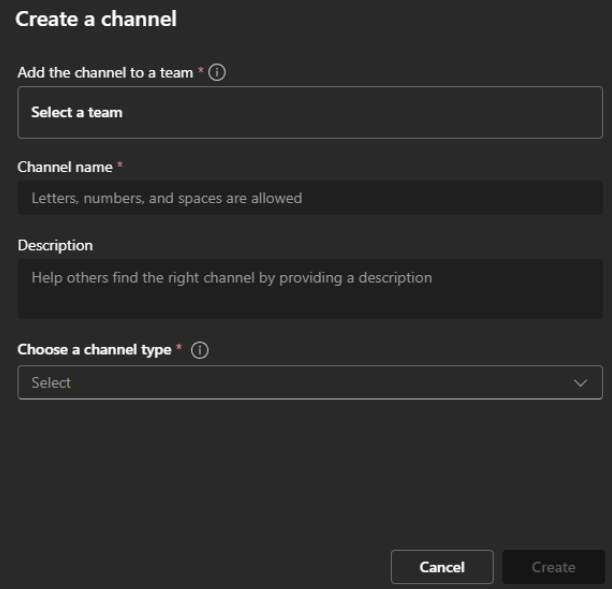
Here you can set your channel name as well choose which team the channel falls under.
The channel type must also be set, options include ‘Private’, ‘Standard’ and ‘Shared’.
Depending on the options you set; after clicking ‘Create’ you may be required to setup who has access to the channel.
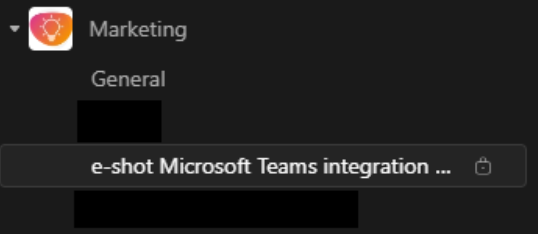
Once your channel is created, it will now be found under the ‘Team’ you previously selected and those who have access will be able to find it.
See below my channel can be found under the Marketing team.
Step 2: Creating your workflow
Firstly, to get a webhook that sends a notification to your channel, you need to add ‘Workflows’ app to your Teams nav bar. You may already see this on yours as it is a Microsoft app.
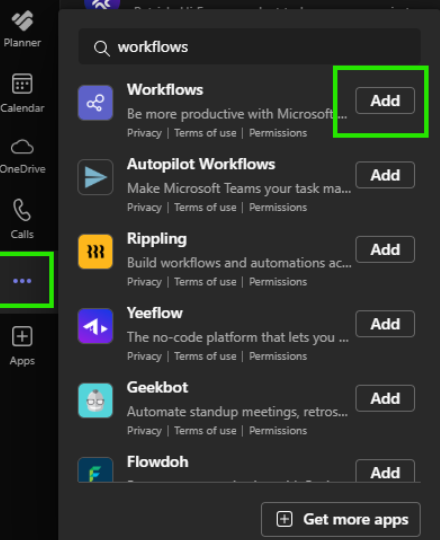
If you don't, simply click the three dots, search for ‘workflows’ and click the ‘Add’ button next to the app shown below.
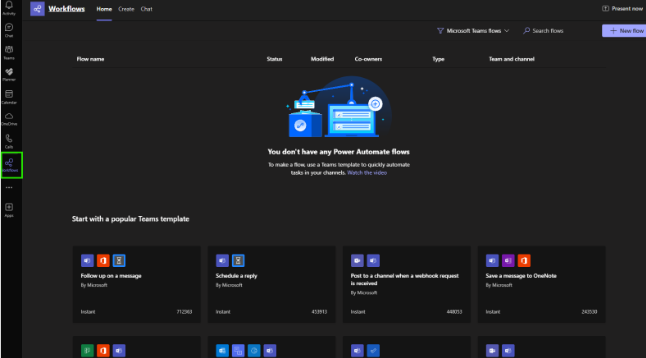
Once added as an app, workflows should now be seen in the left-hand side nav bar within Teams. When you open this app, you should see something like the below.
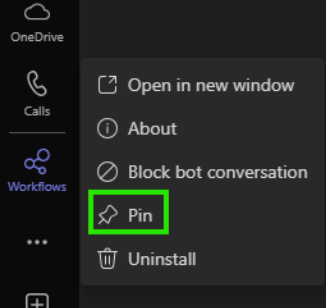
*Don't forget to pin the app once open, this way you won't have to search for it every time you need it.
The Workflows app in Microsoft Teams automates activities and connects Teams to other apps and services, in this instance e-shot. It was previously known as the Power Automate app.
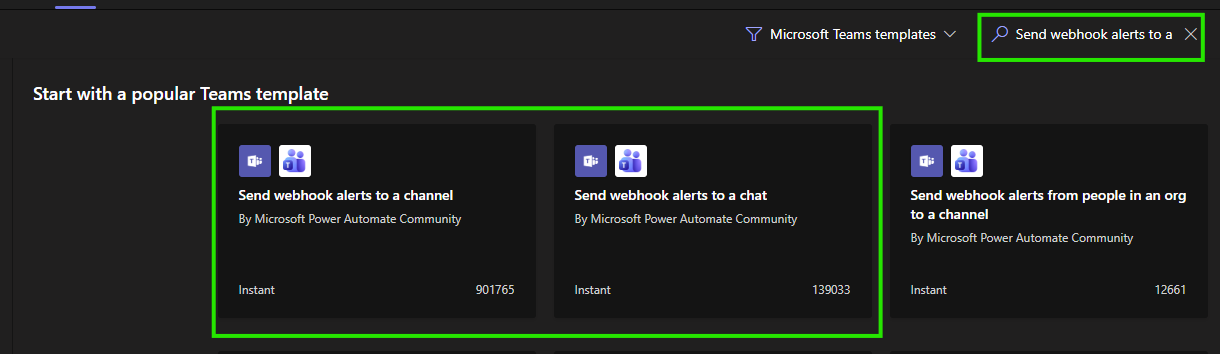
Now you have the workflows app open, the specific workflows you can use are labelled 'Post to a channel/chat when a webhook is received'. To find these in the search bar search 'Send webhook alerts to a' and you should see the two options you can use as seen below.
To continue, click on your desired workflow option to bring up the below. Your option determines whether you post your e-shot campaign to a Teams chat or Teams channel.

Once your Teams login has been verified and you have the green tick, click ‘Next’.
On the next page, choose either:
Your team and the channel you wish e-shot to send the hook to.
Or if you are posting to a chat you will be able to choose one of your Teams chats.
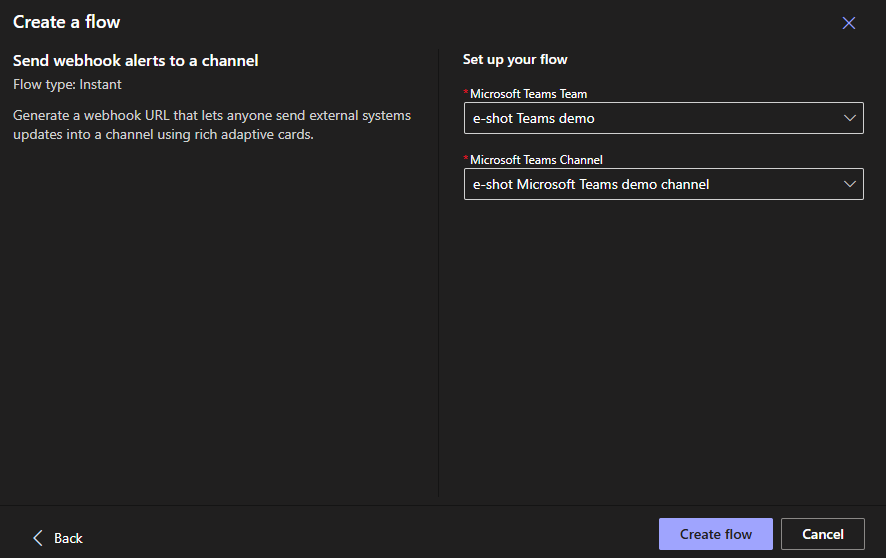
Once chosen, click ‘Create flow’. Doing so will bring up the below.
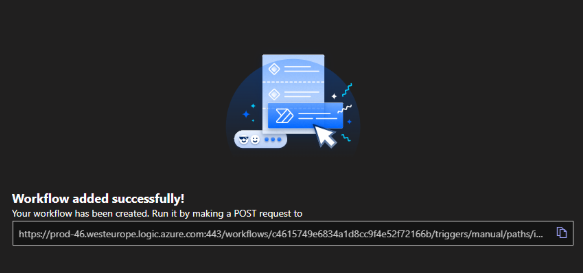
Finally, click ‘Done’.
Your channel or chat and workflow in Teams are now setup and we’re almost ready for the e-shot side of things.
Step 3: Copying your workflows webhook
To continue onto the e-shot setup, you must ensure you have copied your workflow link if you have not already done so.
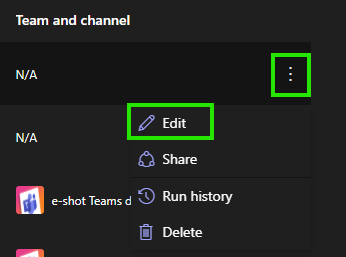
Upon clicking edit you will be taken inside your workflow as seen below. Clicking on the top box will open it up and provide you with the option to copy your webhook link.
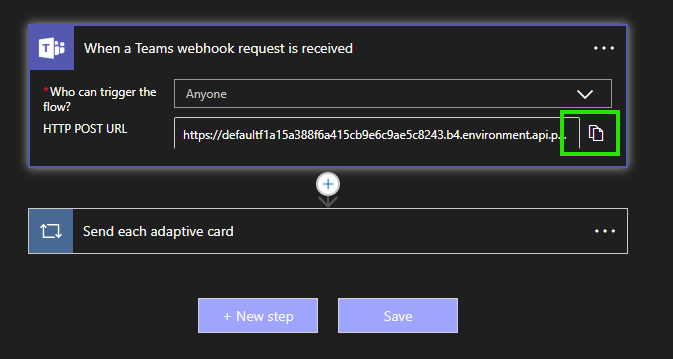
Now you have your webhook link secured, you are ready to begin the set up from within e-shot.
Step 4: Setting up your webhook in e-shot
*This step can only be completed by an e-shot account admin
To begin, click the settings icon > select ‘Account settings and head to the ‘Integrations’ tab.
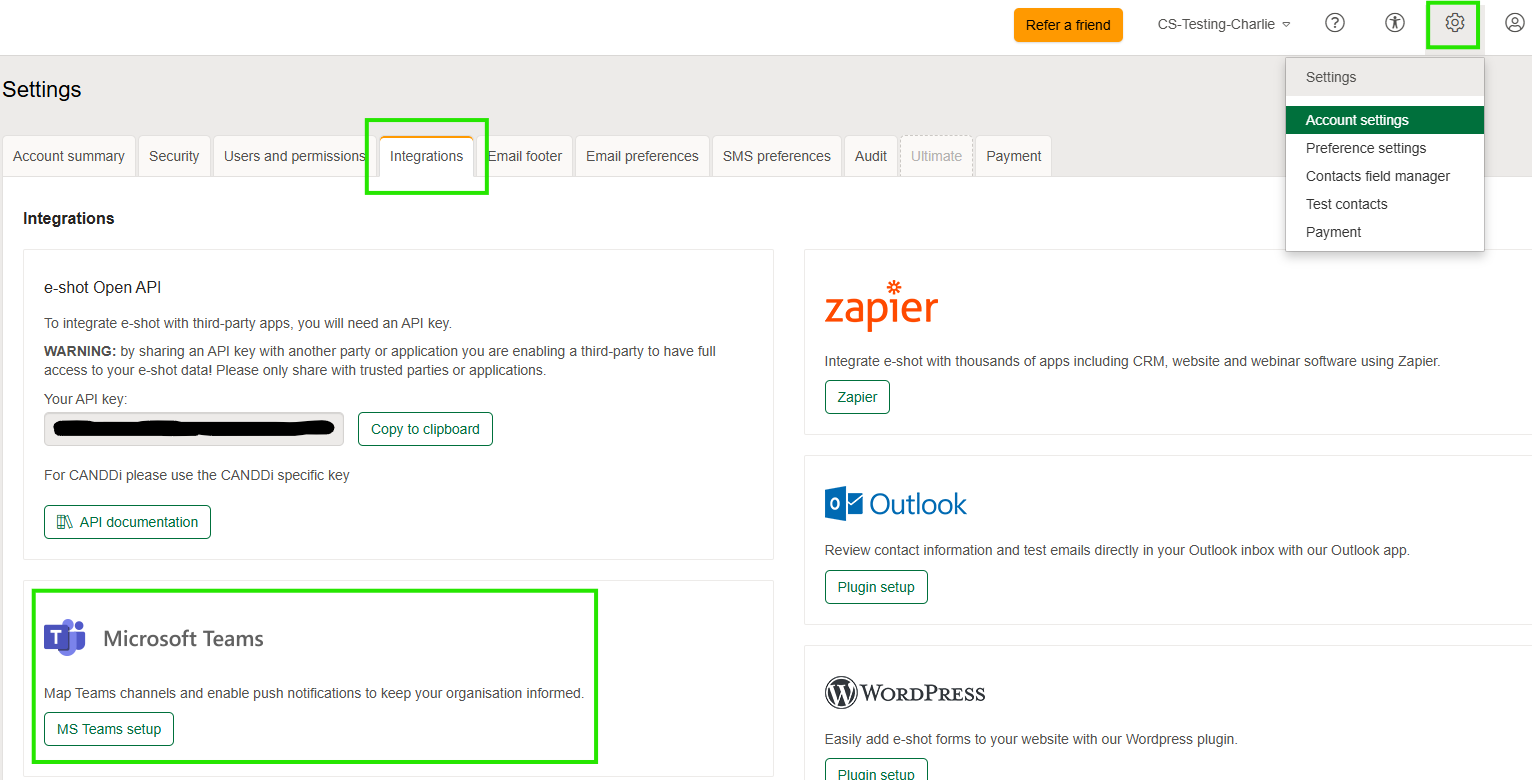
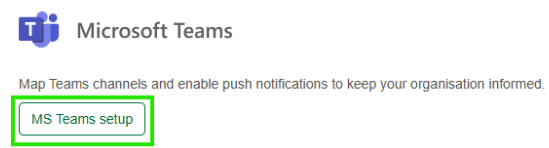
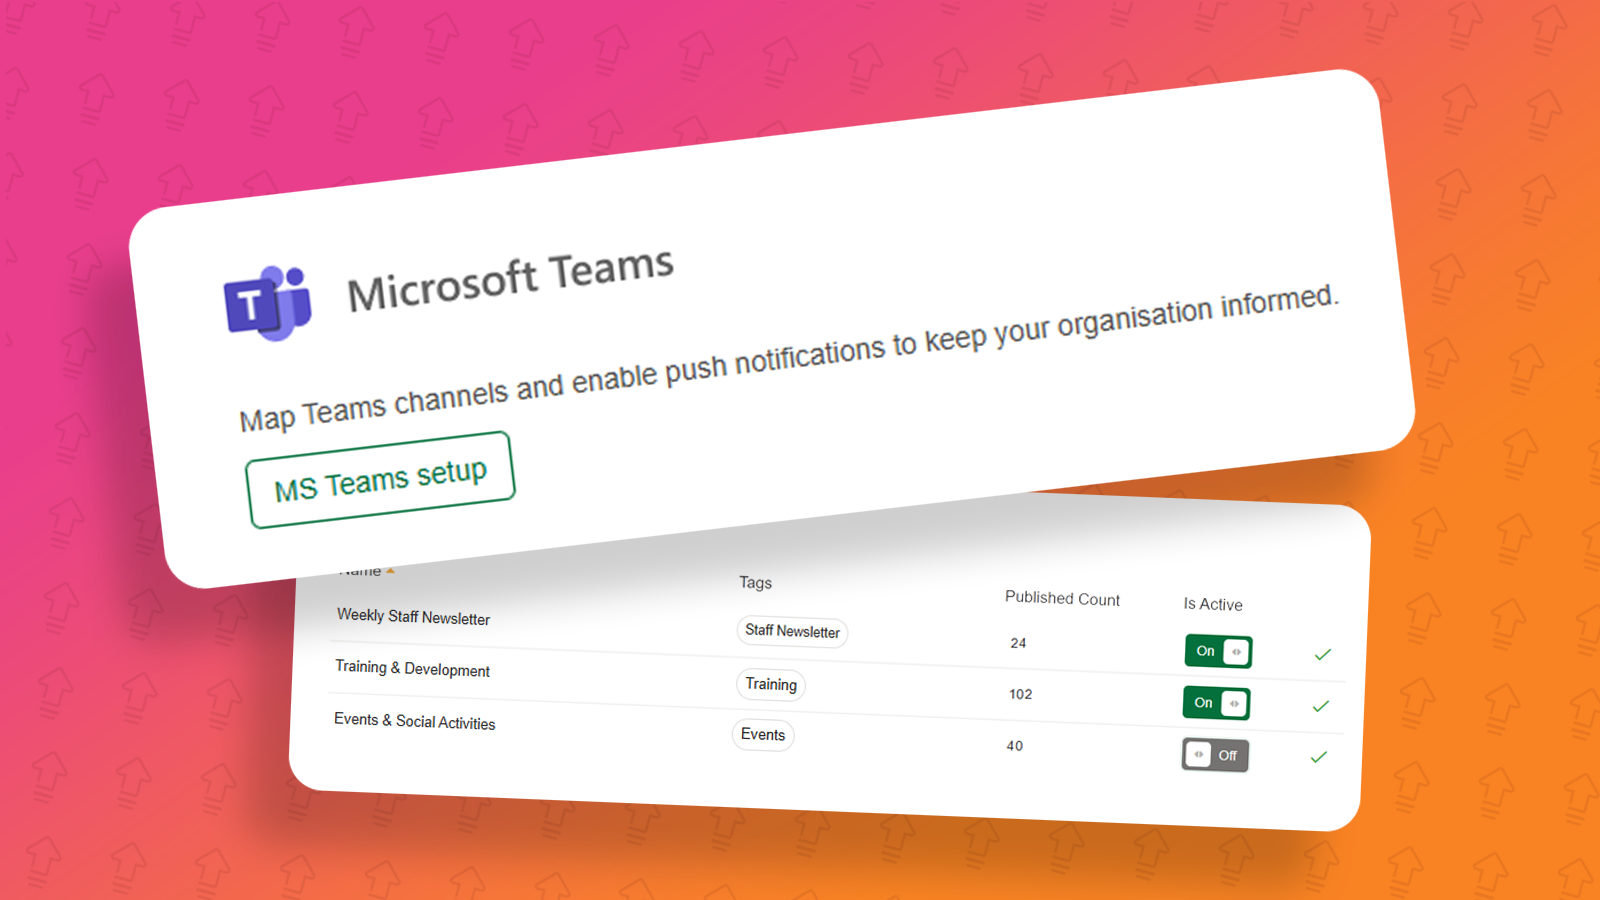
On this page click the ‘MS Teams setup’ button.
You should now be seeing the below page, to continue the setup, click the ‘New channel’ button.

The below pop up will appear where you can setup your channel.
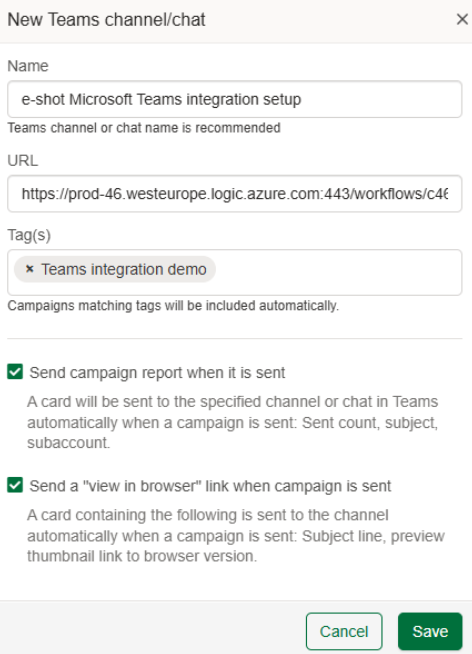
Name: The name of the channel, we recommended this is similar or the same to what you have setup in Teams already. E.g. carrying on from my Teams setup, my name would be ‘e-shot Microsoft Teams integration setup’.
URL: This is where you will paste your webhook we copied from step 3.
Tag(s): Setting your tags is an important step, the tags set helps e-shot determine when to send a campaign to the Teams channel. E.g. If I set the tag ‘Teams integration demo’, every campaign that has that tag assigned to it and is sent out will be sent to the Teams channel.
Send campaign report when it is sent: This is the first option for posting your campaign to the channel. If you wish the analytics to be sent to the channel such as the displays and clicks, then tick this box.
Send view in browser link when campaign is sent: This is the second option for posting your campaign to the channel. If you wish for a preview of the email as well as link to view the email to be sent to the channel, then tick this box.
Once you are happy with your setup, click the ‘Save’ button.
You will be taken back to the first setup page where you will now find your channel.

The e-shot setup is almost complete, to finish, simply turn the ‘Is active’ button from off to on.
*Please note once turned on, all campaigns tagged with the tag you set will be sent to your channel.
Step 5: Sending a campaign to your Teams channel
Now both the Teams and e-shot setup is done, you are now ready to send a campaign that automatically pushes to your Teams channel.
For step 5 we will simply be sending a single send campaign from e-shot, we will only cover the basics in this article but if you need further assistance on setting up a campaign, we have a help article on every step of the single send campaign process which can be found here.
In order to send the campaign and push it to Teams you will need to:
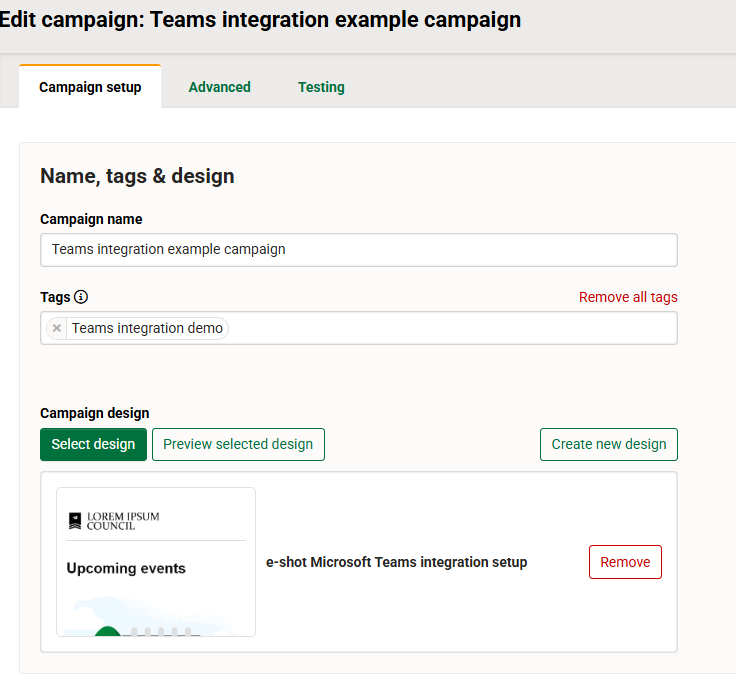
Assign a campaign name
Assign the previously selected tag to the campaign
Assign a design to the campaign
Assign a subject line to the campaign
Assign an audience to the campaign
Once all of those have been completed, your campaign page should look something like the below and be marked as ‘ready to send’. You can also see here I have attached my tag that I previously set in step 4.
Now your campaign is ready to send, simply send or schedule the campaign and then let e-shot and Teams to the rest.
Step 6: Viewing the campaign in your Teams channel
As soon as the campaign is sent out via e-shot, the integration will do its job, and your campaign will be posted to your Teams channel.
Heading back to Teams now, click on the channel you setup the webhook for.
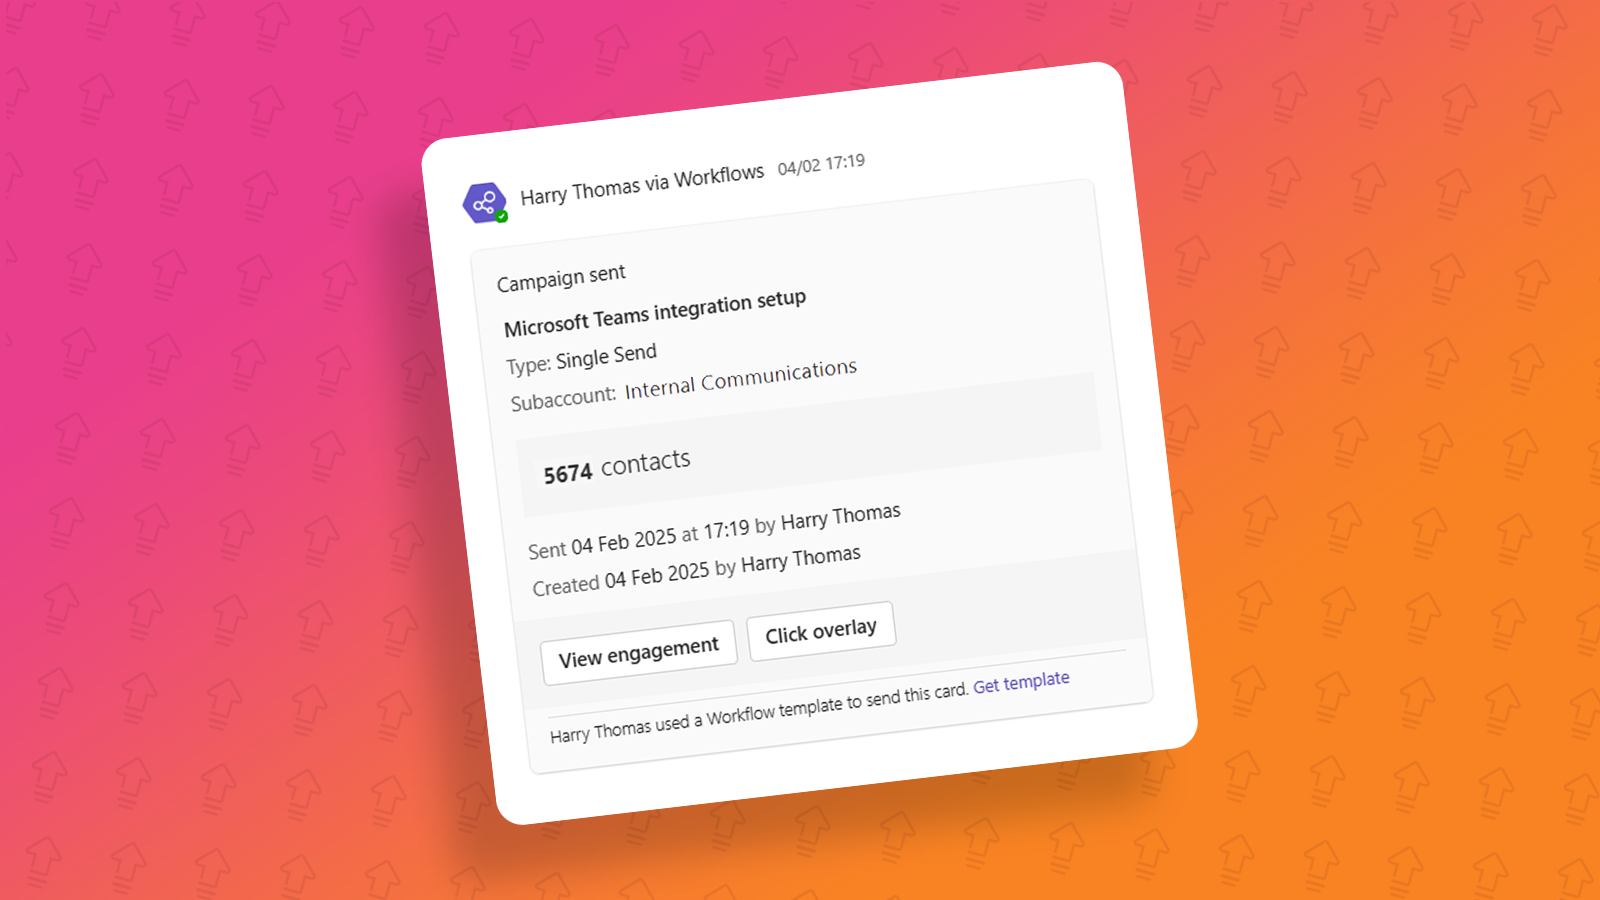
If you ticked the ‘Send campaign report when it is sent’ option at step 4, you will see the below.
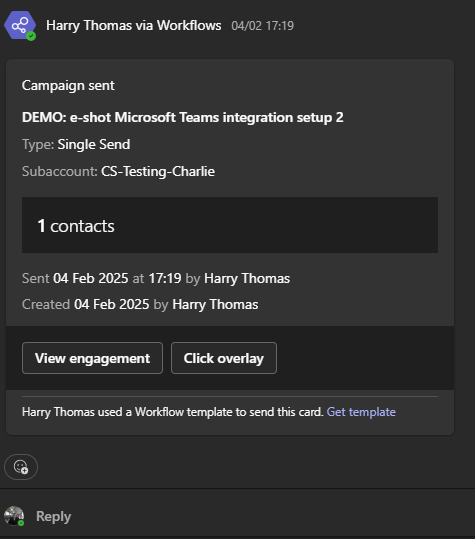
From here, everyone in the channel can clearly see the name of the campaign, how many contacts it was sent to, the type of send it was as well as the subaccount the send was performed from, the date/time of send and who sent it.
More importantly, you will see the ‘View engagement’ and the ‘Click overlay’ buttons.
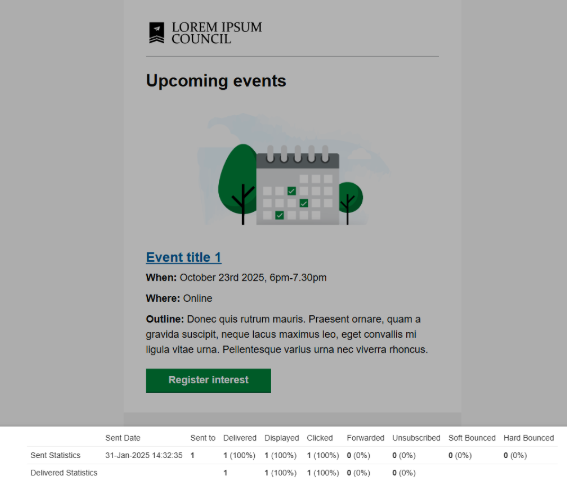
The click overlay report you may already be familiar with in e-shot, clicking this button takes you straight to that report within your browser so even those who aren't an e-shot user can access it.
The ‘View engagement’ button again can be opened by anyone, even if they aren't an e-shot user and essentially acts an analytics page for your campaign where you can see a full breakdown of your campaign, just like you can from within e-shot.
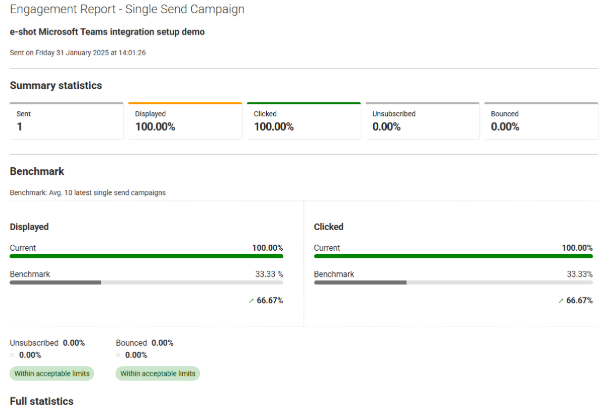
*Note both reports will automatically update as time goes on so you can view the updated stats at any time by refreshing the links.
If you ticked the ‘Send view in browser link when campaign is sent:’ option at step 4, you will see the below.
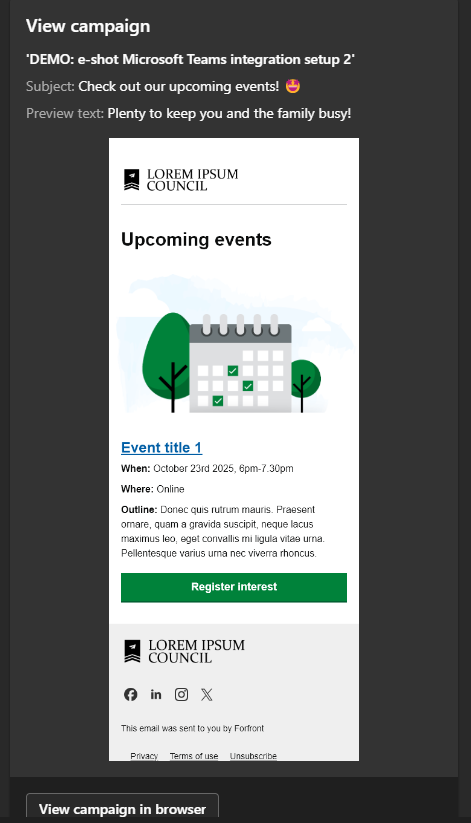
This provides everyone in the channel with the campaign name, the subject line and preview text used for the send as well as a preview as to what email was sent.
You will also find the ‘View campaign in browser’ button. Which does what it says on the tin, opens the full email up in your browser.
*It's worth mentioning here that all colleagues who have access to the Channel selected will be able to access these inside the Channel. They will also be able to reply and react to the posts just a like a regular Teams message.
To conclude:
That's all for the guide on how to setup the integration between a Teams channel and e-shot. If you have any questions on the setup, please feel free to contact us via the live chat as usual.
You may also like these articles
Campaigns Integration Settings
Teams setup: e-shot Microsoft Teams integration
April 1st, 2025 - Harry Thomas
In this article, we will cover the set up needed on Microsoft Teams to use its integration to e-shot. If you are looking for a full set up guide,...
Campaigns Integration Settings
e-shot setup: e-shot Microsoft Teams integration
April 1st, 2025 - Harry Thomas
In this article, we will cover the set up needed on e-shot to use the integration with Microsoft Teams. If you are looking for a full set up guide,...
Solutions
Email Marketing
Create email campaigns and newsletters and manage end-to-end subscription processes with forms and preferences.
Marketing Automation
Create sophisticated automated campaigns for email and SMS combined.
Digital Communication
The comprehensive solution to manage and automate your digital communication across email, SMS, websites and landing pages.
Email marketing healthcheck
We are confident that we can help you, which is why we offer a free healthcheck to identify potential issues with your current programme and free advice on things that could be done to improve it.