Help articles
CATEGORY: Settings
Account settings
The Settings > Account Settings page is primarily used by account administrators. It is split into multiple tabs, the most important of which are: Account Summary, Security, Users and Permissions, Integrations, Email Footer, Email Preferences, Mobile Preferences, and Audit.
Account summary
The Account Summary tab gives admins a quick overview of their current e-shot package and contact usage.
At the top of the tab you'll find the account details and main contact for the account. We recommend keeping this information up to date — if we ever need to get in touch, this is where we'll look first.
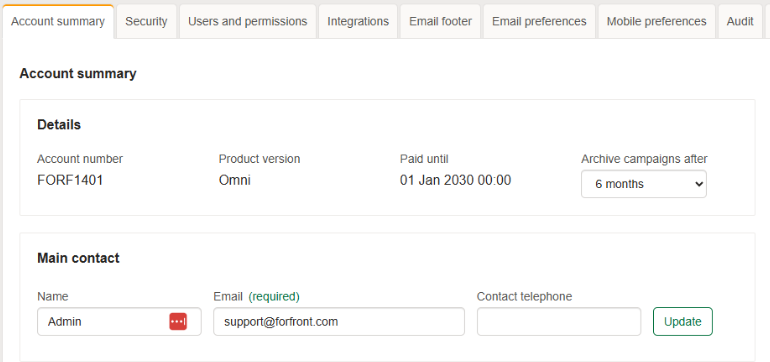
Below that, admins can configure how long sent campaigns are retained in analytics before being archived. You can choose to archive campaigns after 3, 6, or 12 months. Once a campaign has been sent and moves to analytics, it will remain there for the period specified before being archived.
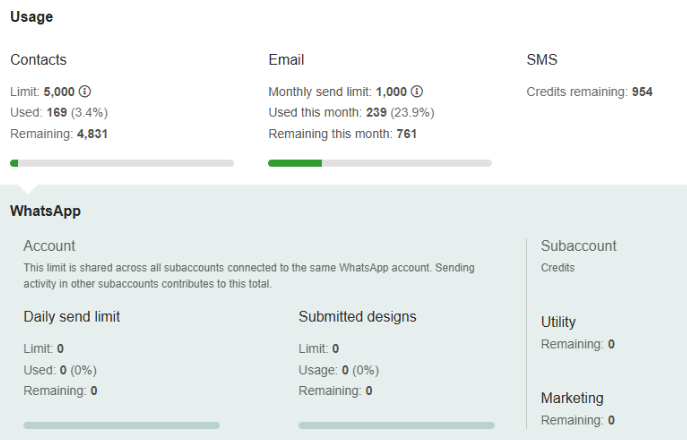
Further down you'll find your account usage, including your current contact limit and how much of it has been used. If SMS or WhatsApp are available on your package, you'll also see your remaining credits here.
Security
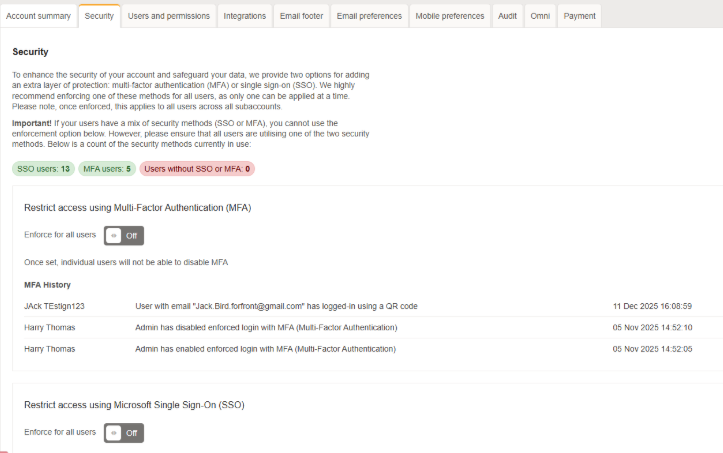
The Security tab shows the security configuration for your account. In most cases this will have been set up during onboarding and won't need to be changed.
All e-shot accounts are required to use either Multi-Factor Authentication (MFA) or Single Sign-On (SSO). Here you can see which method is enforced on your account, along with the most recent login history.
Users and permissions
The Users and Permissions tab is where admins can manage existing users and create new ones.
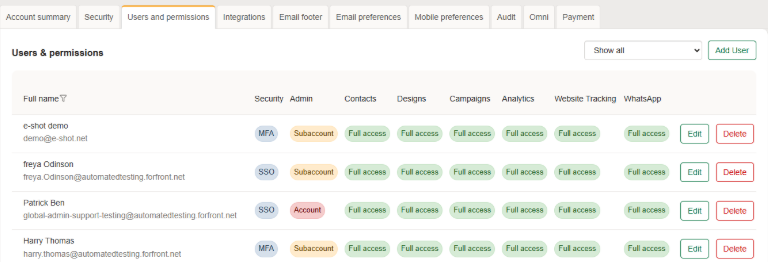
You'll see a list of all users on the subaccount along with their assigned permissions. Permissions can be updated at any time. If a user leaves your organisation, they can be deleted from here. To add a new user, click the Add User button.
Integrations
The Integrations tab lists the integrations available with e-shot, along with guidance on how to set each one up.
You'll also find your API key in this tab. If you're planning to build your own integrations, this is what you'll need.
Email footer
The Email Footer tab allows admins to customise the content shown in the footer of your emails. There are two key elements:
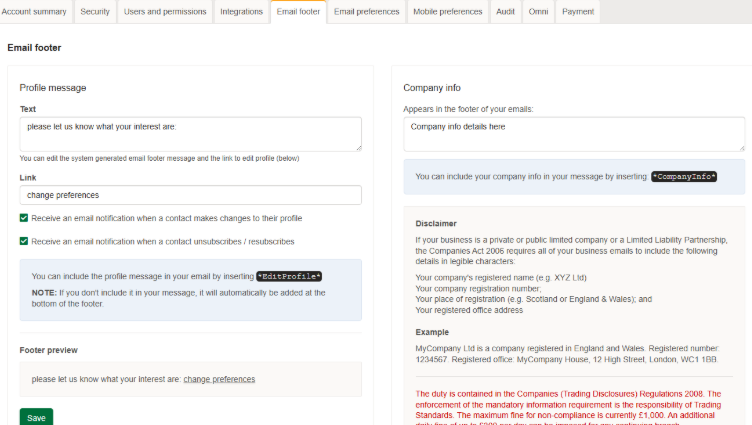
Profile message: This is your unsubscribe message, which can be included in your email designs using the EditProfile merge tag. It links contacts through to a page where they can update their details or unsubscribe.
Company info: Include your organisation's details here, such as your registered address or other important information you're required to display in commercial emails. Can be included in your emails designs using the CompanyInfo merge tag.
Email preferences
The Email Preferences tab contains two sections:
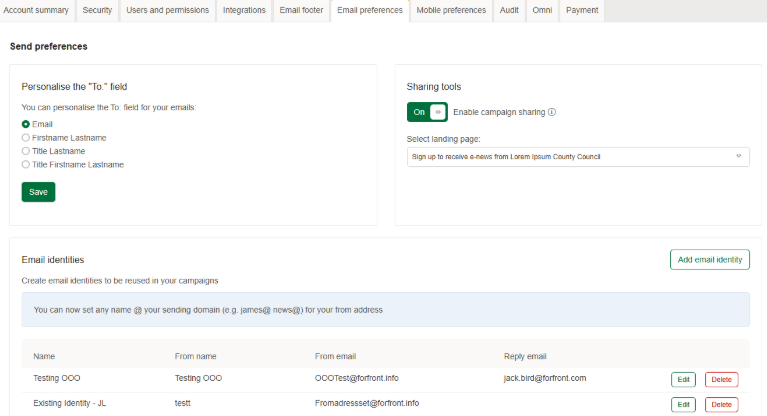
Sharing tools: Admins can enable the social share feature, which allows contacts to share your emails on social media and gives others the option to subscribe directly from a shared email. For a full walkthrough of this feature, see our Social Share help article.
Email identities: Manage the sender identities saved on your account. Identities define who your emails appear to come from, and multiple identities can exist within a single subaccount. Existing identities can be edited or deleted if they are no longer needed.
Mobile preferences
The Mobile Preferences tab works in the same way as Email Preferences, but for SMS and WhatsApp. If these features are available on your account, you can view your mobile identities here and begin the setup process.

Audit
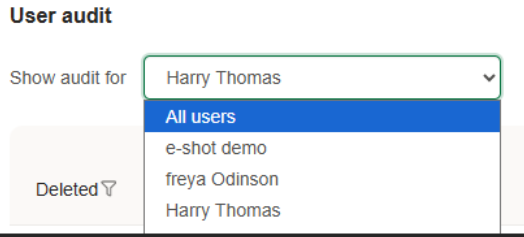
The Audit tab provides a full log of activity on the account, including logins, deletions, campaign sends, and other actions. By default, the audit log displays activity for your own user profile.
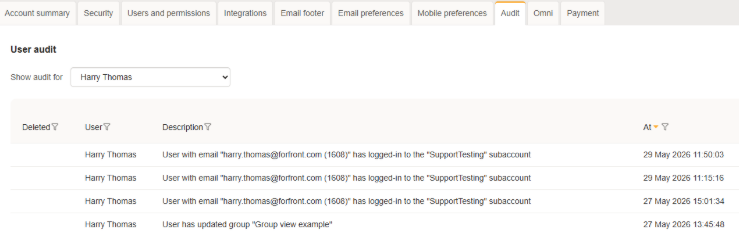
To view activity for a specific user, select them from the dropdown. Select All to see a complete view of activity across all users on the account.
For further guidance on Account Settings, we recommend attending one of our free Administrator training sessions. Click here to view upcoming sessions.
You may also like these articles
Settings FAQs
Settings FAQs
September 24th, 2019 - Sadie Burgess
Is there a limit on how many users I can create? e-shot has absolutely no limits on users per account or sub-account. How to add or edit a...

Designs
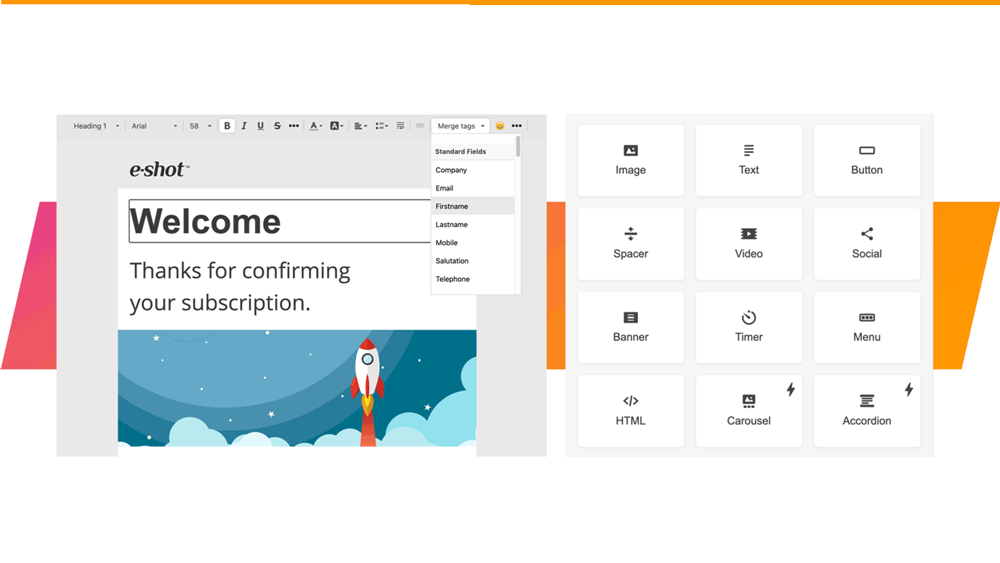
Smart Editor: Appearance settings
January 27th, 2021 - Sadie Burgess
In the settings panel on the right-hand side of the Smart Editor you find the Appearance and the Content tabs.
Solutions
Email Marketing
Create email campaigns and newsletters and manage end-to-end subscription processes with forms and preferences.
Marketing Automation
Create sophisticated automated campaigns for email and SMS combined.
Digital Communication
The comprehensive solution to manage and automate your digital communication across email, SMS, websites and landing pages.
Email marketing healthcheck
We are confident that we can help you, which is why we offer a free healthcheck to identify potential issues with your current programme and free advice on things that could be done to improve it.